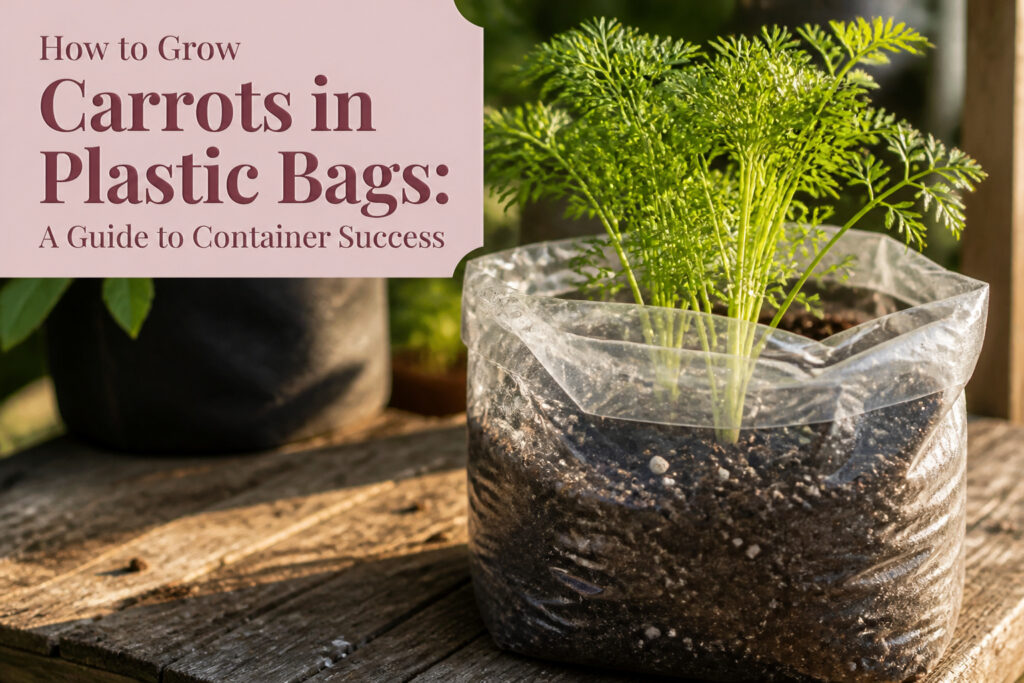
Growing carrots in plastic bags is a container method that trades garden space for precise soil control, and that trade only works if you keep the root zone consistently moist during the first two to three weeks. The bags warm faster than ground soil and drain quicker than raised beds, which means seeds can germinate weeks earlier but also dry out to the point of failure in a single afternoon. A 50-quart batch of light potting mix fills one standard grow bag, and the pelletized Nantes-type seed that goes on top determines whether you spend five minutes on spacing or an hour thinning the old-fashioned way.
Select the Site
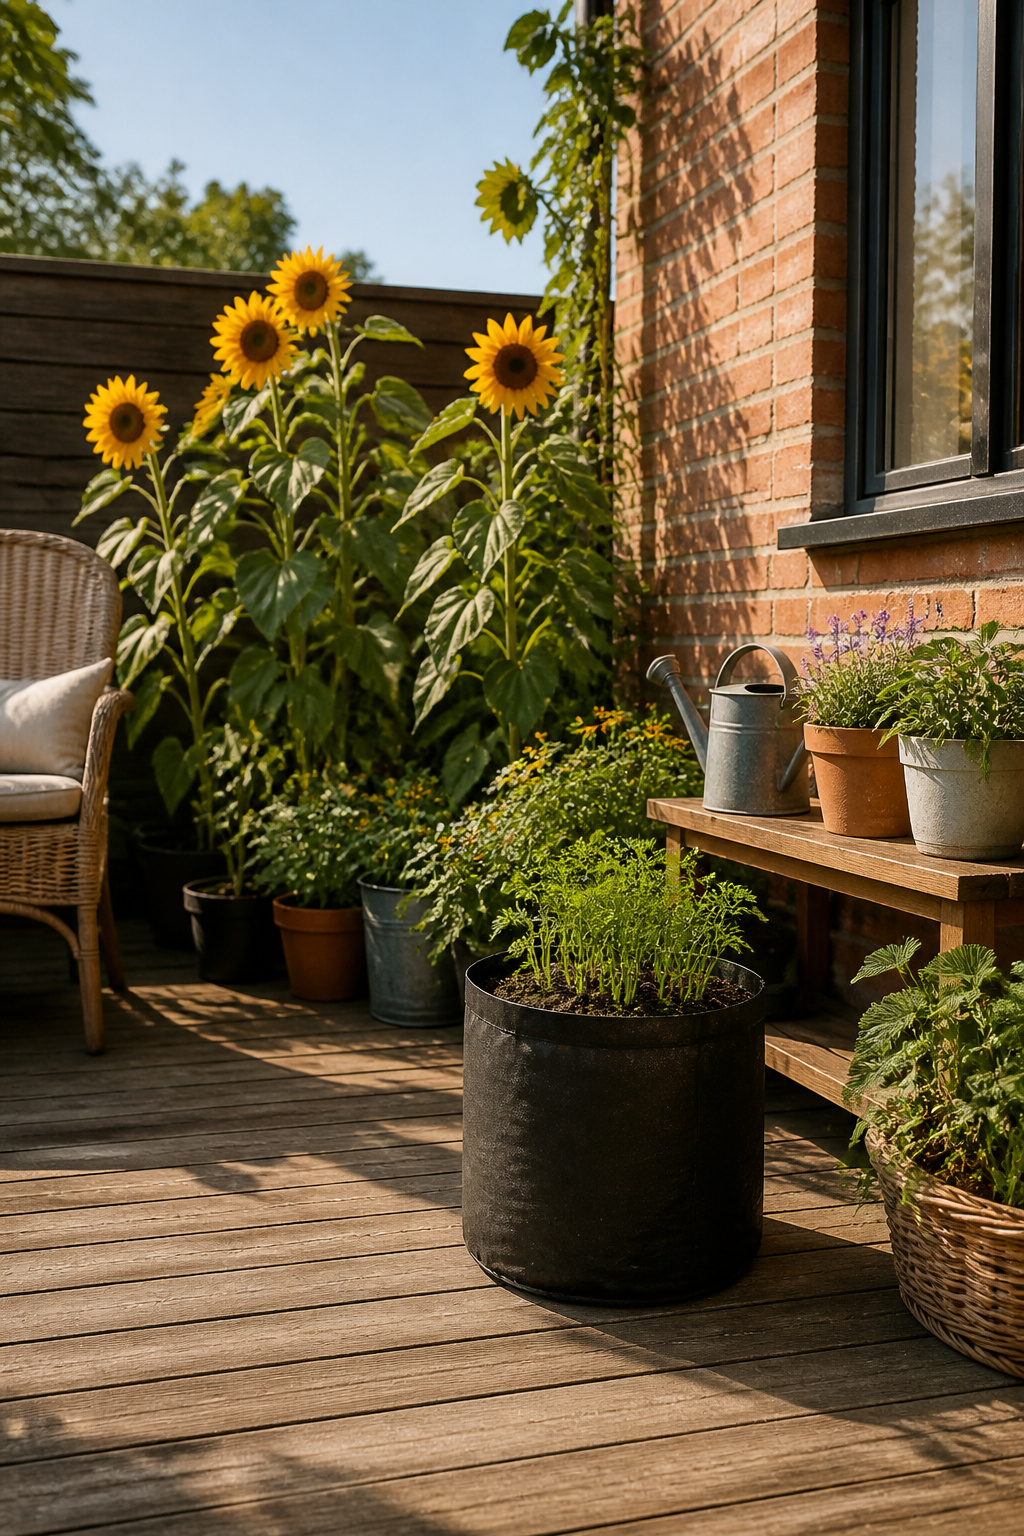
Carrots grown in plastic bags need 6 to 8 hours of direct sunlight to form proper roots. Less than that, and the plants spend their energy pushing leafy tops toward any light they can find instead of filling out the taproot below ground. Shade also keeps the soil cooler and wetter longer, which sounds helpful until the seeds rot before they germinate or the carrots fork and twist rather than growing straight.
All-day sun is ideal if you have a spot that gets it. A south-facing patio, driveway edge, or balcony railing usually works better than tucked beside a fence where afternoon light drops off early. The bag itself warms up faster than in-ground soil, so in very hot climates that same full sun can dry the root zone by mid-afternoon. That tradeoff is worth keeping in mind when you pick between the sunniest corner and one that gets bright light until 2 p.m. with a little late shade.
Prepare the Planting Mix
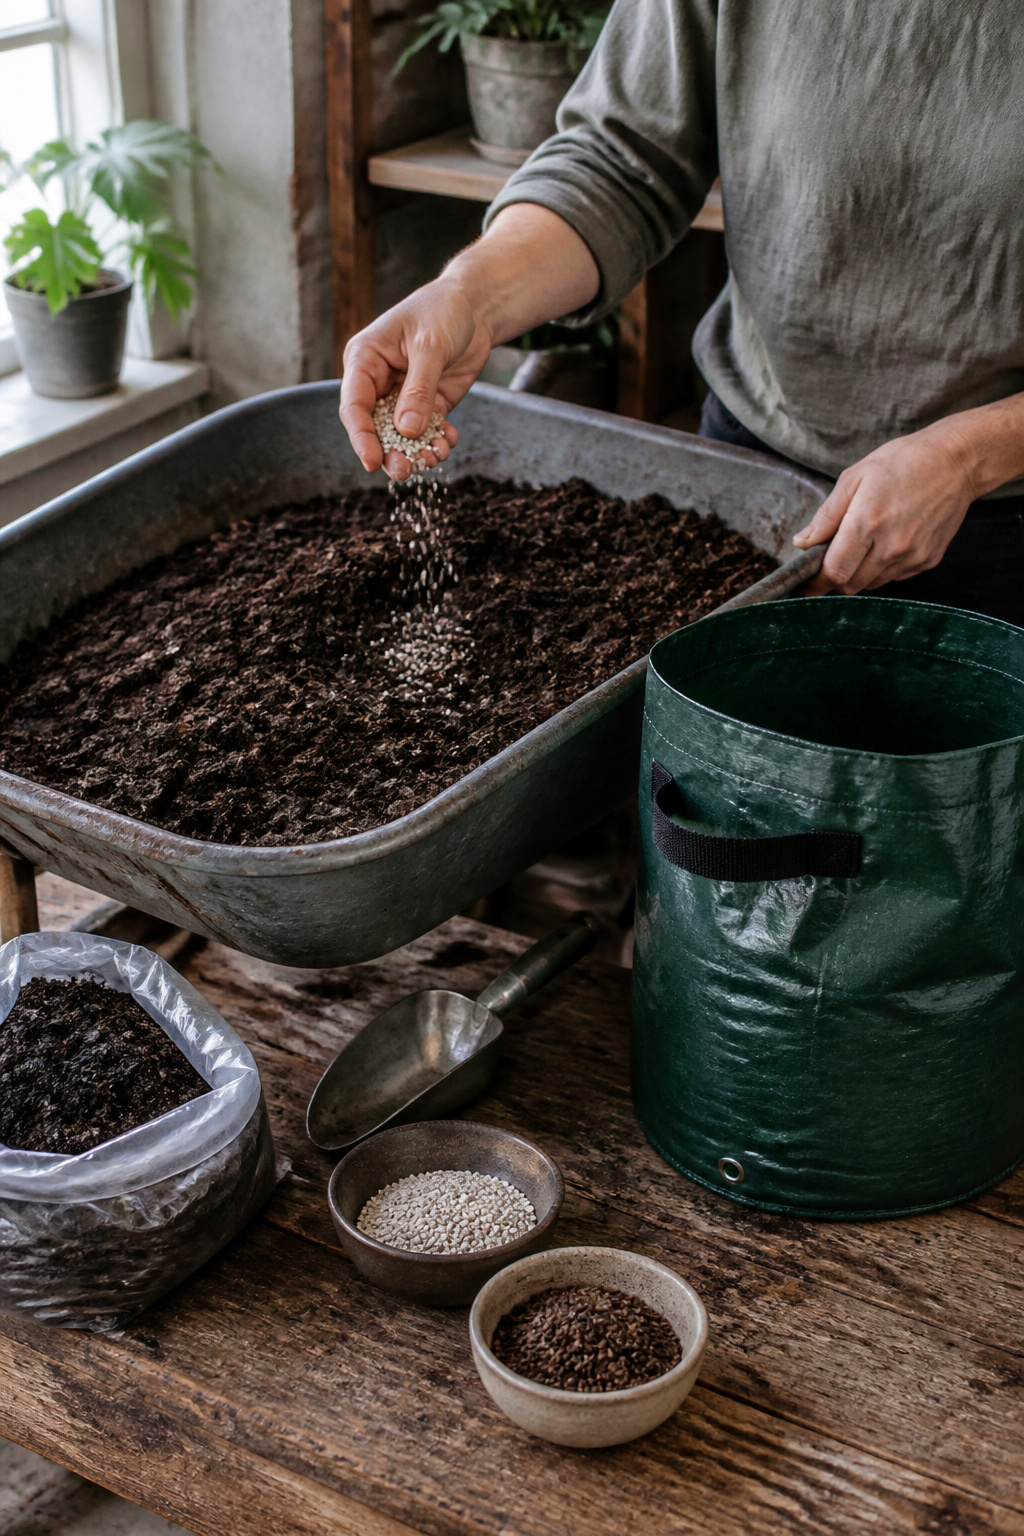
Carrots demand light, friable soil that drains freely; ordinary garden soil will compact in a plastic bag and stunt the roots. A 50-quart batch of potting mix fills one bag properly, which is the capacity of the Potato Grow Bag the tests were run in. Dump the mix into a wheelbarrow or tub and moisten it thoroughly before you add anything else; dry mix sheds water and leaves pockets where seeds fail.
Work in granular all-purpose fertilizer at the package rate, plus a Container Booster Mix if you have it. A few cups of compost from a single source can stand in for the booster; skip it if your compost pile mixes kitchen scraps with yard waste and you cannot be sure of the balance, since too much nitrogen produces forked, hairy roots rather than the smooth, sausage-shaped carrots you are after.
Carrots, being a root crop, simply won’t develop properly in heavy clay or stony soils. For best appearance and a sweet flavor, they need soil that’s friable, well-drained, neutral to alkaline, and not too rich in nitrogen.
That last point is worth reading twice: excess nitrogen is the mistake that turns a promising bag of carrots into a tangle of fine feeder roots with no thick taproot to harvest.
Sow the Seeds
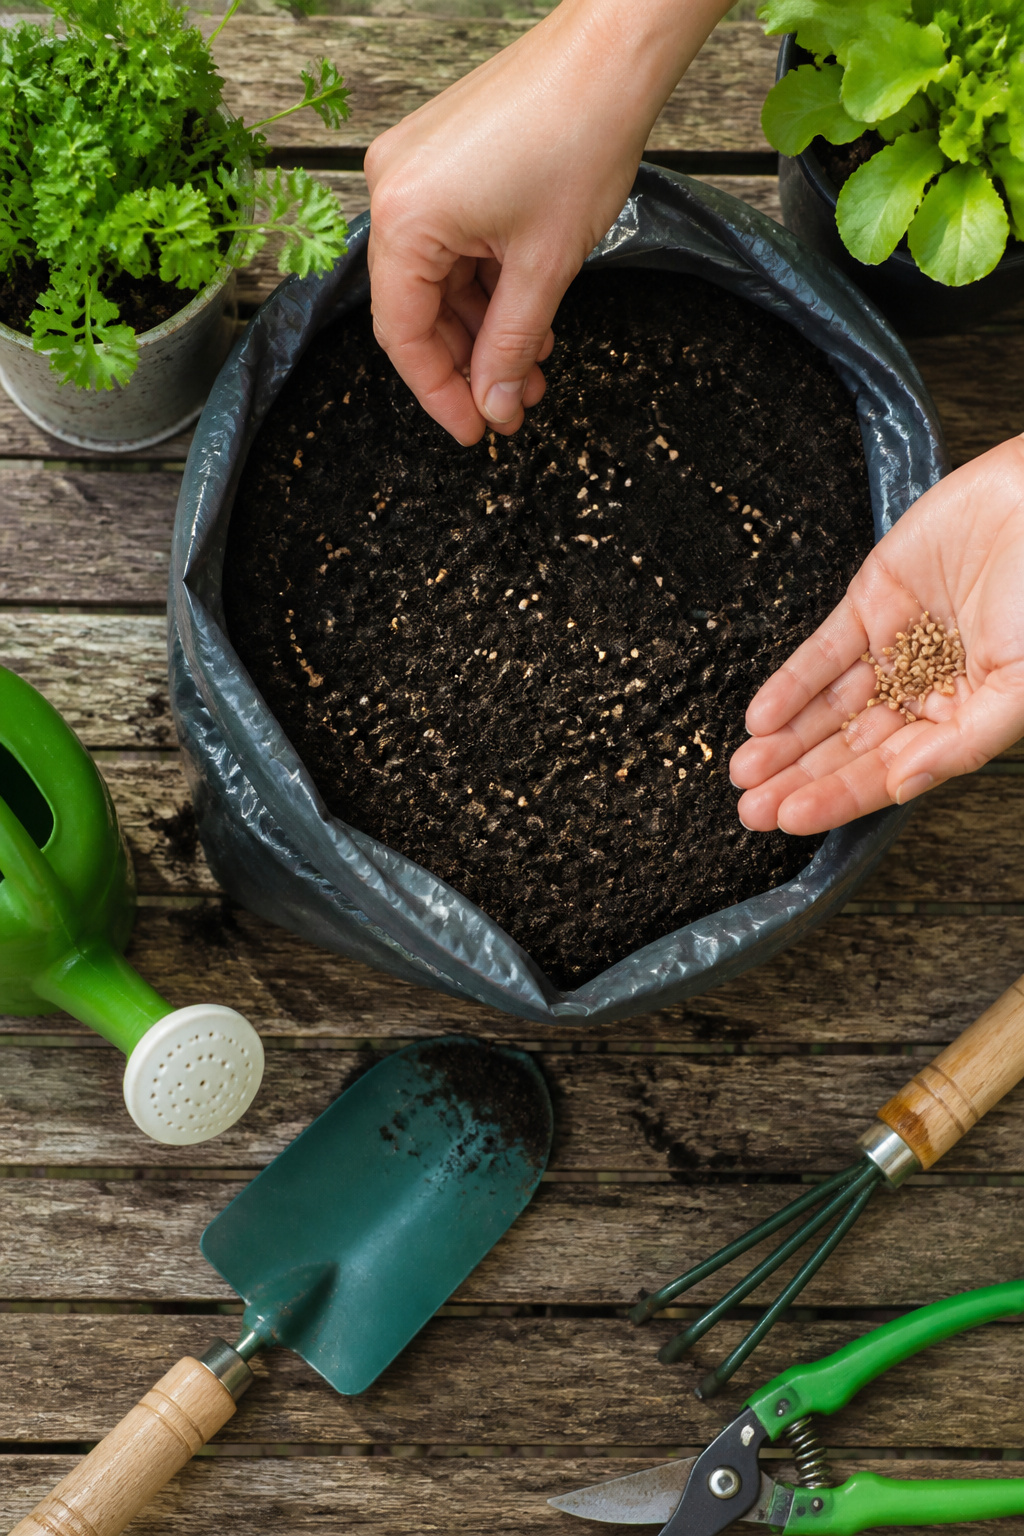
Nantes-type seeds are the compact variety that works best in a plastic bag’s shallow profile, and scatter them about 3 inches apart across the surface. Cover with roughly 1/4 inch of planting mix, then water thoroughly until the mix is evenly moist. Carrot seeds carry a hard coat, so that first watering matters; the moisture has to reach through to trigger germination.
Pelletized seeds are worth the slight extra cost if you have ever torn your hair out over thinning. Each pellet contains one seed encased in dissolvable material, so they space themselves neatly and you skip the tedious plucking of overcrowded seedlings two weeks later. Standard seeds work fine, but the pelleted option removes a step that trips up a lot of first-timers.
Maintain Moisture
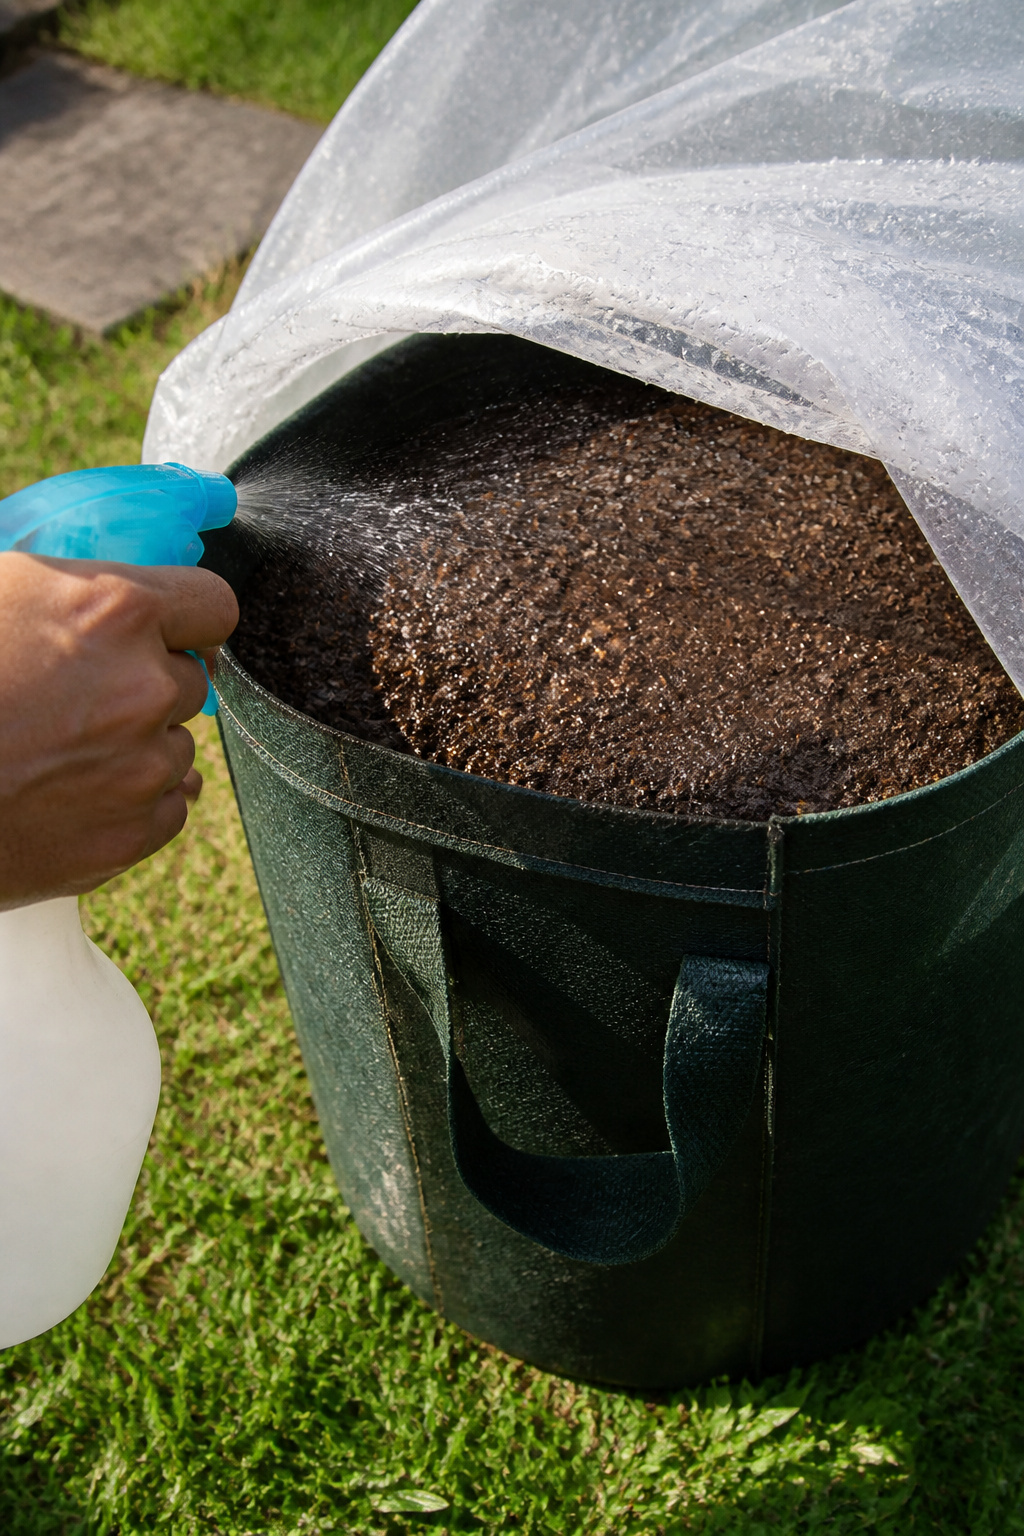
Carrot seeds sitting in dry soil for even a single afternoon can kill germination outright, so the first two to three weeks are about vigilance, not volume. A light spray morning and evening keeps the surface damp without washing the tiny seeds deeper than they can push back up. In full summer heat, that schedule may not be enough; a piece of shade netting draped over the bag slows evaporation and keeps the top layer from crusting in direct sun. I have had better luck with a loose sheet of plastic laid directly on the soil surface, lifted for a few minutes each day to check for mold and let in air. The cover acts like a miniature greenhouse, holding moisture in rather than letting it rise straight off the bag. Once the first true leaves appear, the cover comes off for good and watering shifts to deeper, less frequent soaking, but those first weeks of consistent dampness are the make-or-break window for carrot germination in a container.
Thin Out Seedlings
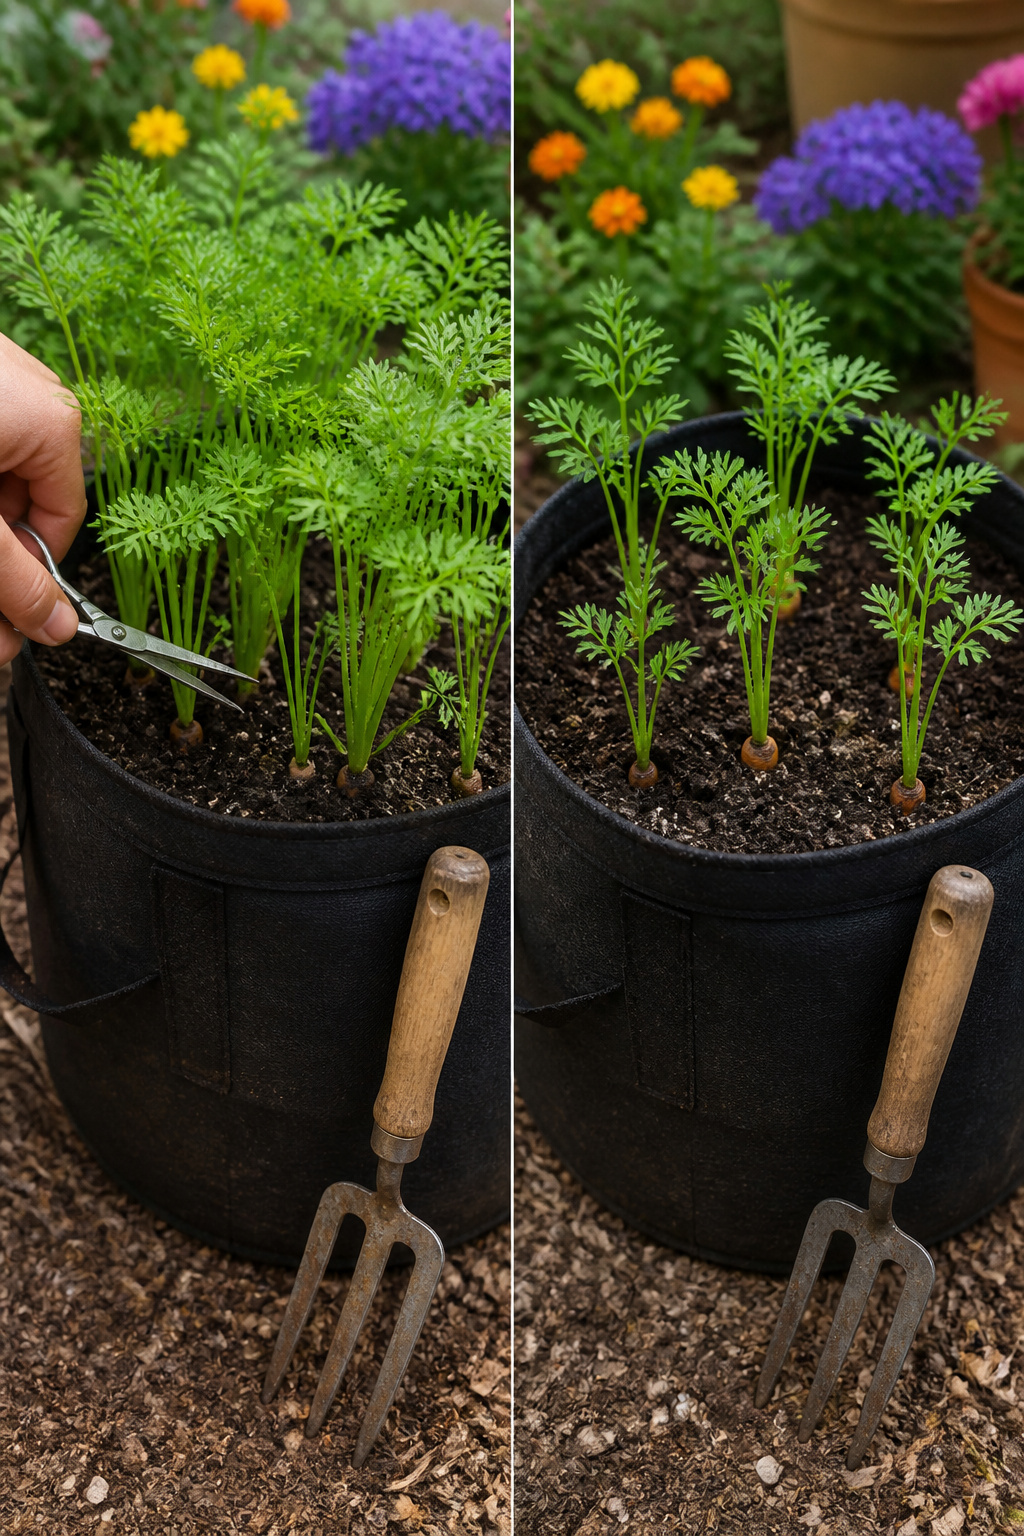
Carrot seedlings crowd together faster than you’d expect, and those first feathery leaves hide the real problem underground. Thin them to 3 inches apart once they’re a few inches tall; anything closer and the roots tangle into forked, stunted shapes instead of the straight, sausage-formed Nantes you planted for. The work itself is simple enough. Small scissors snip the extras at soil level without disturbing the roots you mean to keep, though pulling by hand works if the soil is loose and damp.
Pelletized seed changes the math on this step. Each pellet contains a single seed coated in dissolvable material, so the spacing is built in from the moment you scatter them across the bag. I still end up with the odd overlap where water shifts things, but the thinning load drops from a half-hour of careful tweezing to five minutes of spot cleanup. For a continuous harvest planted across several bags, that time adds up, and the finished carrots show it in fewer deformed specimens come August.
Feed Regularly
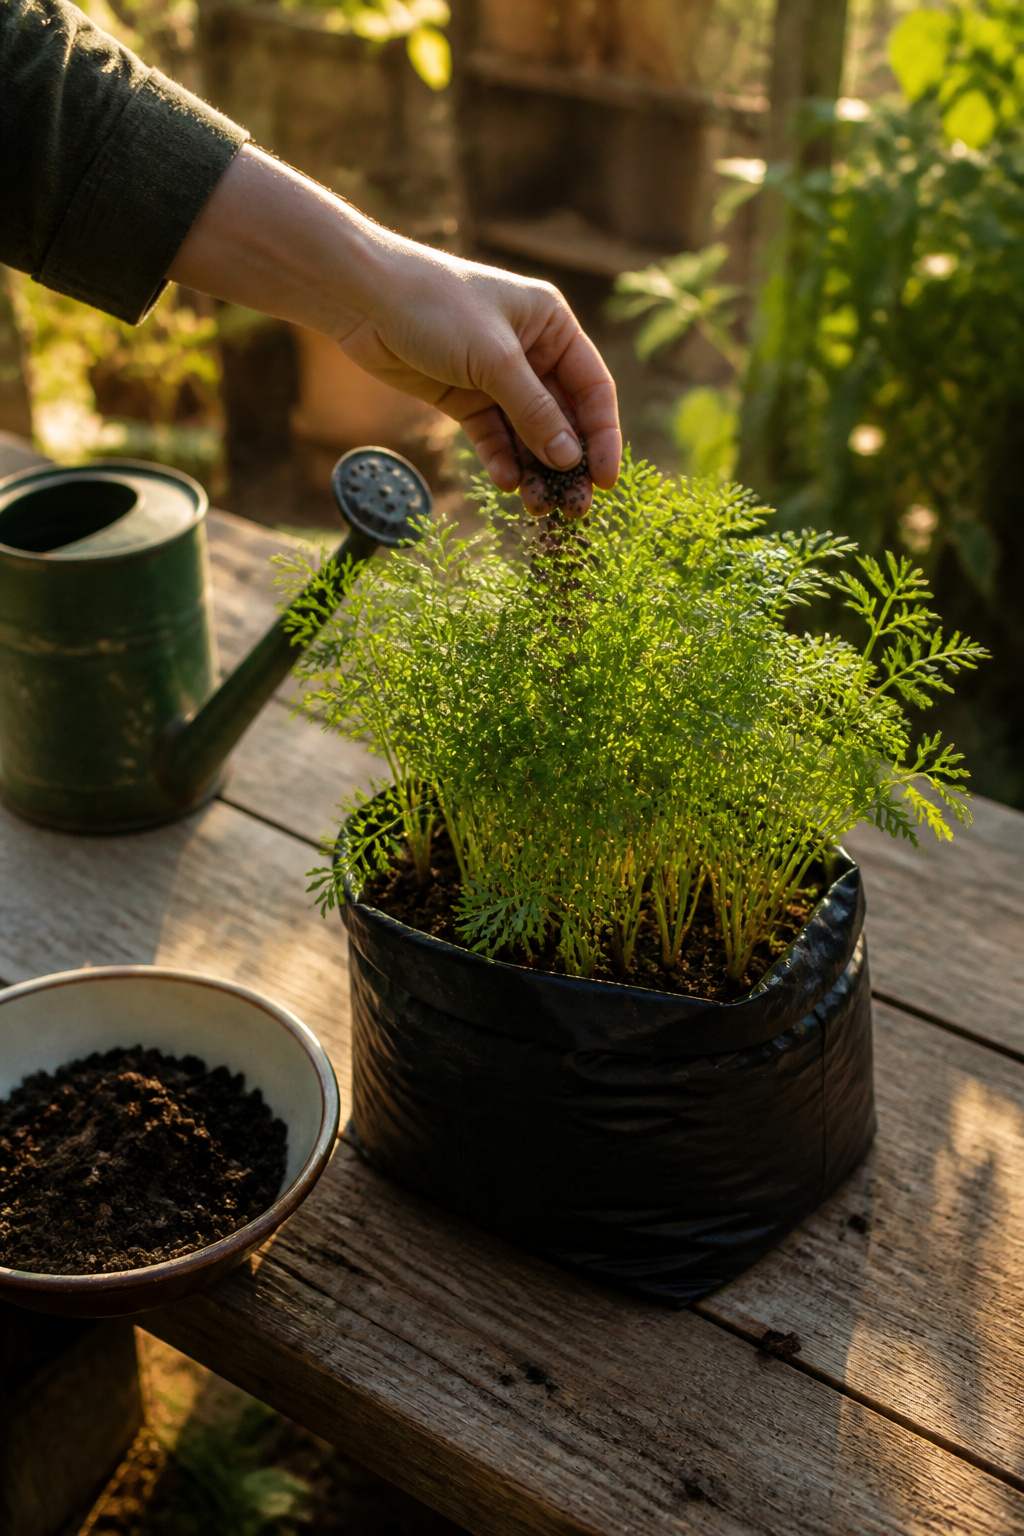
Carrots in plastic bags run through nutrients faster than in-ground plantings, so granular organic fertilizer every 4–6 weeks after thinning keeps them from stalling out. I scatter a light handful across the surface, scratch it in with my fingers, and water it down. The timing matters more than the brand: too early and you burn the seedlings, too late and the roots stay pencil-thin.
The real risk is overdoing nitrogen. A heavy hand with high-nitrogen feed pushes leafy tops at the expense of the root below, and you end up with forked, twisted carrots that split like a witch’s fingers. I learned that the hard way my second season, when a generous dose of blood meal gave me a forest of ferny greens and a bag full of hairy, branched roots good only for stock. A balanced organic blend, something in the 5-5-5 range, gives steady growth without that lopsided push. If the foliage looks pale between feedings, a diluted liquid fish emulsion as a top-up works, but skip it if the leaves are already deep green and standing tall.
Harvest
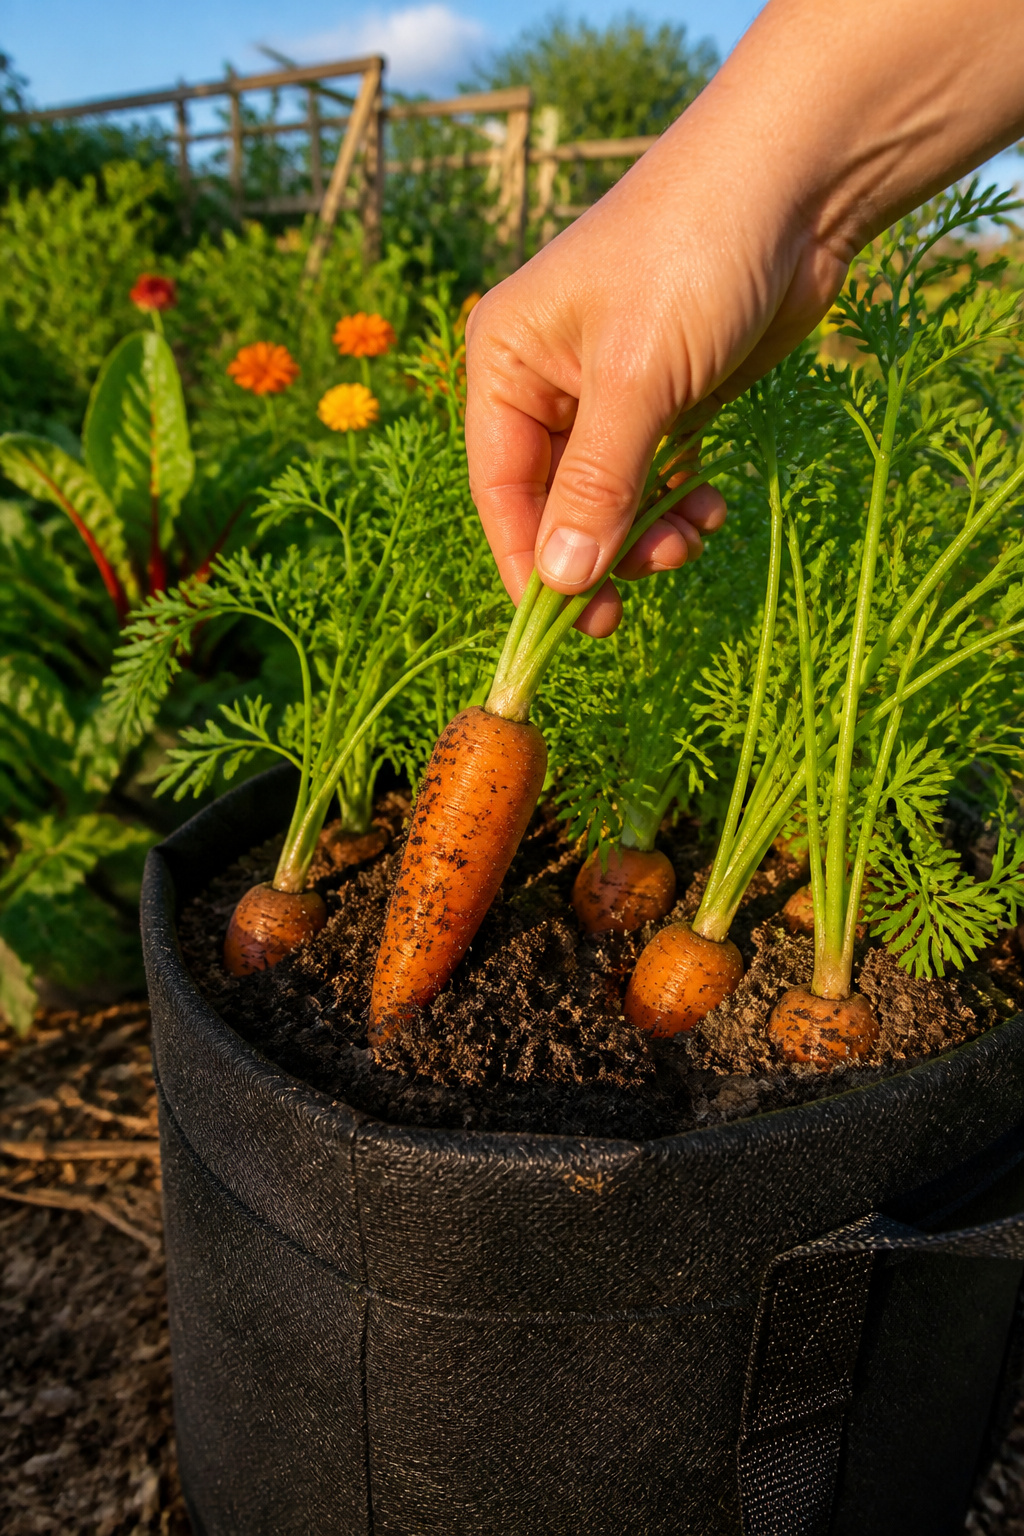
Carrots grown in plastic bags typically reach maturity in about 75 days, though the shoulder peeking above the soil tells you more than the calendar. A bag started in early spring should produce roughly 3 lbs of usable roots, which sounds modest until you consider that the same footprint in a raised bed often yields about the same. The color shift matters: the orange tops visible at the soil line deepen from pale to saturated about a week before the root is fully formed. Pull one early to check; if the shoulder is still pale and narrow, the rest need more time. A bag makes this sampling easier than a bed, since you can feel around the base without disturbing neighboring plants. I have found that carrots left past maturity in warm weather turn woody fast, so the 75-day mark is more of a warning than a deadline.
Choosing the Right Seeds
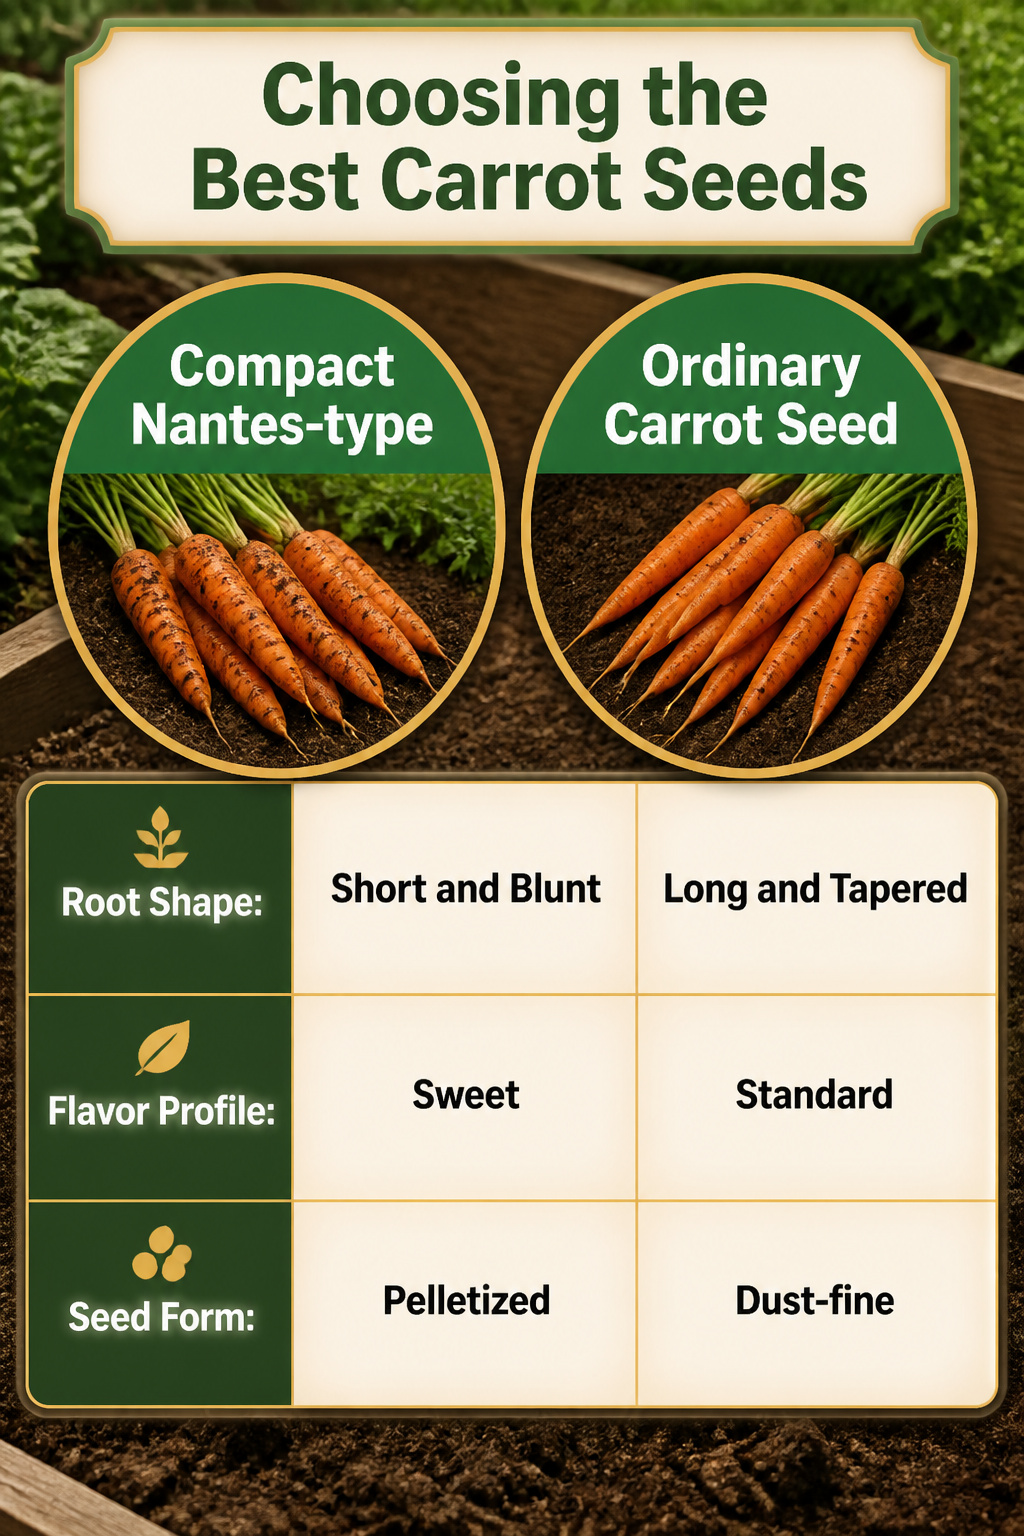
Compact Nantes-type carrots are the right match for plastic bags because their roots stay short and blunt, not long and tapered like traditional kinds. The flesh stays crisp and the flavor runs sweet, which matters more when you are growing them yourself than when you are grabbing a bag from the store. Pelletized seeds save the one job most people skip or do badly: thinning. Each pellet holds one seed coated in clay, so you drop them at proper spacing and leave them be. Ordinary carrot seed is dust-fine, and the usual advice is to sow thickly then pull most of what comes up. In a bag with limited depth, that thinning step risks tearing the roots you meant to keep. The pellets remove the guesswork entirely.
Soil Requirements
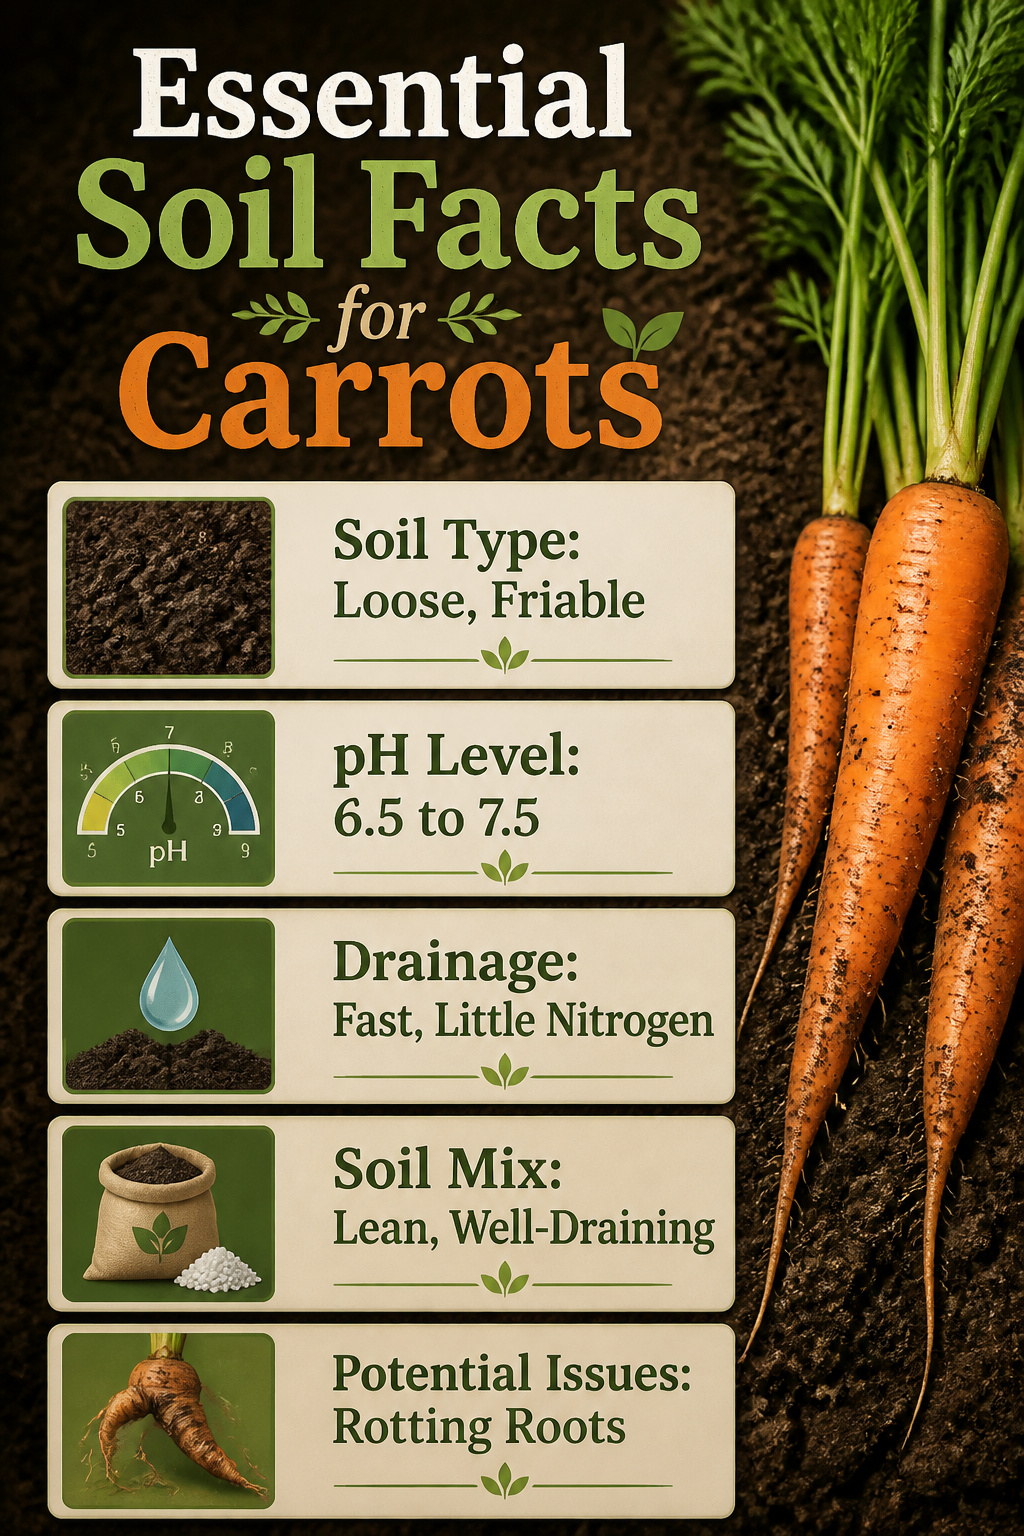
Carrots demand loose, friable soil that drains fast and holds little nitrogen. Heavy clay or stony mixes twist the roots, fork them, or stop them short; the taproot meets resistance and simply gives up. In a plastic bag, the problem is worse because there is no surrounding earth to buffer the mistake. The bag itself keeps moisture in, so a dense mix stays wet longer and the carrots rot before they size up.
Neutral to alkaline pH, roughly 6.5 to 7.5, keeps the chemistry calm. Below that, acidity slows uptake of the phosphorus carrots need for early root development. Most bagged potting mixes run slightly acidic, so a handful of garden lime stirred through the top few inches is usually worth the small cost.
The nitrogen balance is where container growers often slip. Rich, manured soil or a fresh compost heavy on kitchen greens pushes leafy top growth at the root’s expense. What you want is a lean mix: finished compost cut with coarse sand or perlite for drainage, maybe a little aged leaf mold for body. The first season I tried bags, I used a vegetable mix straight from the garden center and ended up with bushy tops and stubby, pale carrots no thicker than a pencil. Now I start with a base meant for roots or flowers, not the nitrogen-heavy formulas labeled for tomatoes or leafy greens.
Watering Needs
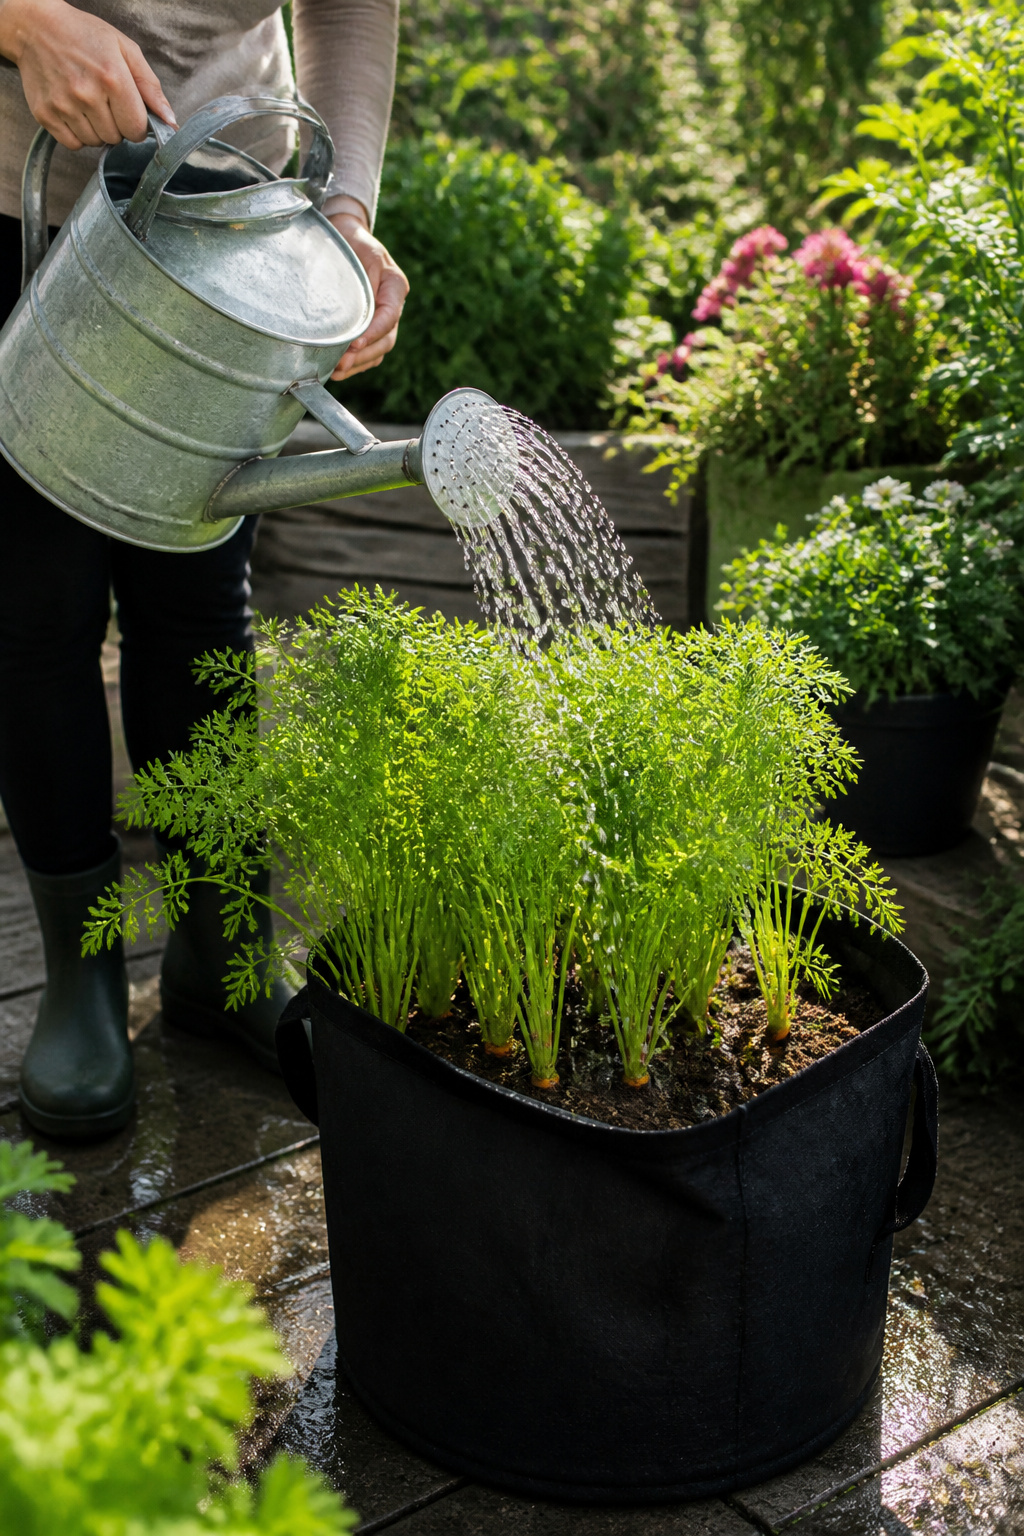
Carrots in plastic bags dry out faster than those in the ground, so watering regularly matters more than the volume each time. The bag’s exposed sides heat up in sun and lose moisture quickly, especially when rainfall stays below what the crop needs.
Once seedlings are established, the shift is to deep watering rather than frequent light sprinkles. A finger check two inches down tells whether the soil is actually dry or just looks it on top. The drainage holes you cut before filling the bag keep roots from sitting wet, but they also mean water runs through faster than in a garden bed. In dry spells I end up watering more often than I would a raised bed, though each session can be shorter because the bag holds less total soil.
The fabric cover some growers lay over fresh seed, meant to keep that top layer moist for germination, doubles as a way to slow evaporation between waterings. Without it, the first two or three weeks demand almost daily attention to keep the seed coat soft enough to split.
Frost Hardiness
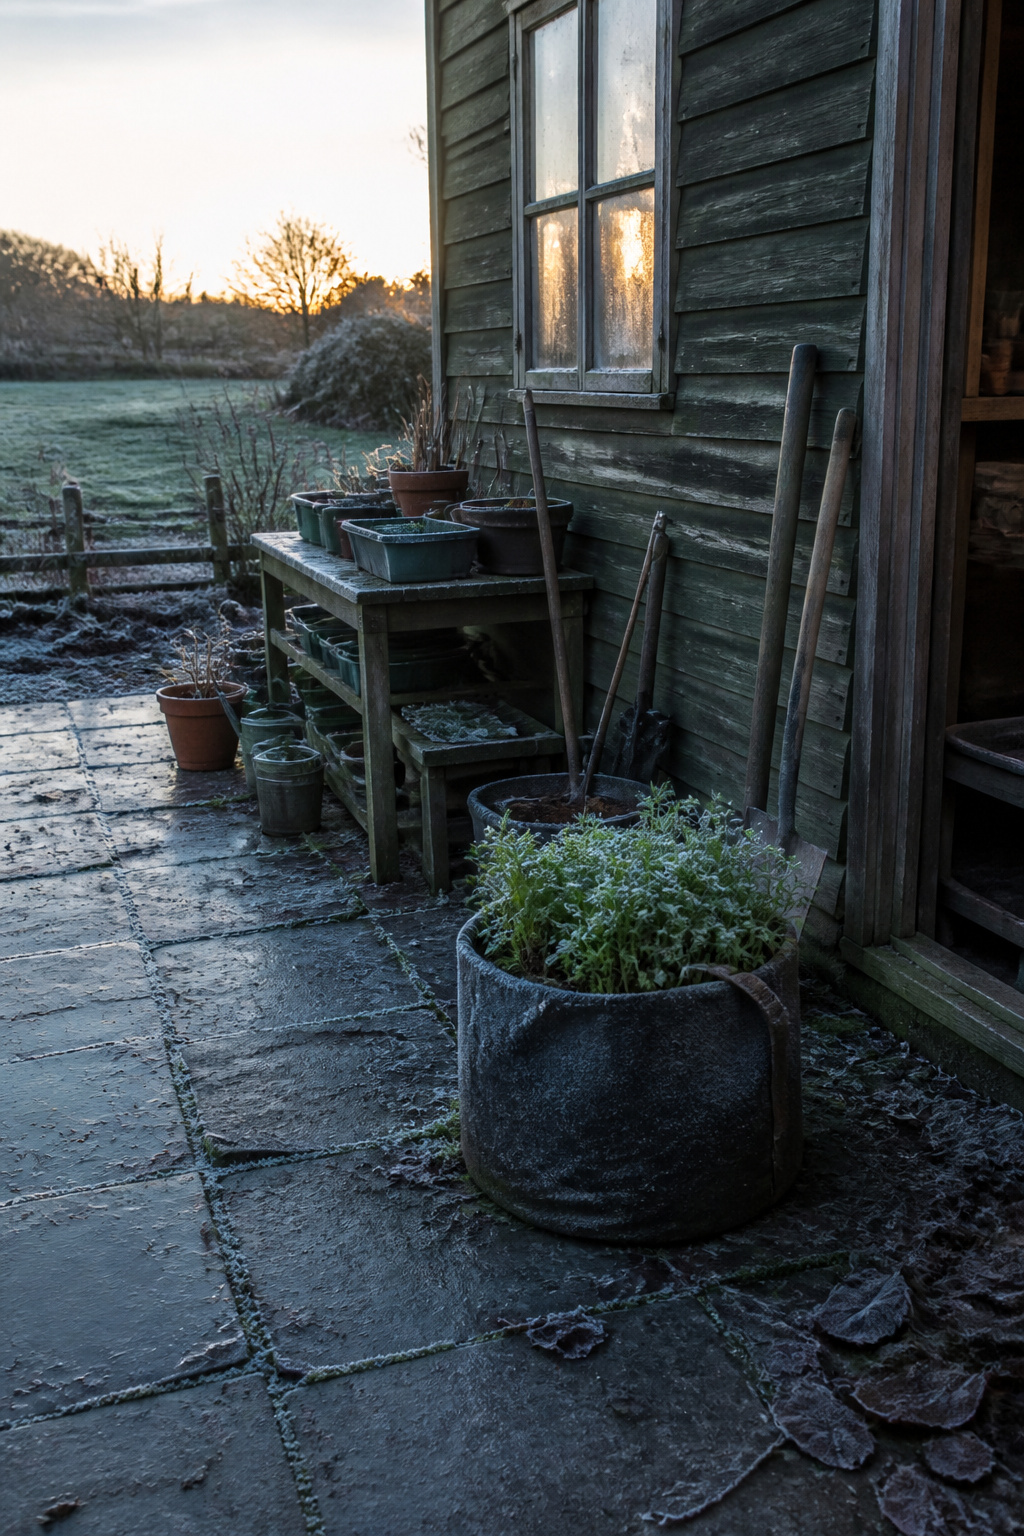
Carrots handle cold soil better than most vegetables, which makes them one of the few crops worth starting early. The seeds germinate in soil temperatures down to about 40°F, though they take their time doing it. That slow start is actually useful in a plastic bag setup: the confined space warms faster than open ground, but it also cools faster on a hard freeze night, so the built-in cold tolerance of the carrot itself becomes your safety margin.
I usually sow my bag carrots three to four weeks before the last expected frost date in my area. The seedlings emerge looking fragile, but a light frost just toughens them. A hard freeze below 28°F for more than a couple hours will damage the tops, so on those nights I move the bags against a south wall or drape them with an old sheet. The real risk is less to the leaves than to the root: if the soil in the bag actually freezes solid, expanding ice crystals can split the forming carrot. A two-gallon bag of damp potting mix holds enough thermal mass to buffer against brief dips, which is one reason I prefer that size over smaller snack-bag experiments.
Starting early stretches the harvest window by a full month on the spring end. The carrots mature before summer heat turns them bitter and woody, and you free up the bag for a second crop of beets or bush beans by July.
Continuous Harvest
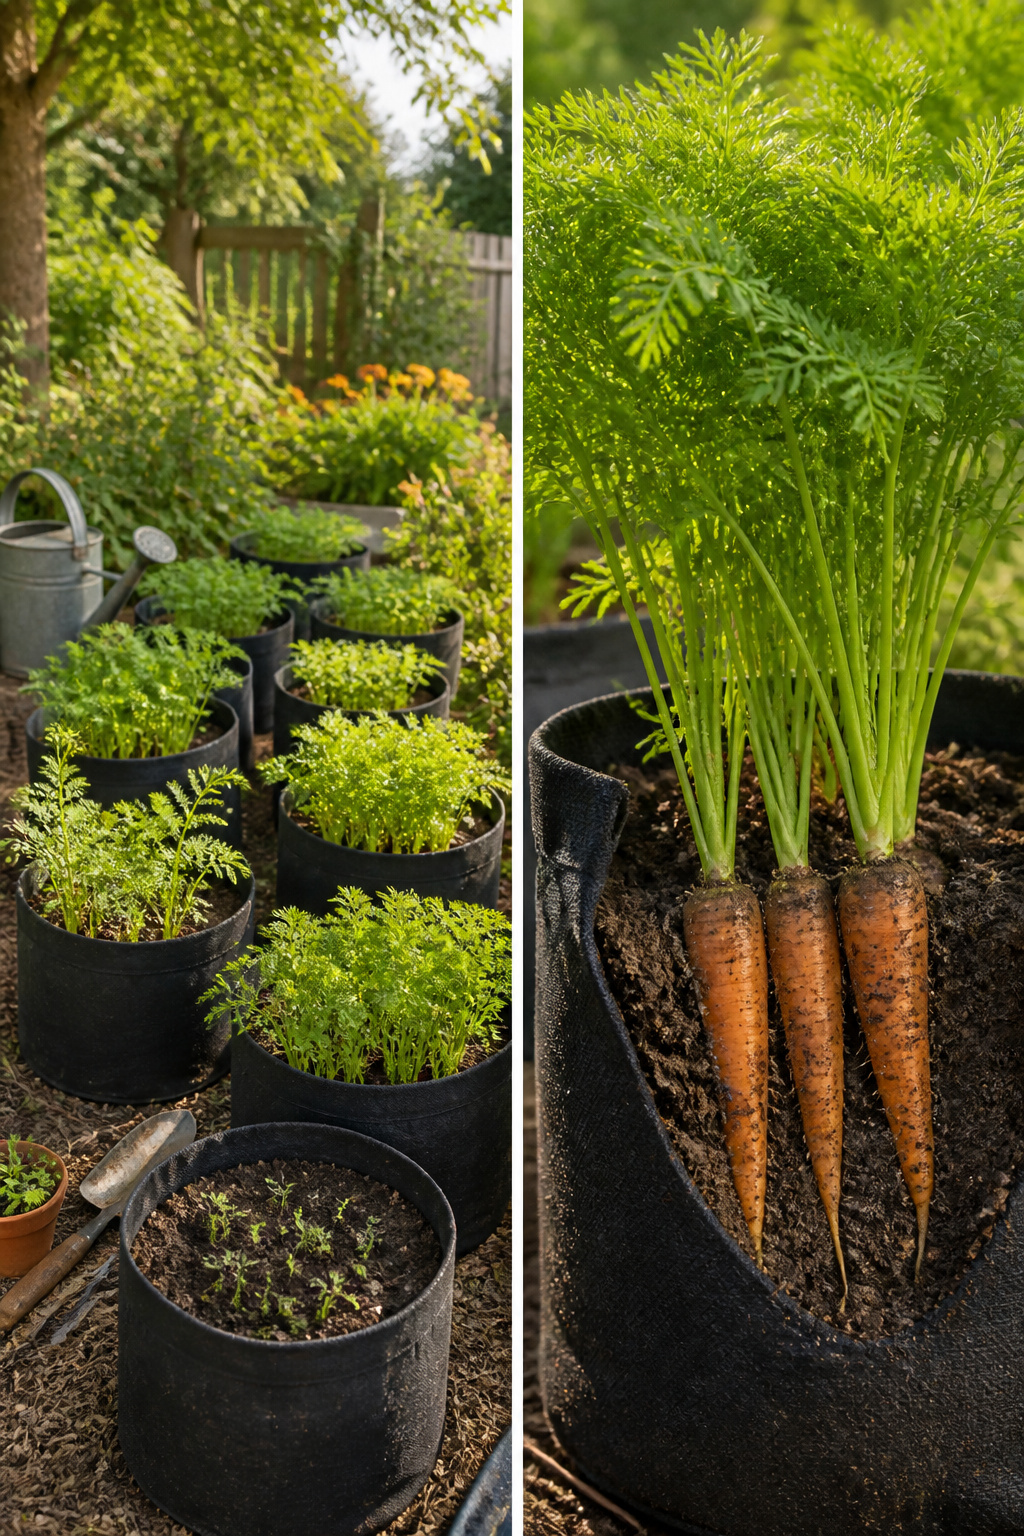
One bag of carrots rarely feeds a household for more than a couple of weeks, so staggering plantings two to three weeks apart keeps the harvest coming without overwhelming your counter space. I start my first bag as soon as the soil can be worked in spring, then set up a second while the first is still germinating. A third and fourth follow the same rhythm, and I stop sowing new bags by midsummer; the heat that arrives after that point turns the roots woody and bitter in my experience, and the plants bolt before they size up.
The timing shifts slightly by climate. In cooler zones, that final sowing might edge into early July; where springs warm fast, you may need to start earlier and quit by late June. Mark each bag with its sowing date, because three weeks later every bag looks identical and you will forget which is oldest. I learned that the hard way after pulling a bag I thought was ready and finding nothing but feathery tops and thread-thin roots.
Frequently Asked Questions
What type of soil is best for growing carrots in plastic bags?
Carrots need loose, friable potting mix that drains freely and sits at a neutral to alkaline pH between 6.5 and 7.5. Ordinary garden soil compacts too easily in a bag and stunts root formation, while mixes too rich in nitrogen push leafy growth instead of the thick taproot you want to harvest. A lean base cut with coarse sand or perlite works better than vegetable formulas heavy on nitrogen.
How often should I water carrots in plastic bags?
Water lightly twice daily during the two to three week germination window, then shift to deeper, less frequent soakings once seedlings establish. The bag’s exposed sides heat up and lose moisture faster than in-ground beds, so a finger check two inches down helps you judge actual dryness rather than surface appearance. A fabric cover over fresh seed slows evaporation and buys you more time between waterings.
When can I plant carrots in plastic bags?
Start sowing three to four weeks before your last expected frost date, since carrot seeds germinate in soil down to about 40°F and the seedlings survive light frost. The plastic bag warms earlier than open ground, which helps germination, though you will want to move bags against a south wall or cover them on hard freeze nights below 28°F. Keep sowing new bags every two to three weeks until midsummer for a continuous harvest.