
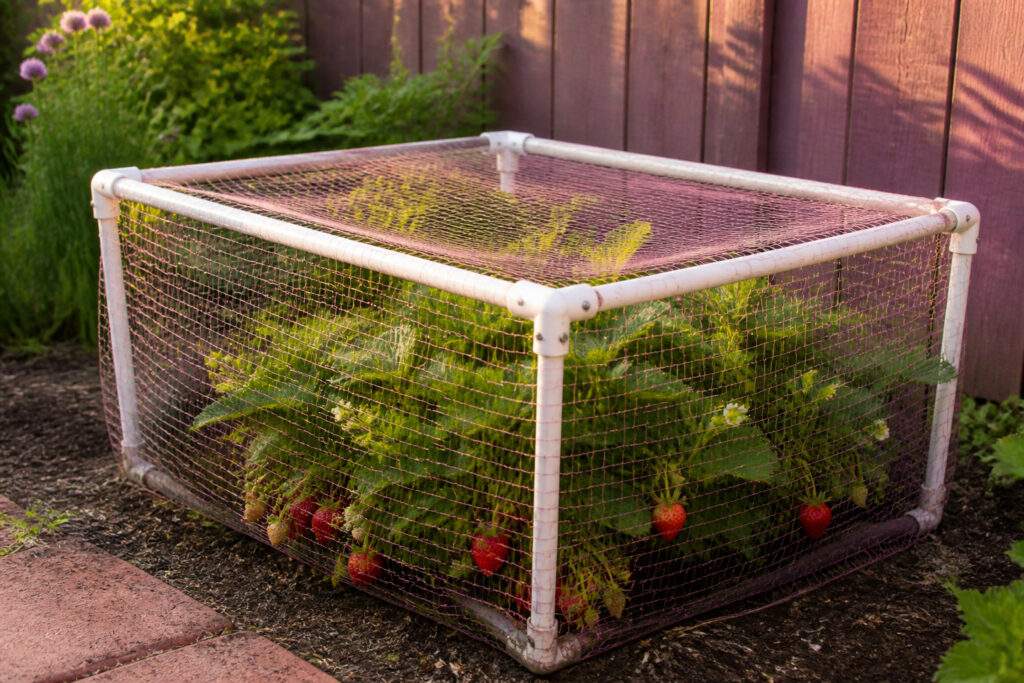
A strawberry cage is a lightweight PVC frame draped with netting to keep birds and squirrels from stealing fruit before you can pick it. It works only if you put it up after blossoms open but before green berries form; cover too early and bees cannot pollinate the flowers, too late and birds have already marked your patch as a food source. The whole thing costs about $15 to $20, breaks down into straight pipe lengths after harvest, and weighs under five pounds.
Measure the Space Your Plants Actually Need
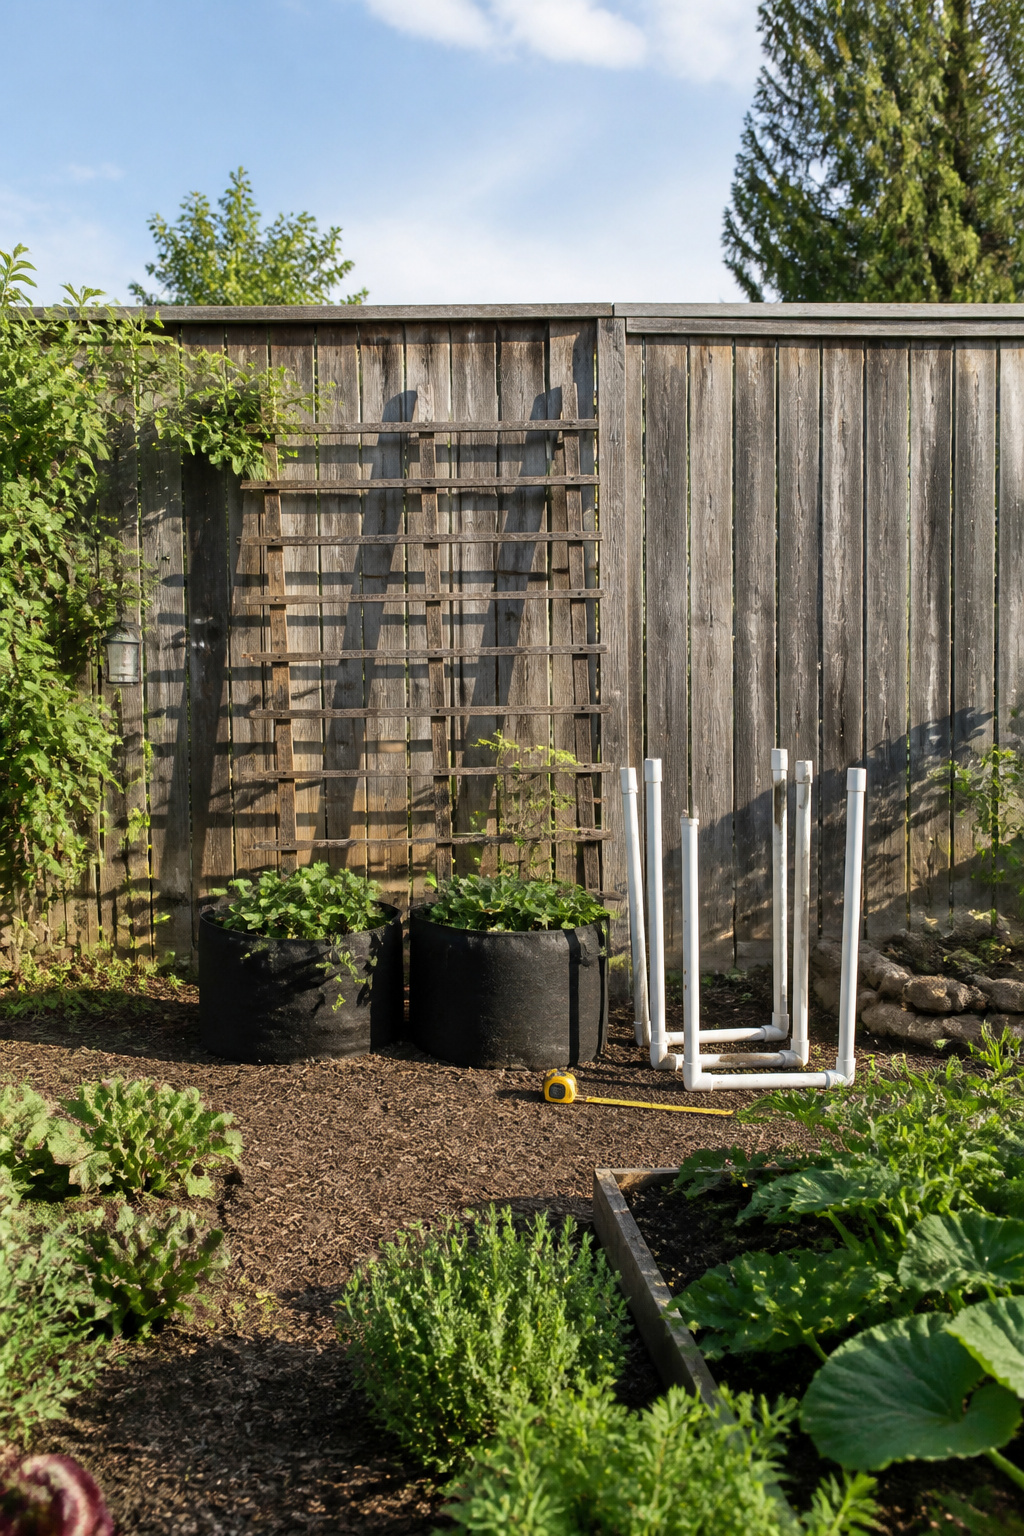
Strawberry plants in grow bags stand taller than you might expect once the soil settles and the leaves fill out. Two 10-gallon bags side by side need a cage roughly 32 inches tall to clear the foliage with breathing room left over. Add six inches to whatever height and width your plants or bags actually measure; that extra space is what determines the PVC length you cut, not the nominal 10-foot stock size the hardware store sells. Three-quarter-inch diameter pipe is the standard choice here, stiff enough to hold its shape under netting but light enough to lift and store once the season ends. The finished height for a typical pair of grow bags lands near 32 inches, which gives you a useful reference when you lay out the pieces on the ground before cutting.
Cut the PVC to Length
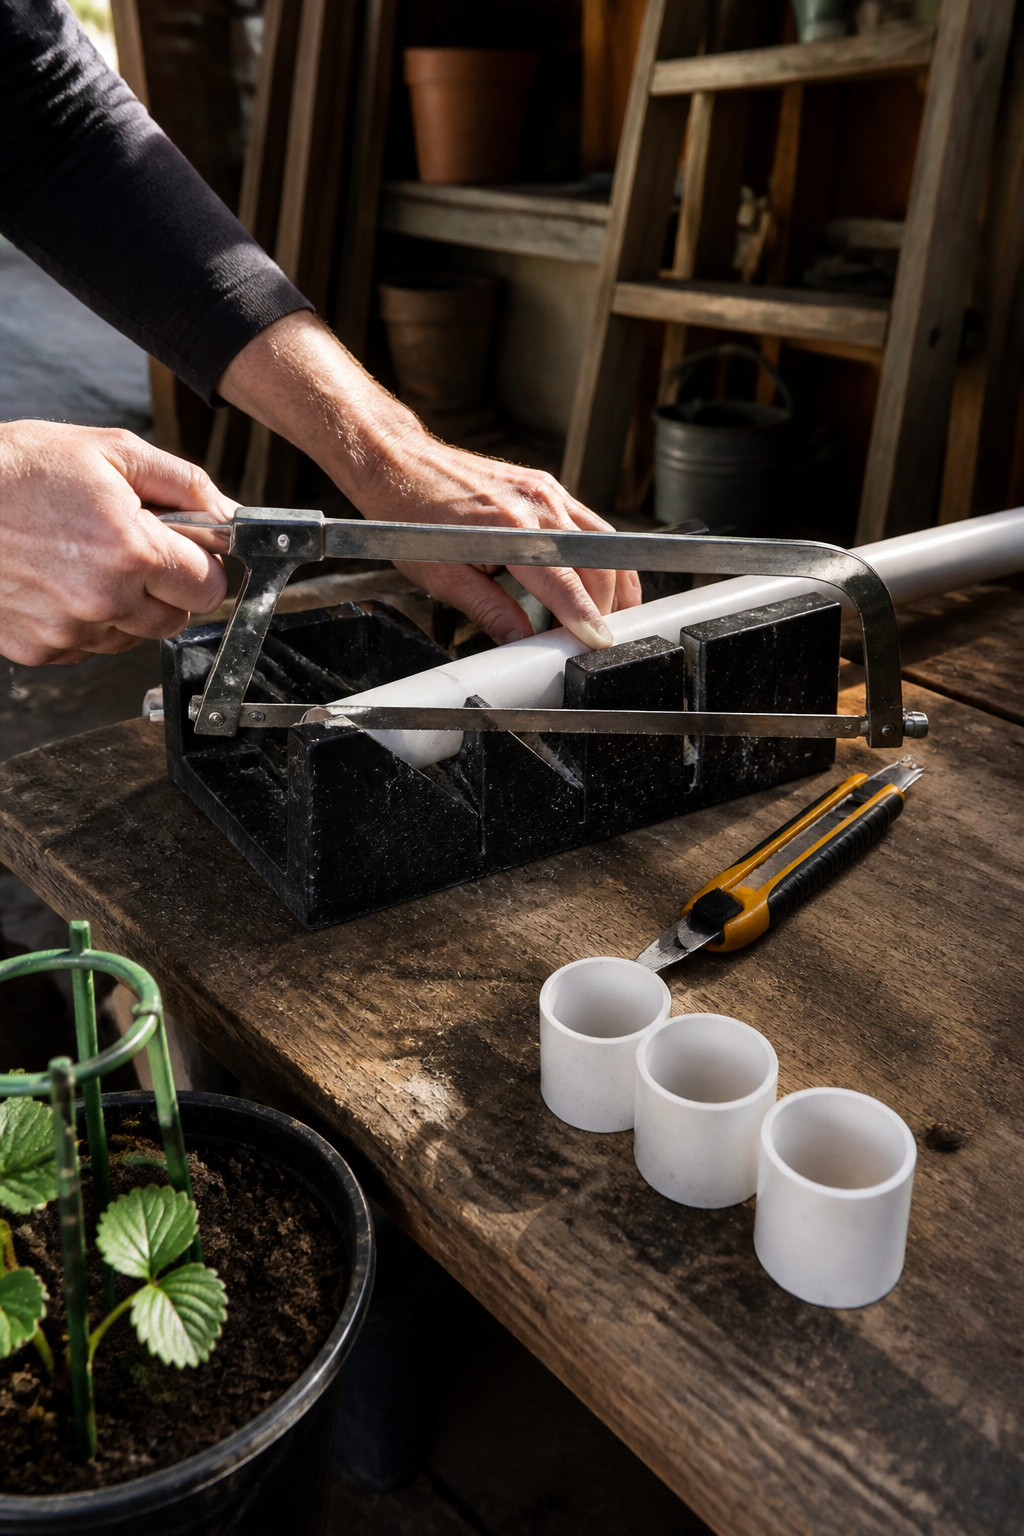
A standard 10-foot PVC pipe yields four 30-inch uprights or four 2.5-foot horizontal rails with a few inches left over, so plan cuts to squeeze every joint out of each stick. Clean, square ends matter more than the tool you use; a ragged or angled cut leaves gaps in the elbow or tee that wobble the whole frame. A miter box steadies the pipe and keeps the blade perpendicular, though freehand cutting with a hacksaw, circular saw, or ratchet-style PVC cutter works fine if you mark the line carefully and rotate the pipe as you go. I check each end against a flat surface before moving on; a quick scrape with a utility knife fixes small burrs, but a crooked cut means that joint will always sit loose.
Assemble the Frame With Connectors
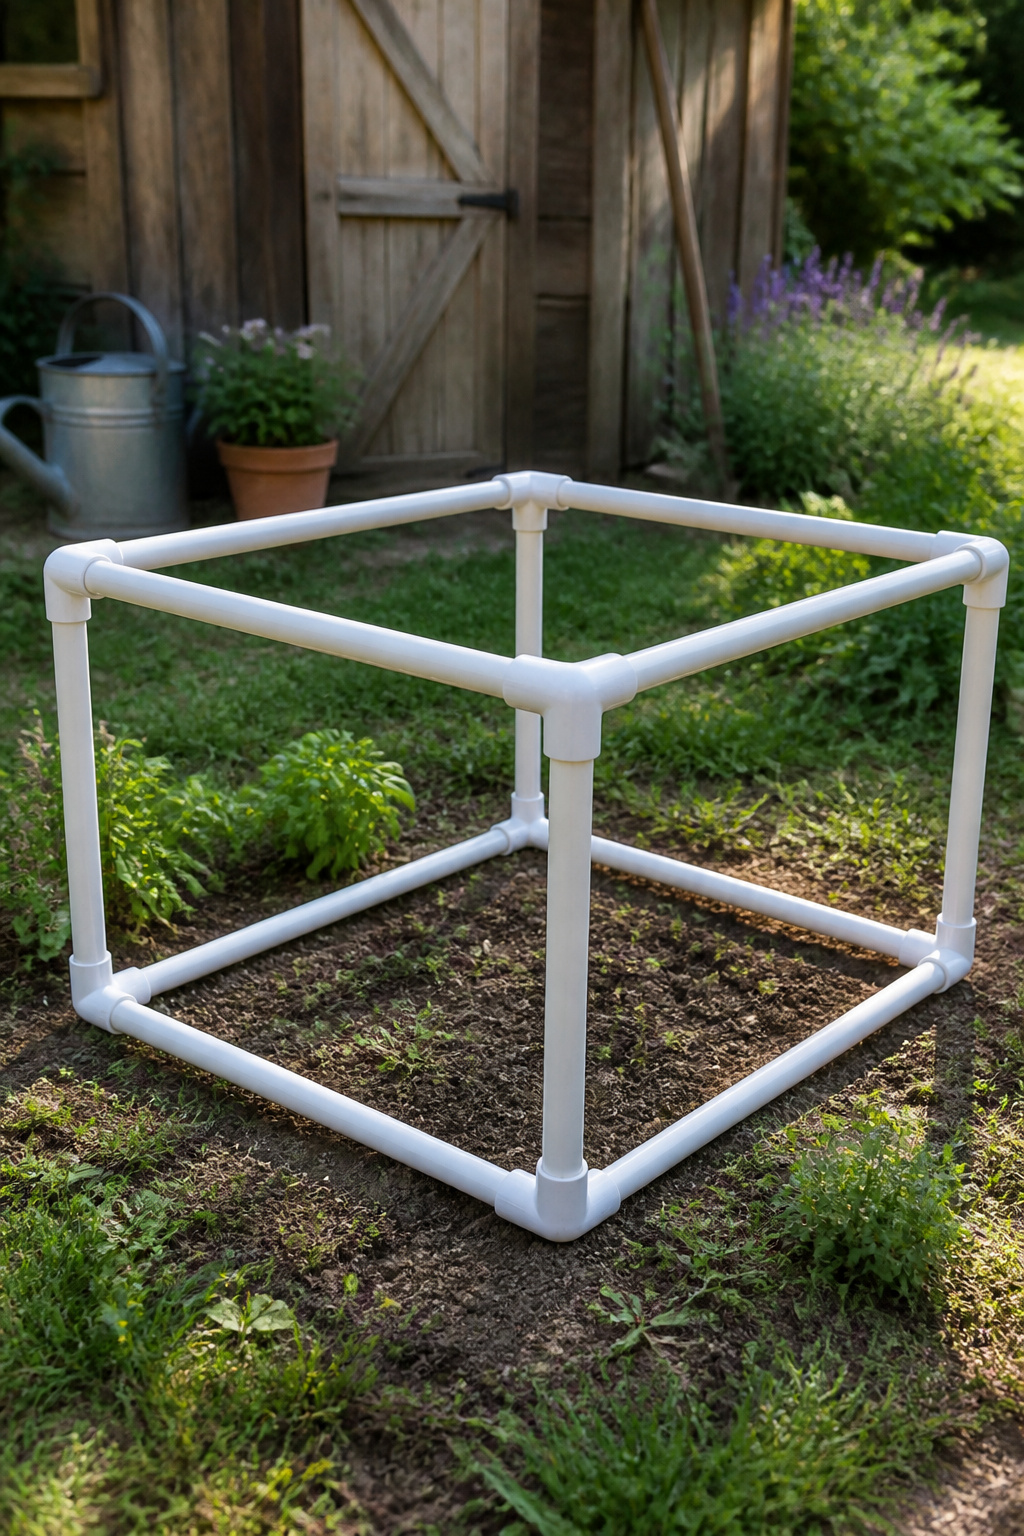
Elbow connectors form the vertical corners of the frame, while corner connectors sit at the top where the horizontal pipes meet. Dry-fit every joint before pressing anything together permanently; PVC cement sets fast and a twisted corner becomes a permanent headache. Lay the pieces out on the ground in the full rectangle first, then lift and connect one corner at a time.
The frame needs no screws or brackets because PVC pipe is light enough that friction alone holds the structure. A cage sized for a single raised bed or a few strawberry bags stays upright through berry season on connector grip alone. For anything wider than about four feet, though, the top rectangle will sag without a center crossbar, and the whole thing can lift off in a stiff wind. That is the tradeoff you accept for a frame that weighs under five pounds and lifts away when you want to pick fruit.
Drape and Secure the Netting
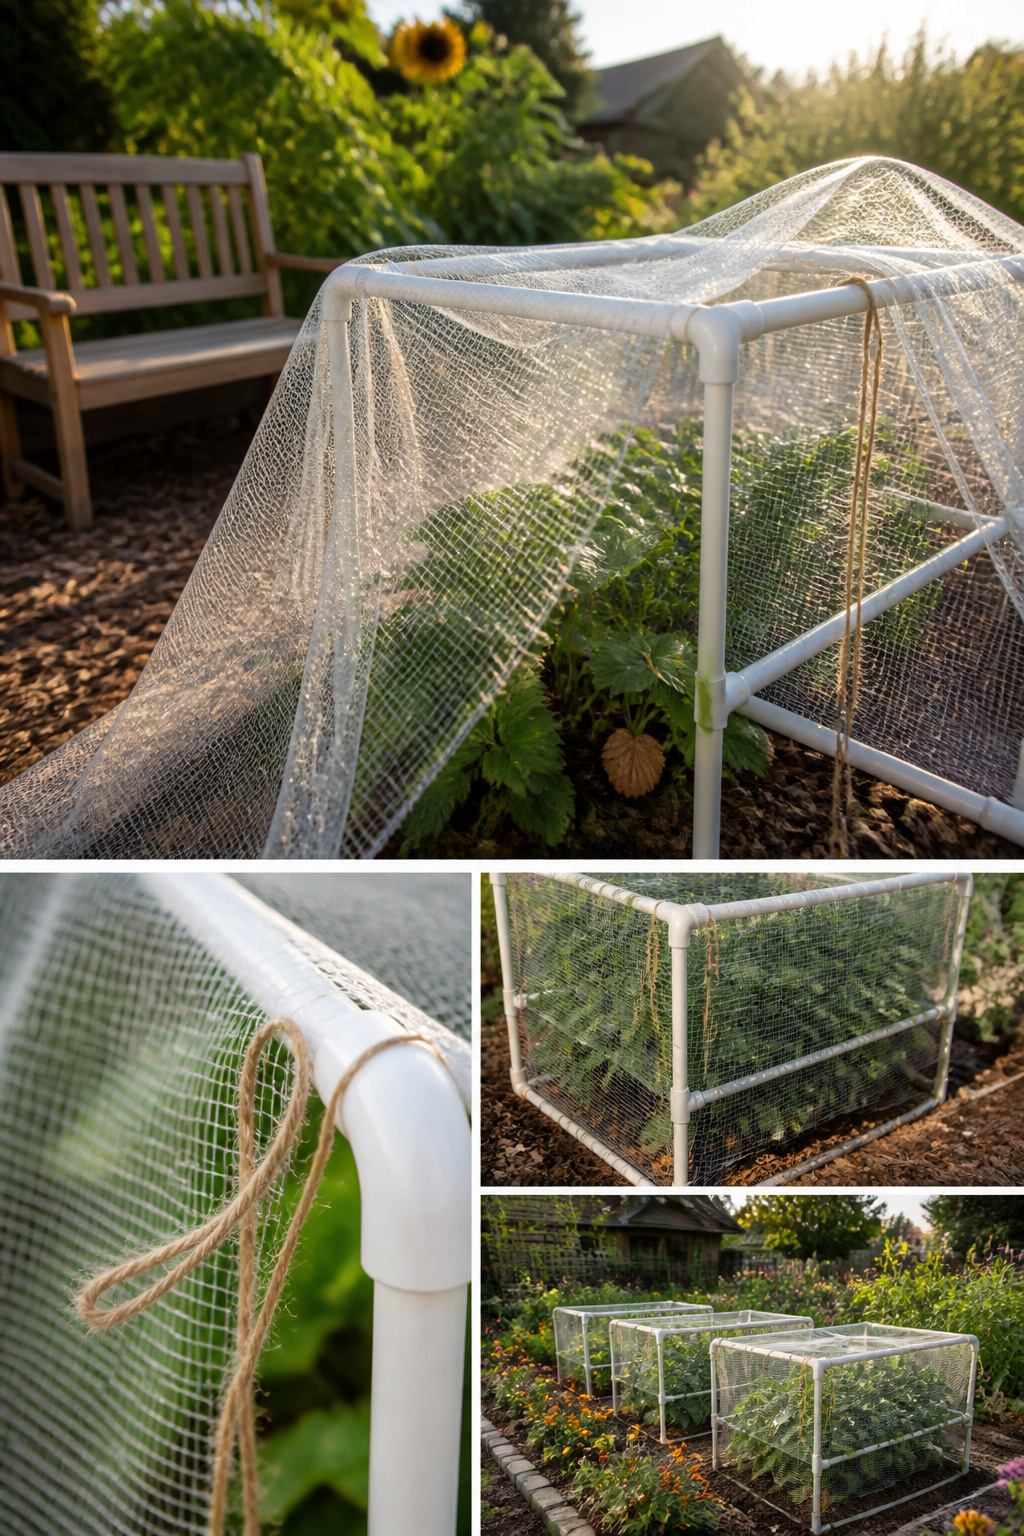
Netting with 5/8-inch mesh hits the balance most strawberry growers need: the openings are wide enough for bees and other pollinators to reach blossoms, but small enough to stop birds from snagging the fruit. Sizes smaller than that might seem safer, yet they can block the very insects your plants rely on.
Unroll the netting from the ground on one side, up and over the PVC peak, and down to the ground on the opposite side. Keep the fabric as taut as you can while you work. Loose netting sags, and sagging netting traps animals instead of simply blocking them; a bird or squirrel tangled in folds is a problem no one wants to deal with.
Secure the netting along the top ridge and down the sides with plastic or fabric ties spaced at intervals. If you use plastic ties, leave a little slack rather than pulling them flush. That small gap makes it possible to snip the ties at season’s end without accidentally cutting the netting itself. For sides you plan to lift during harvest, skip the ties entirely on two opposite edges so you can raise the netting like a curtain when berries are ready.
Anchor the Cage to the Ground
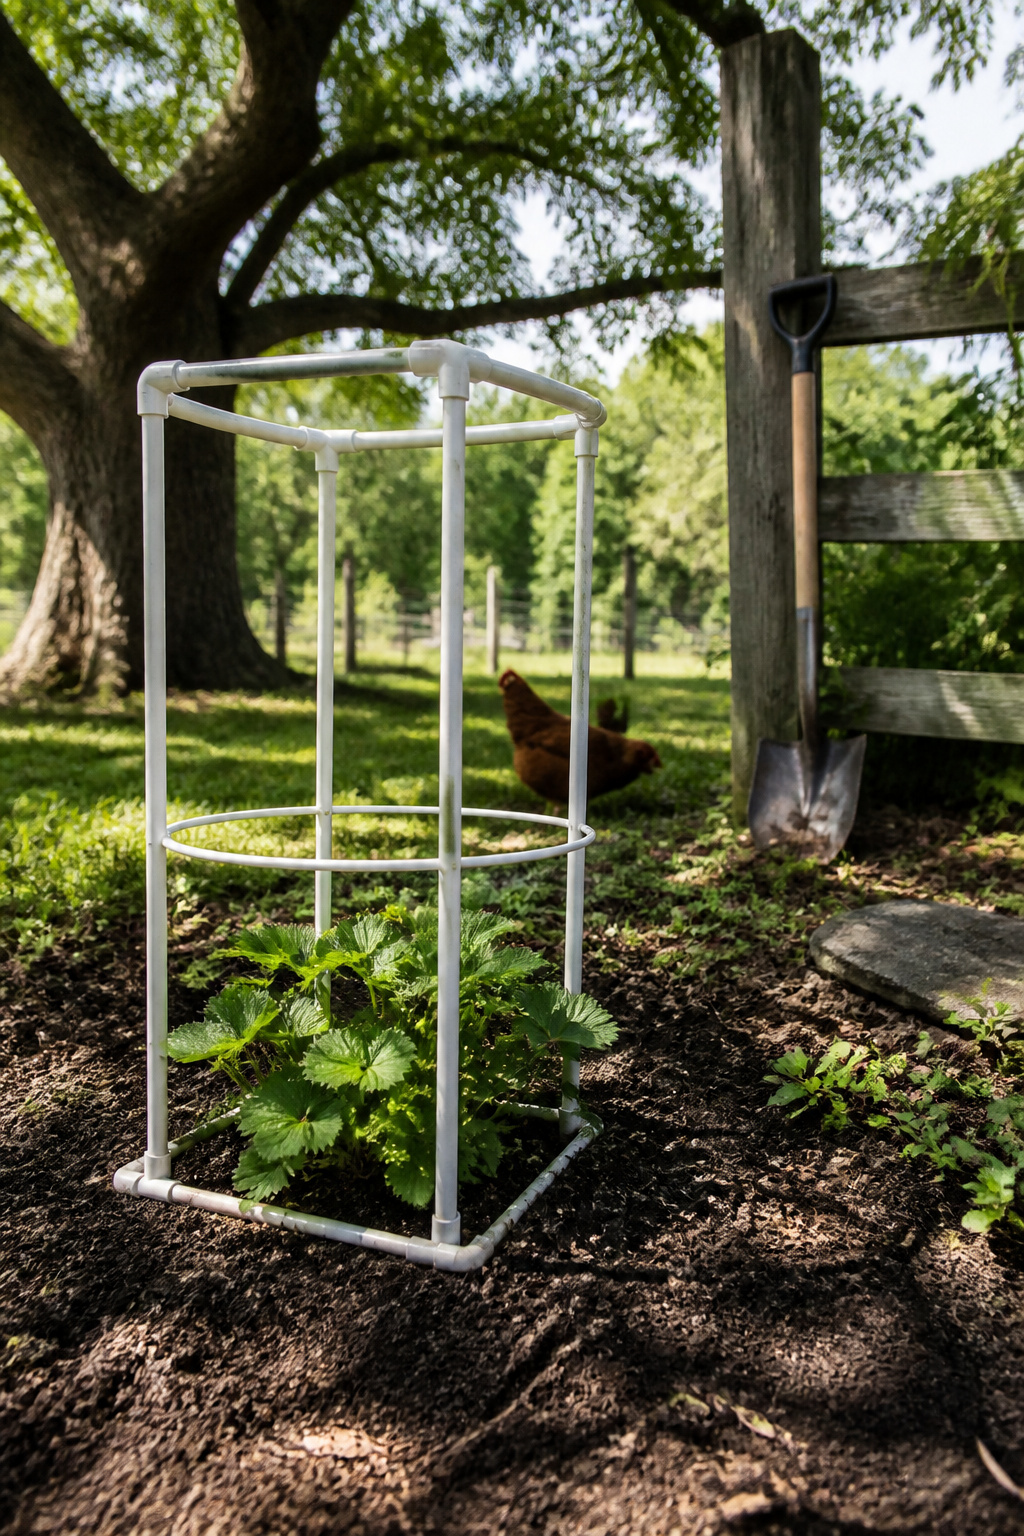
Garden staples driven through the PVC base and into the soil add a layer of security that becomes non-negotiable in windy sites or once plants grow tall enough to catch gusts. A cage that shifts even an inch leaves gaps where birds or rabbits slip through, so I would not skip this step on an exposed plot. The staples go in at an angle through the pipe wall, two per corner and one at each mid-span joint, pressed flush so they do not snag the netting later.
Where the ground is packed clay or rocky enough to bend a staple, weighting the base edges with flat stones or spare pavers does much the same job. It takes more material and the cage will lift slightly if something bumps it, but the frame stays put for the season. I have used both methods and the weighted approach is slower to set up, faster to take apart, and worth the trade on ground that fights back.
Take It Down After Harvest
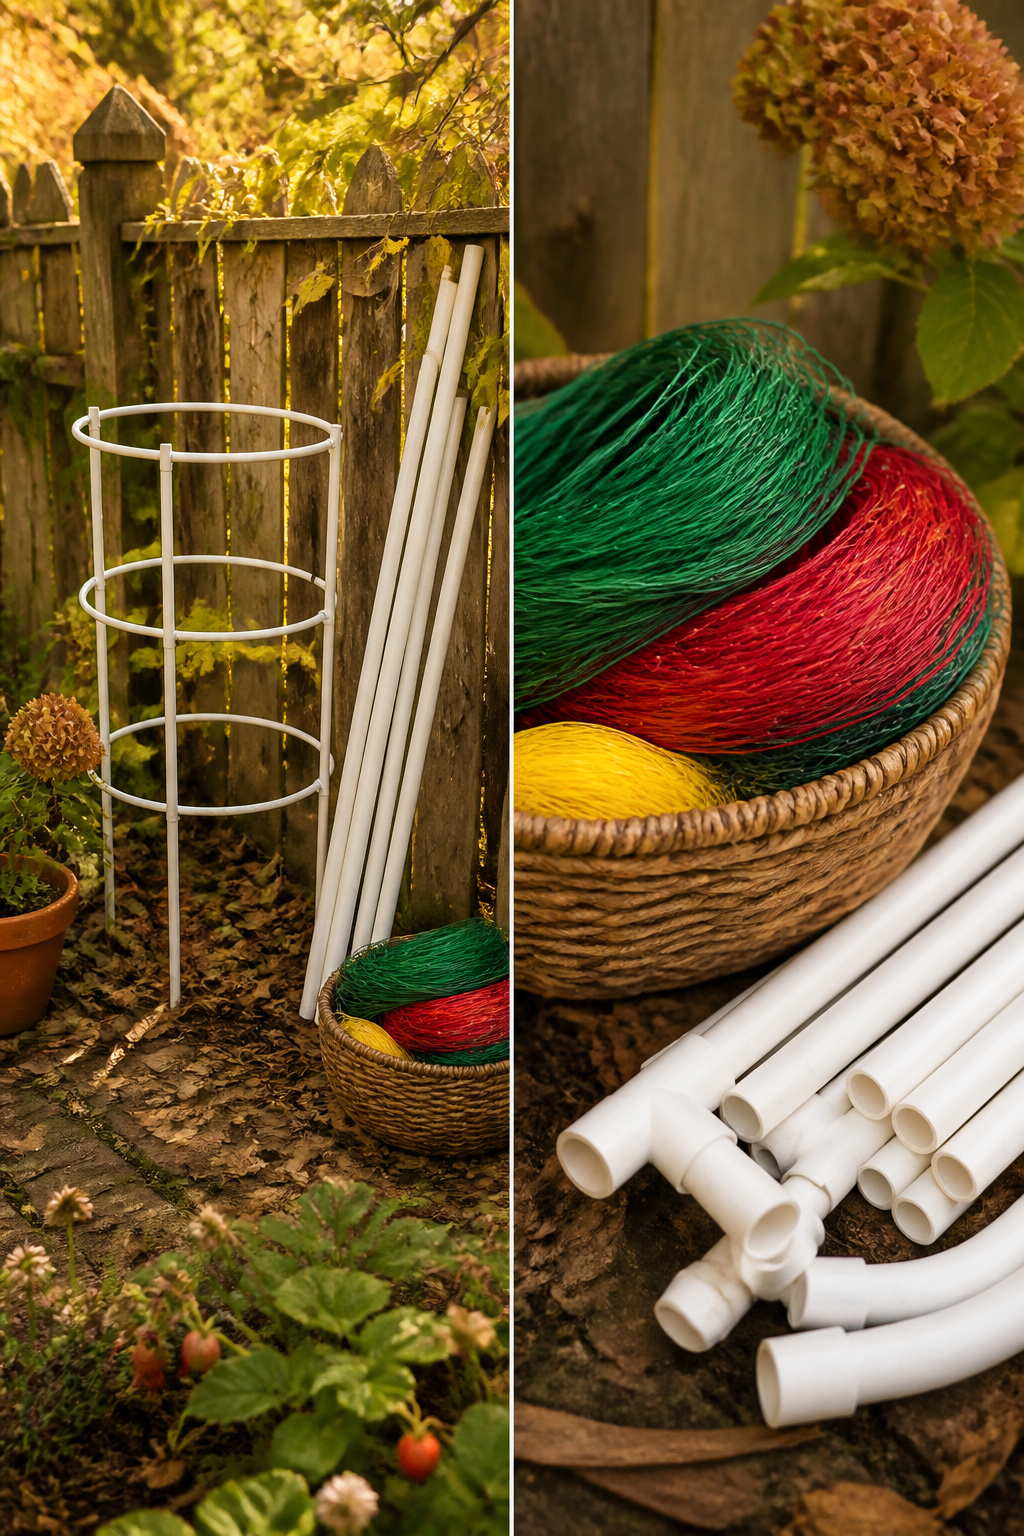
Once the last berry is picked, the whole frame comes apart in minutes. The snap-fit joints mean no glued corners or rusted screws to fight with, so you can pull the PVC apart by hand, stack the pipe lengths in a garage corner, and drop the connectors into a shoebox. Netting gets its own bag. I learned that the hard way after my first season, when a folded tarp of mesh turned into a bird’s nest of knots that took an hour to untangle. Stored flat or loosely rolled, it stays usable for a few years.
This is also the moment to spread every piece out and look it over. Sun weakens PVC over time, and a hairline crack in a connector that still holds in September can snap the moment you press it together the following spring. Any pipe that has gone chalky or brittle gets swapped now, while you still remember which size you need, rather than halfway through reassembly next May when the plants are already leafing out and the birds are watching.
PVC Pipe
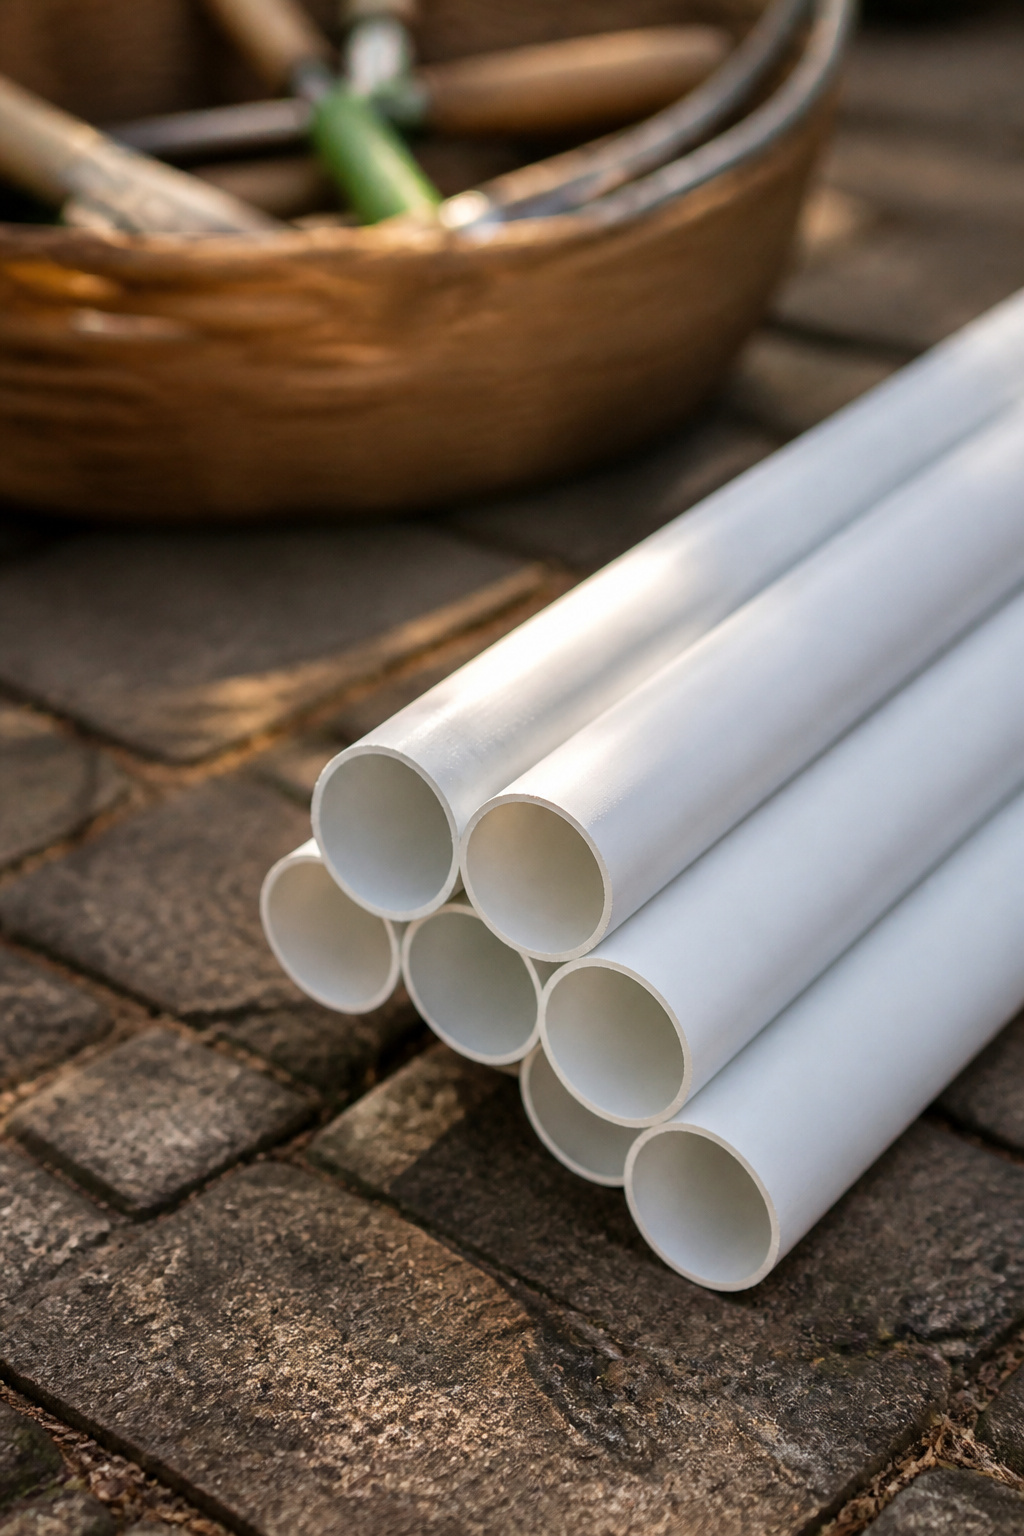
PVC pipe is what makes this project possible for anyone who does not own a saw. A standard 3/4-inch diameter runs about $2 per 10-foot length at the local hardware store, and the whole frame takes roughly $15–20 total. That is less than a bag of decent potting mix for a raised bed, which is why I started looking at this material in the first place.
The pipe cuts clean with a basic PVC cutter, the kind that looks like heavy pruning shears and costs maybe $12. No power tools, no sawdust, no measuring against a workbench. You mark, squeeze through, and the end is square enough for a connector to grip. The fittings themselves, elbow and tee joints in 3/4-inch, press on by hand and hold with friction alone.
UV exposure weakens PVC over a few seasons, so the frame will last longer if you break it down and store it in a shed or garage between harvests. Left standing in January sun, the pipe turns brittle and the corners crack when you knock the cage against the wheelbarrow. That is the trade: cheap and light now, but only if you do not treat it like permanent fence.
Netting
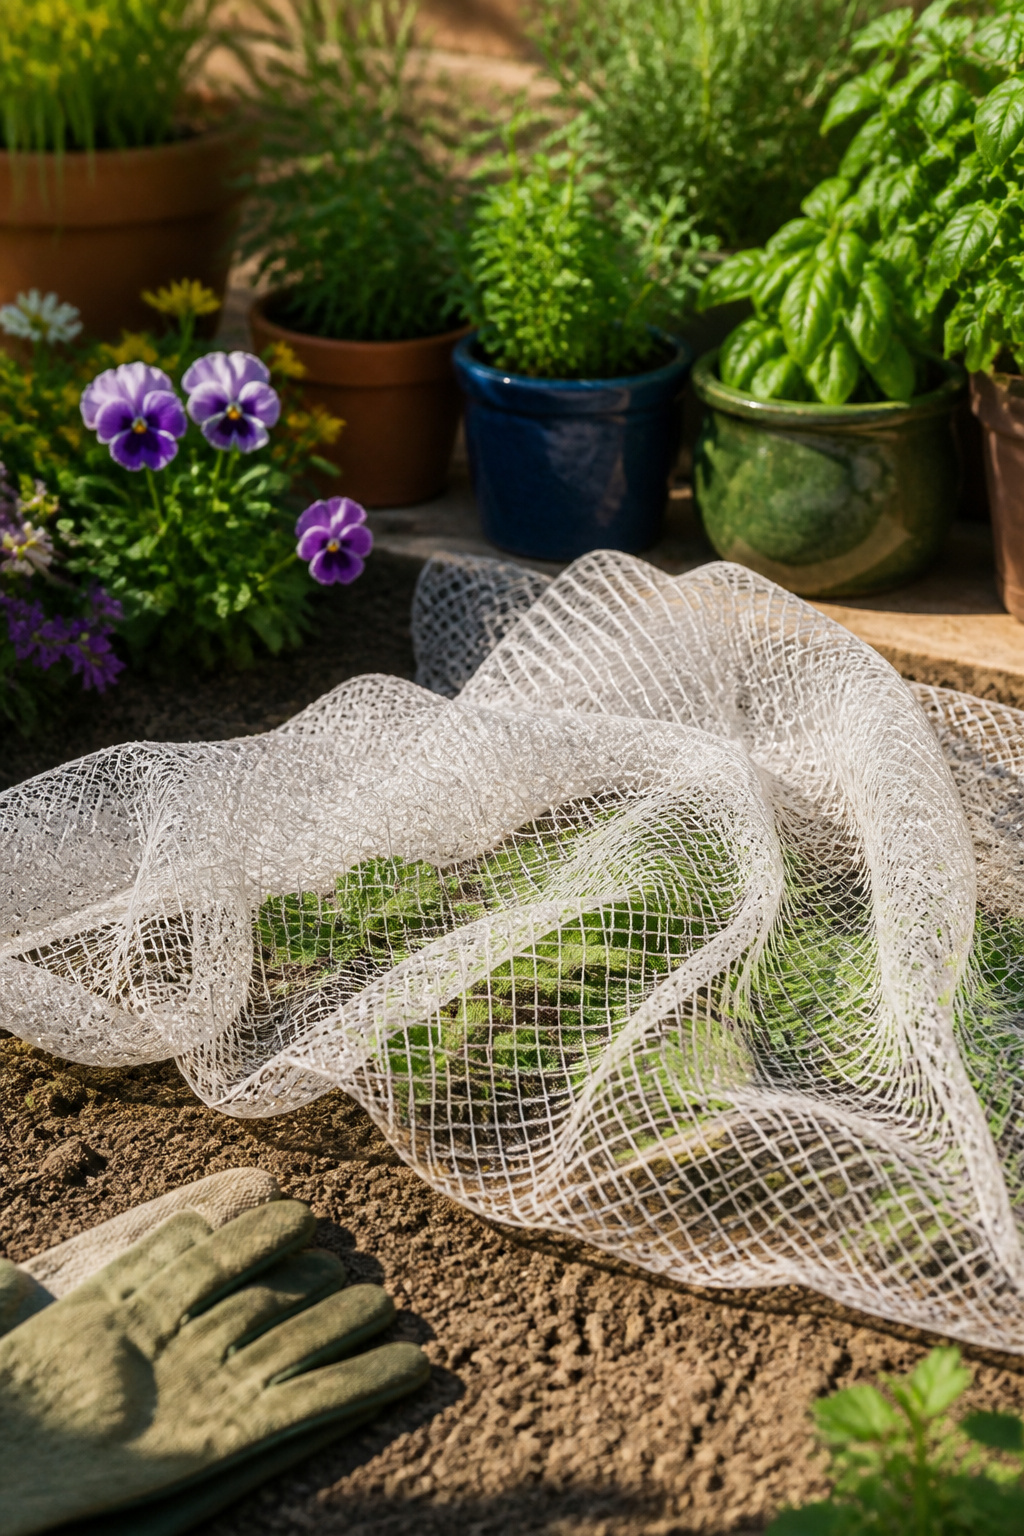
5/8-inch mesh hits the right balance for strawberry cages: wide enough for bees and other pollinators to reach the blossoms, tight enough to stop birds and squirrels from pulling fruit through the holes. Smaller mesh exists, down to 1/4 inch, but that blocks the insects your plants need.
Netting yardage depends on your frame length and width plus enough drape to reach the ground on both long sides. Add another foot or two past each end so you can gather and secure the edges without stretching it drum-tight. A 4-by-8-foot frame typically needs a piece roughly 8 by 12 feet to drape properly.
Softer netting handles more easily going over the frame and gathers neatly at the base, though it snags and wears faster than stiffer types. The stiffer stuff fights you during setup but lasts more seasons before fraying. For a cage you plan to take down each fall, softer netting saves enough frustration to be worth the shorter life.
Garden Staples
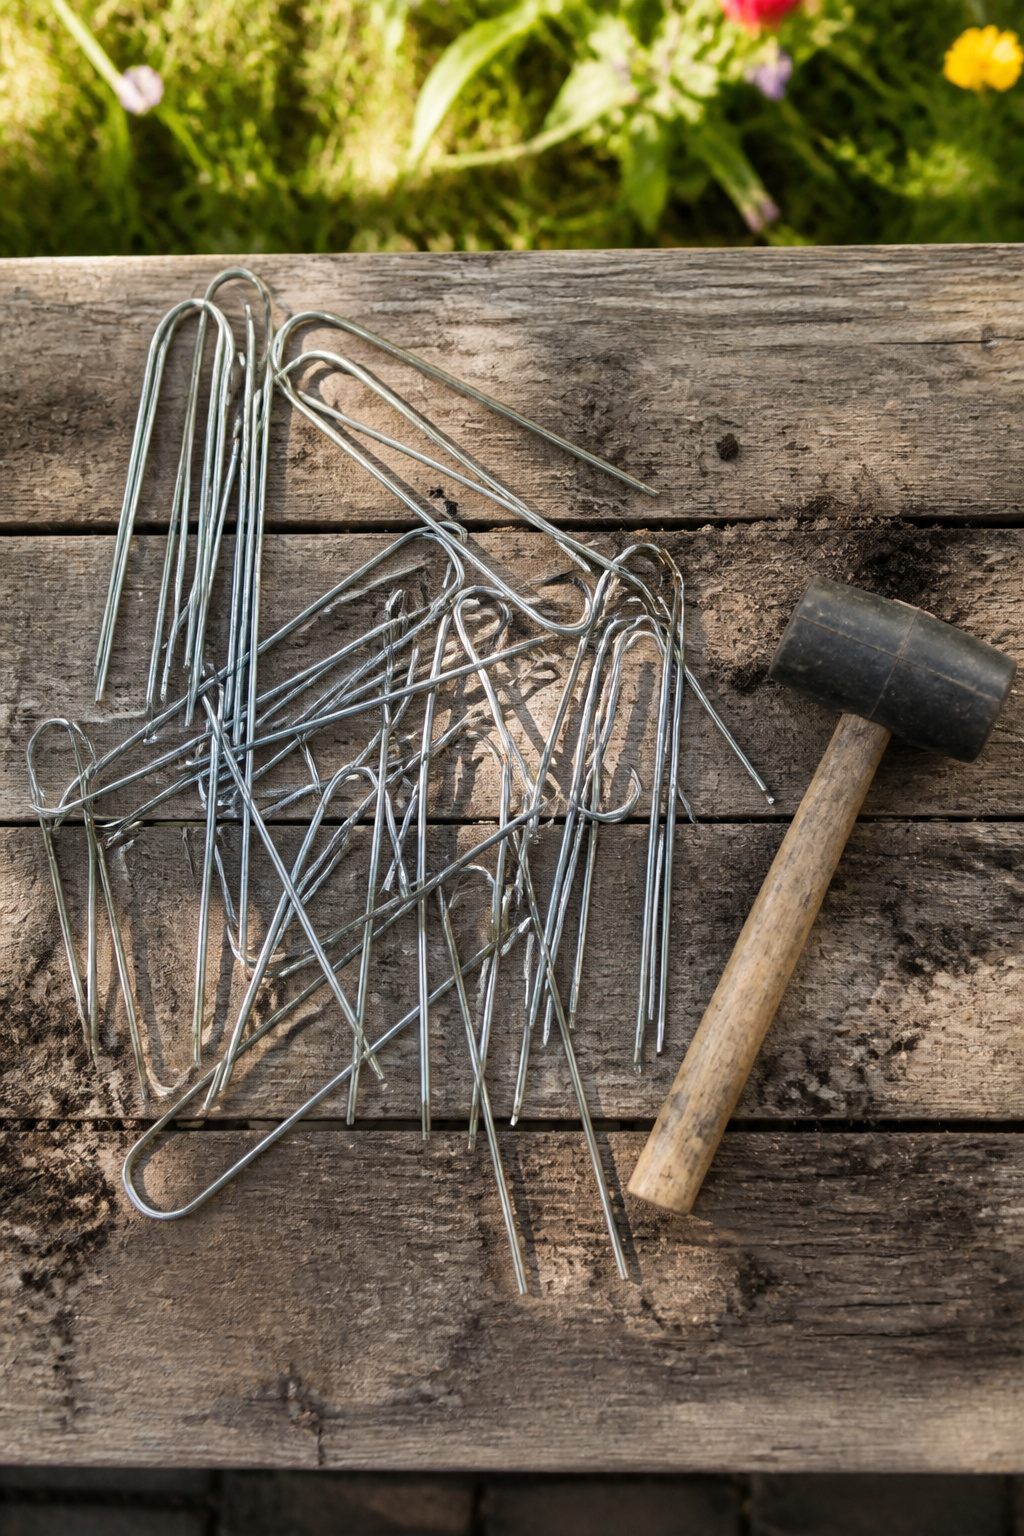
U-shaped wire garden staples are the fastest way to pin PVC legs or netting edges into soil, though they only bite well where the ground is loose and cultivated. Rocky or compacted clay sends them sideways or leaves them sitting on the surface, useless. In that case, a mallet-driven ground stake through the PVC joint works better, even if it takes longer to install and remove. For a standard strawberry cage in an average backyard bed, 4–8 staples cover the perimeter, with the higher end saved for exposed sites where wind can lift the netting like a sail. I have bent more than one staple trying to force it into untilled ground, and the lesson stuck: these are cheap and quick, but only if the soil cooperates.
Wood and Chicken Wire Alternatives
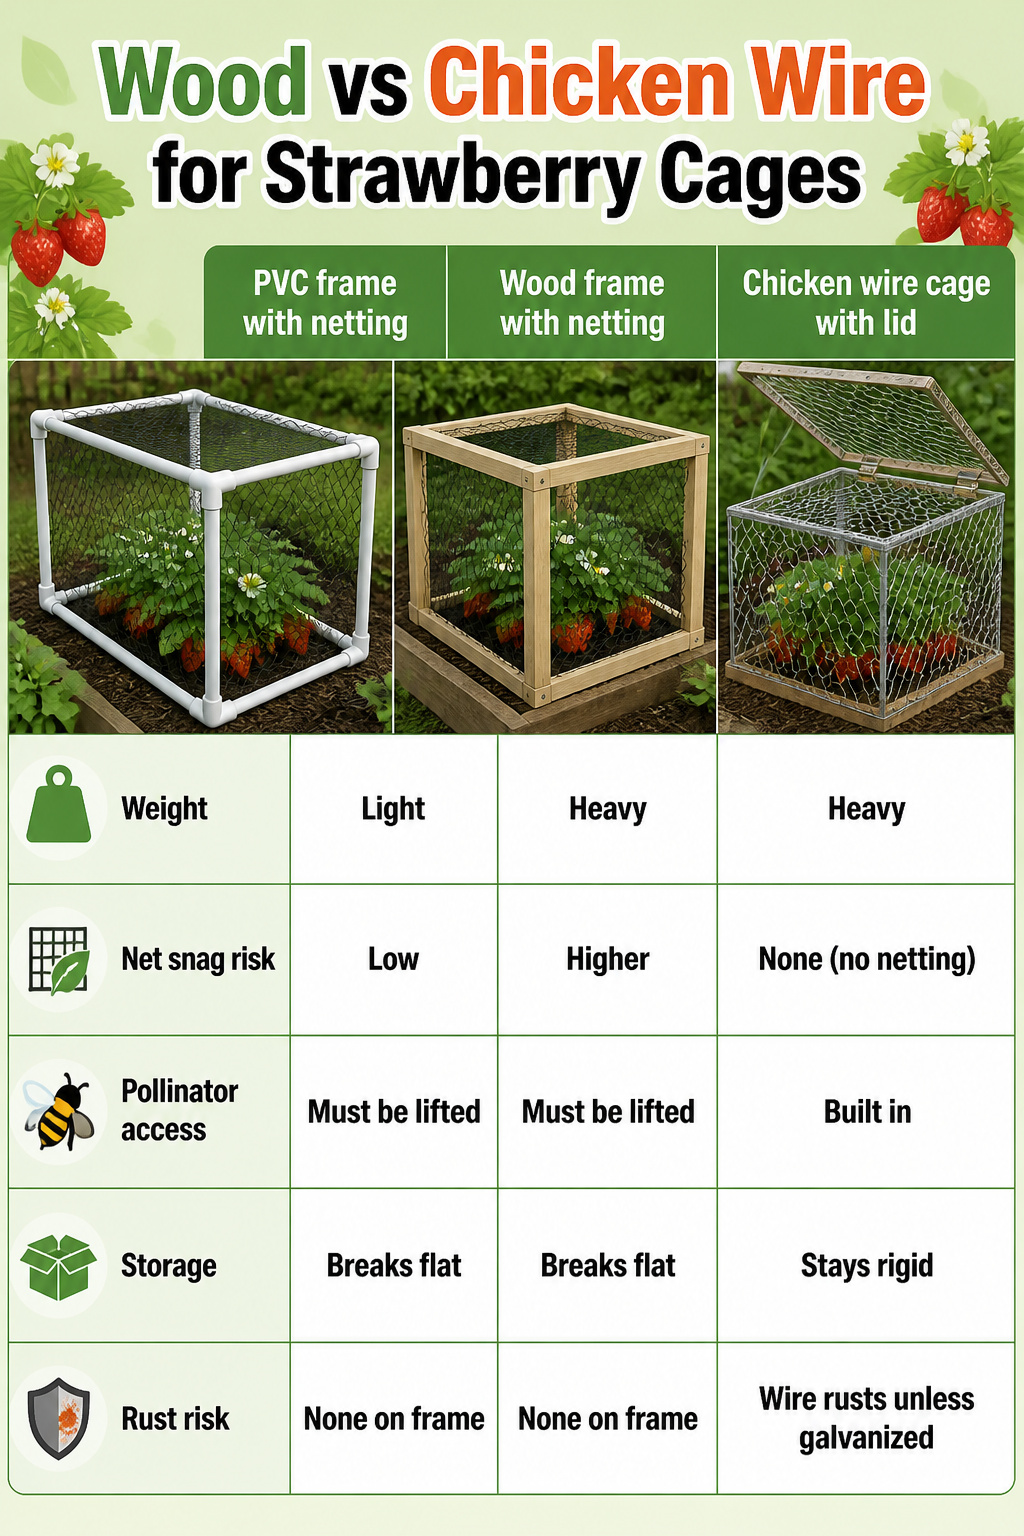
PVC framing is not the only way to build a strawberry cage, and it pays to ask whether the job actually calls for something sturdier or more permanent. Wood frames carry more weight and sit more naturally against garden beds, though they demand a saw, screws, and the patience to keep netting from snagging on every corner. Chicken wire sides with a hinged lid solve the snagging problem entirely; the mesh is rigid, nothing gets tangled, and bees still fly through to pollinate the flowers. The tradeoff is storage. A PVC frame breaks down into straight pipes that slide behind a shelf. A wood-and-wire box stays a box.
| PVC frame with netting | Wood frame with netting | Chicken wire cage with lid | |
|---|---|---|---|
| Weight | Light | Heavy | Heavy |
| Net snag risk | Low | Higher | None (no netting) |
| Pollinator access | Must be lifted | Must be lifted | Built in |
| Storage | Breaks flat | Breaks flat | Stays rigid |
| Rust risk | None on frame | None on frame | Wire rusts unless galvanized |
Galvanized chicken wire costs more upfront, and untreated wire will rust through in a few seasons. Wood also weathers, but a frame can be rebuilt plank by plank where rusted wire means starting over. For a front-yard bed where looks matter, wood wins. For a permanent plot you never plan to move, chicken wire ends the daily netting dance.
Materials List and What It Costs
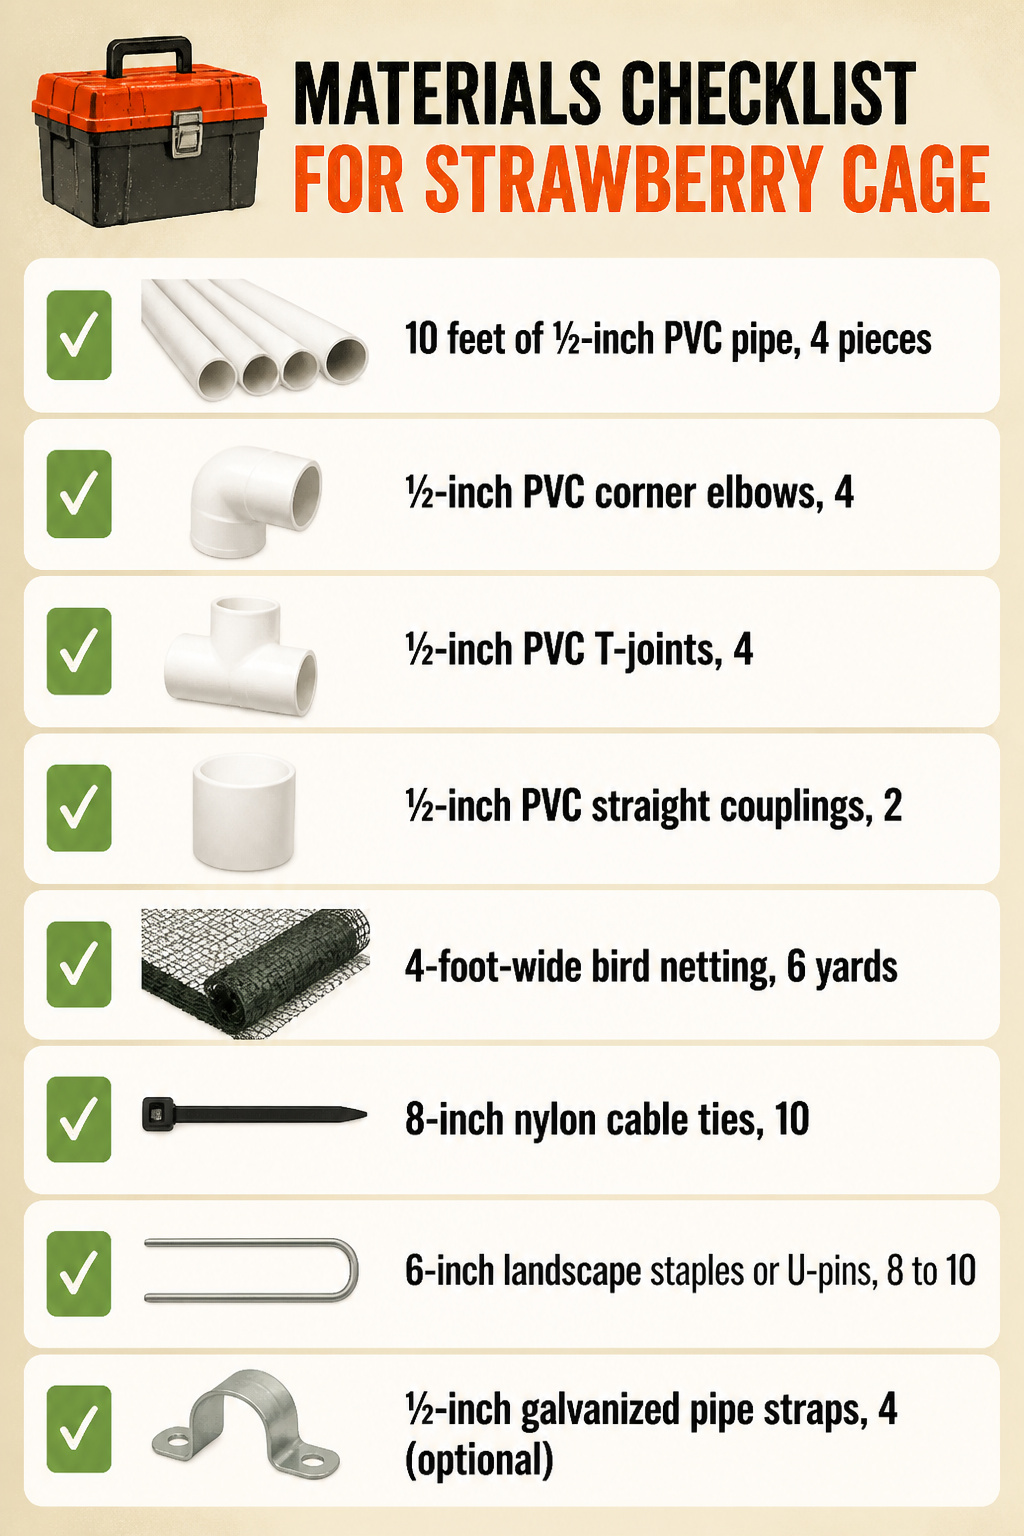
A complete strawberry cage runs about $15 to $20 if you already own a saw and a staple gun. Here is the checklist I take to the hardware store.
- 10 feet of ½-inch PVC pipe, 4 pieces
- ½-inch PVC corner elbows, 4
- ½-inch PVC T-joints, 4
- ½-inch PVC straight couplings, 2
- 4-foot-wide bird netting, 6 yards
- 8-inch nylon cable ties, 10
- 6-inch landscape staples or U-pins, 8 to 10
- ½-inch galvanized pipe straps, 4 (optional, for extra ground anchoring)
The pipe and fittings usually sit on the same aisle. I buy the netting from the garden section rather than the hardware aisle; the mesh is tighter and the yardage is labeled more clearly. If your store sells PVC in 10-foot sticks, you do not need the couplings. Grab them only if the longest stock is 5 feet.
When to Erect the Cage
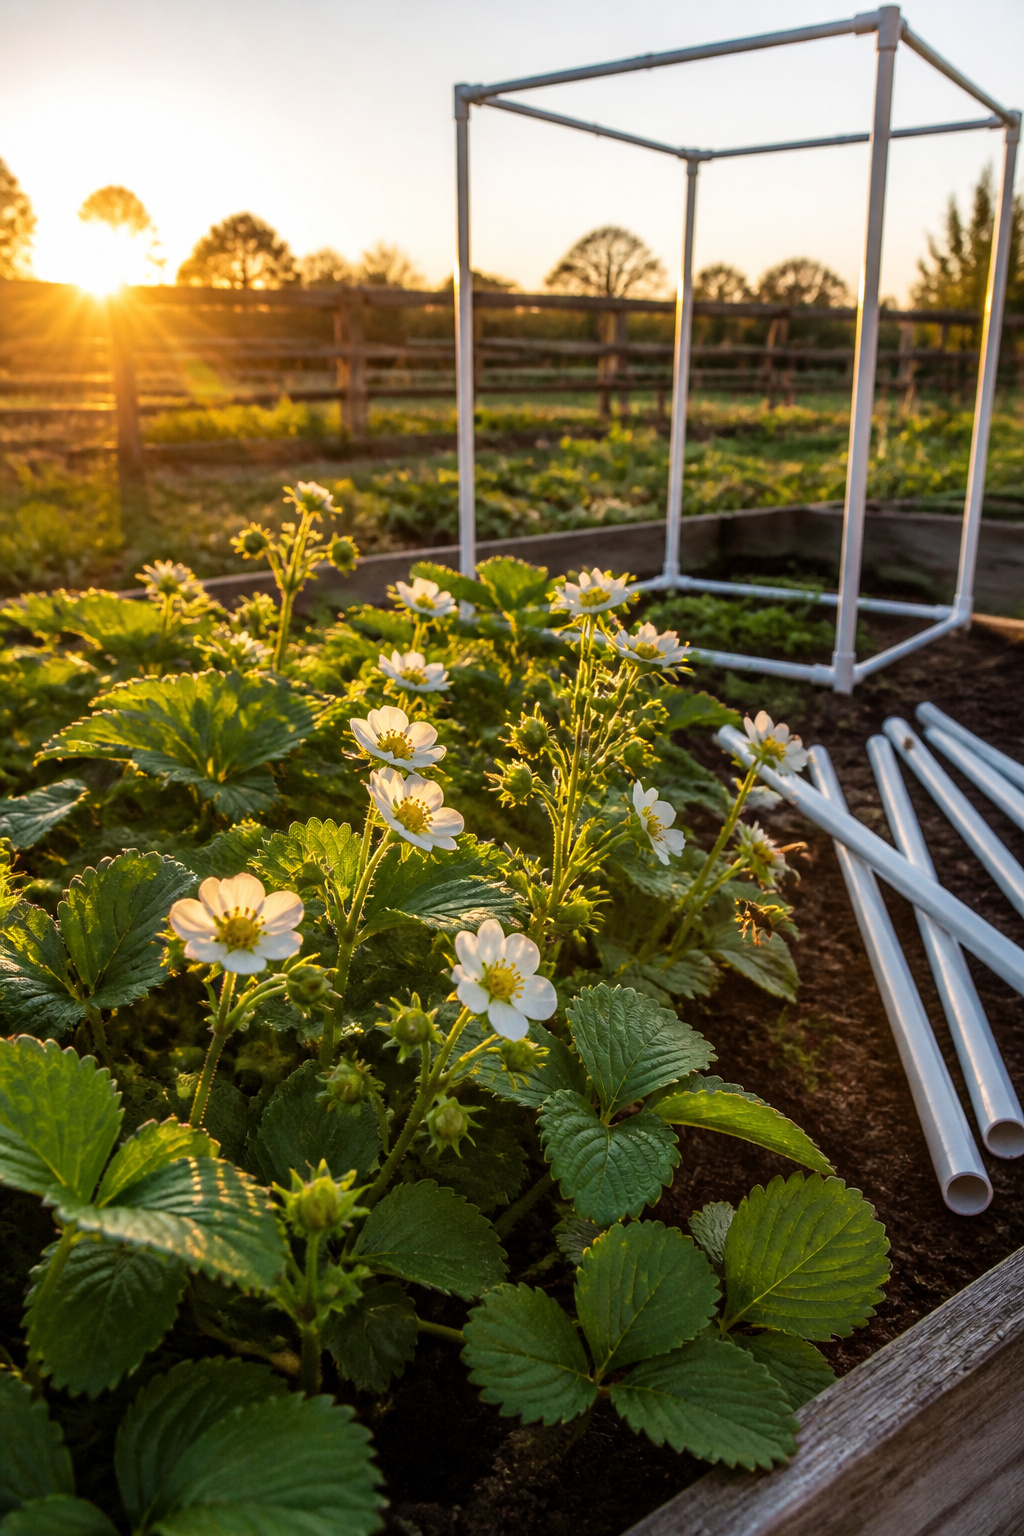
White blossoms on strawberry plants are the signal to get the cage up, not the calendar date. Bees need open access to those flowers for pollination, so covering the bed too early means fruit never sets in the first place. Wait too long and the birds have already mapped the plants as a food source. Wildlife will take berries before they ripen, so the window is narrow: erect the cage when blossoms appear, before green fruit forms. Once birds associate the patch with an easy meal, netting alone does not always break the habit.
Frequently Asked Questions
When should I build a strawberry cage?
Put the cage up as soon as you see white blossoms on your plants. Birds and squirrels will eat berries before they ripen, so waiting until fruit forms is too late. Once wildlife marks your patch as a food source, netting alone may not break the habit.
What materials do I need to build a strawberry cage?
You need 3/4-inch PVC pipe, elbow and tee connectors, 5/8-inch mesh netting, plastic or fabric ties, and garden staples or weights for anchoring. The pipe and fittings run about $15–20 total, and a basic PVC cutter handles the cuts without power tools.