
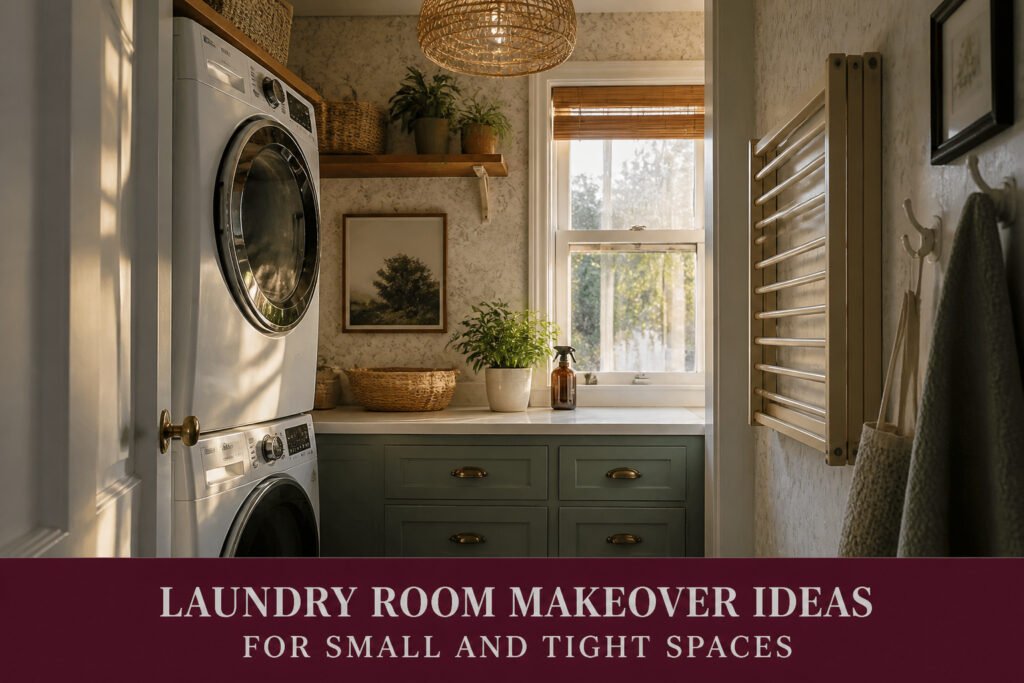
A laundry room makeover can run anywhere from $50 in paint to $400 with fixtures and shiplap, and the deciding factor is whether you own the machines or the walls. Renters working around landlord restrictions and side-by-side units get different solutions than homeowners who can stack, nail, or rewire. The $90 rattan pendant that keeps appearing in finished rooms works in both cases, but the retractable drying rack that folds to 1.5 inches deep only matters if you are counting every inch of walkway.
1. Add Color with Paint or Wallpaper
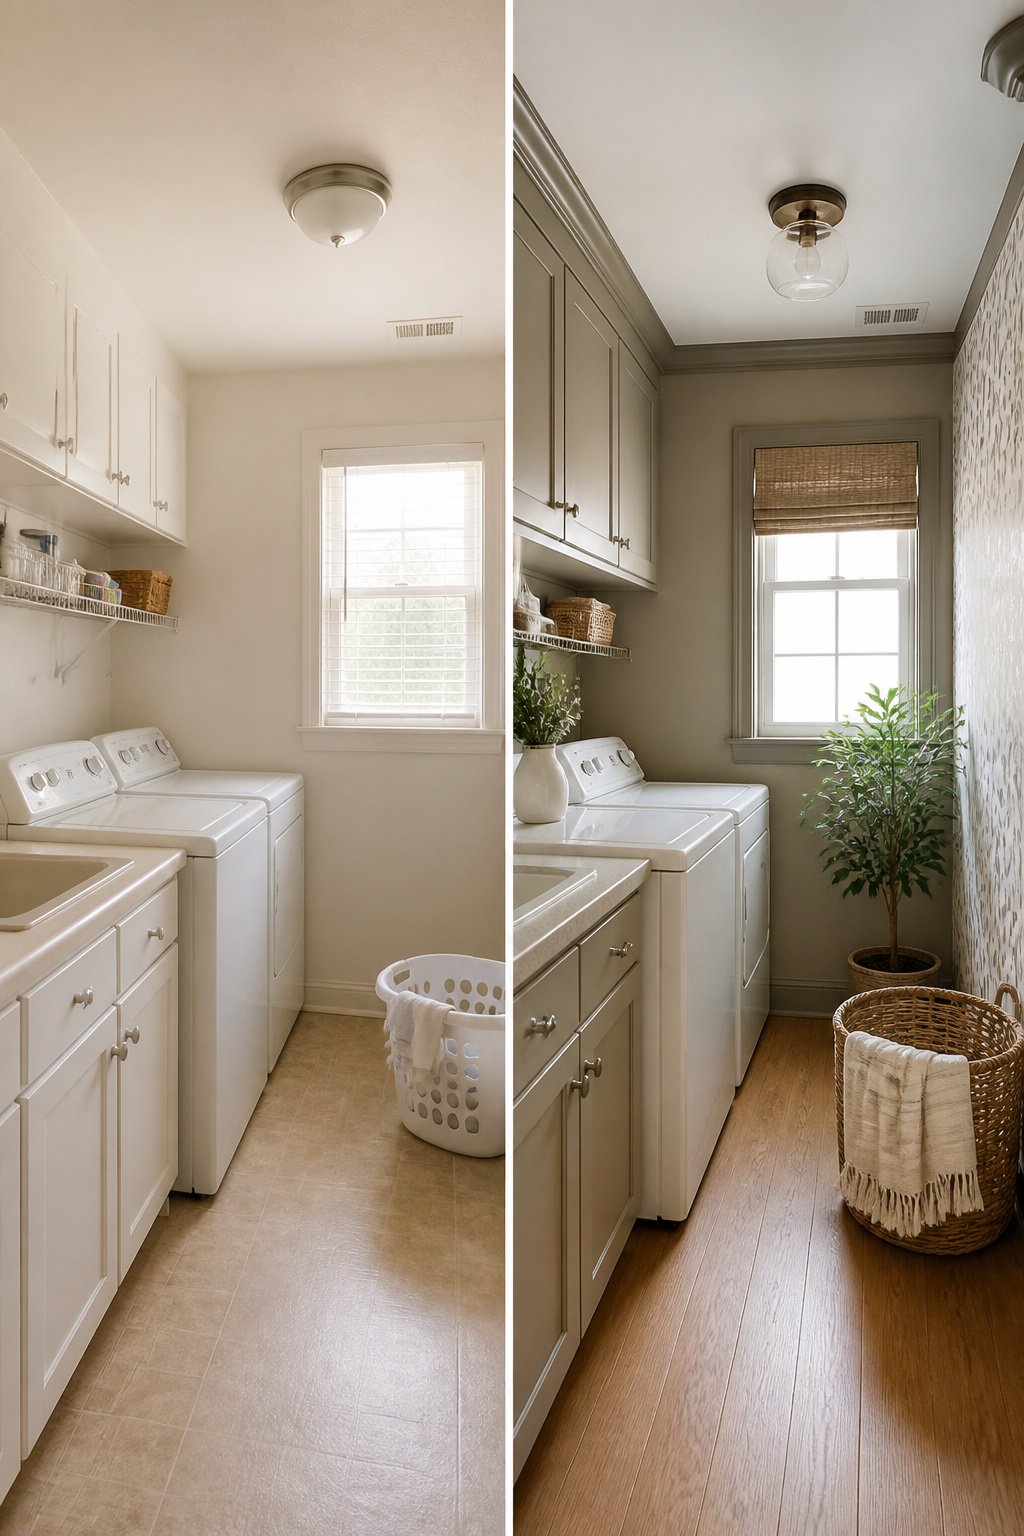
Painting cabinets and walls the same color tricks the eye into seeing more square footage than you actually have. Sherwin Williams City Loft (7631) in satin on cabinets and eggshell on walls does this quietly; it reads as a warm neutral that does not fight with the light from a small window. Trim and crown molding are where you spend the personality budget. Storm Cloud, a blue-gray that shifts crisper by day and moodier after dark, gives the room a backbone without the busyness of a full accent wall. One laundry room came in at about $50 for paint by keeping the palette tight and the wallpaper to a single peel-and-stick wall. Light colors carry the space; the bold accent lives on the trim or one wall, not everywhere.
2. Upgrade Your Lighting
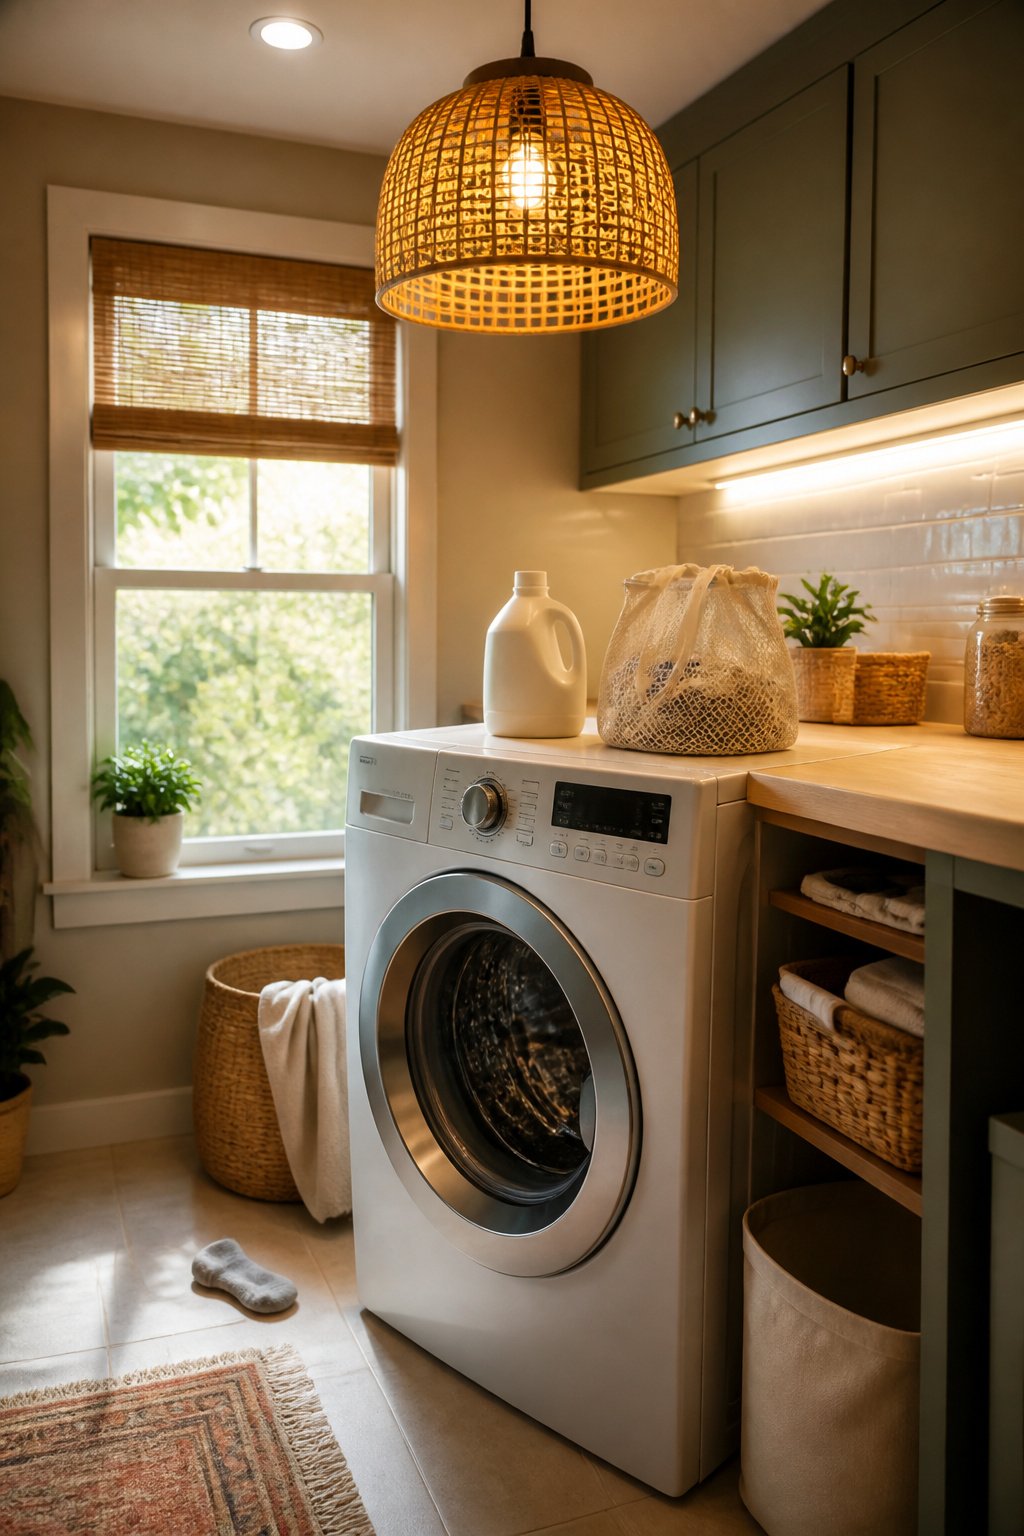
Old fluorescent tubes do nothing for a small laundry room except emphasize how cramped it feels. Swapping them out for a bright LED ceiling fixture opens the space up and makes stain-checking actually possible. Under-cabinet LED strips are the next move if you fold on a counter or sort on a shelf, since overhead light leaves your own shadow right where you need to see.
A statement fixture sounds like a splurge until you price one against the room it anchors. That $90 rattan pendant I keep seeing in budget breakdowns pays for itself in warmth: the woven shade softens the light so the room reads as finished, not just functional. Daylight bulbs at 2300K or higher keep the glow crisp enough to match socks by, which matters more than the fixture shape once the sun goes down.
3. Add a Countertop to Your Washer and Dryer
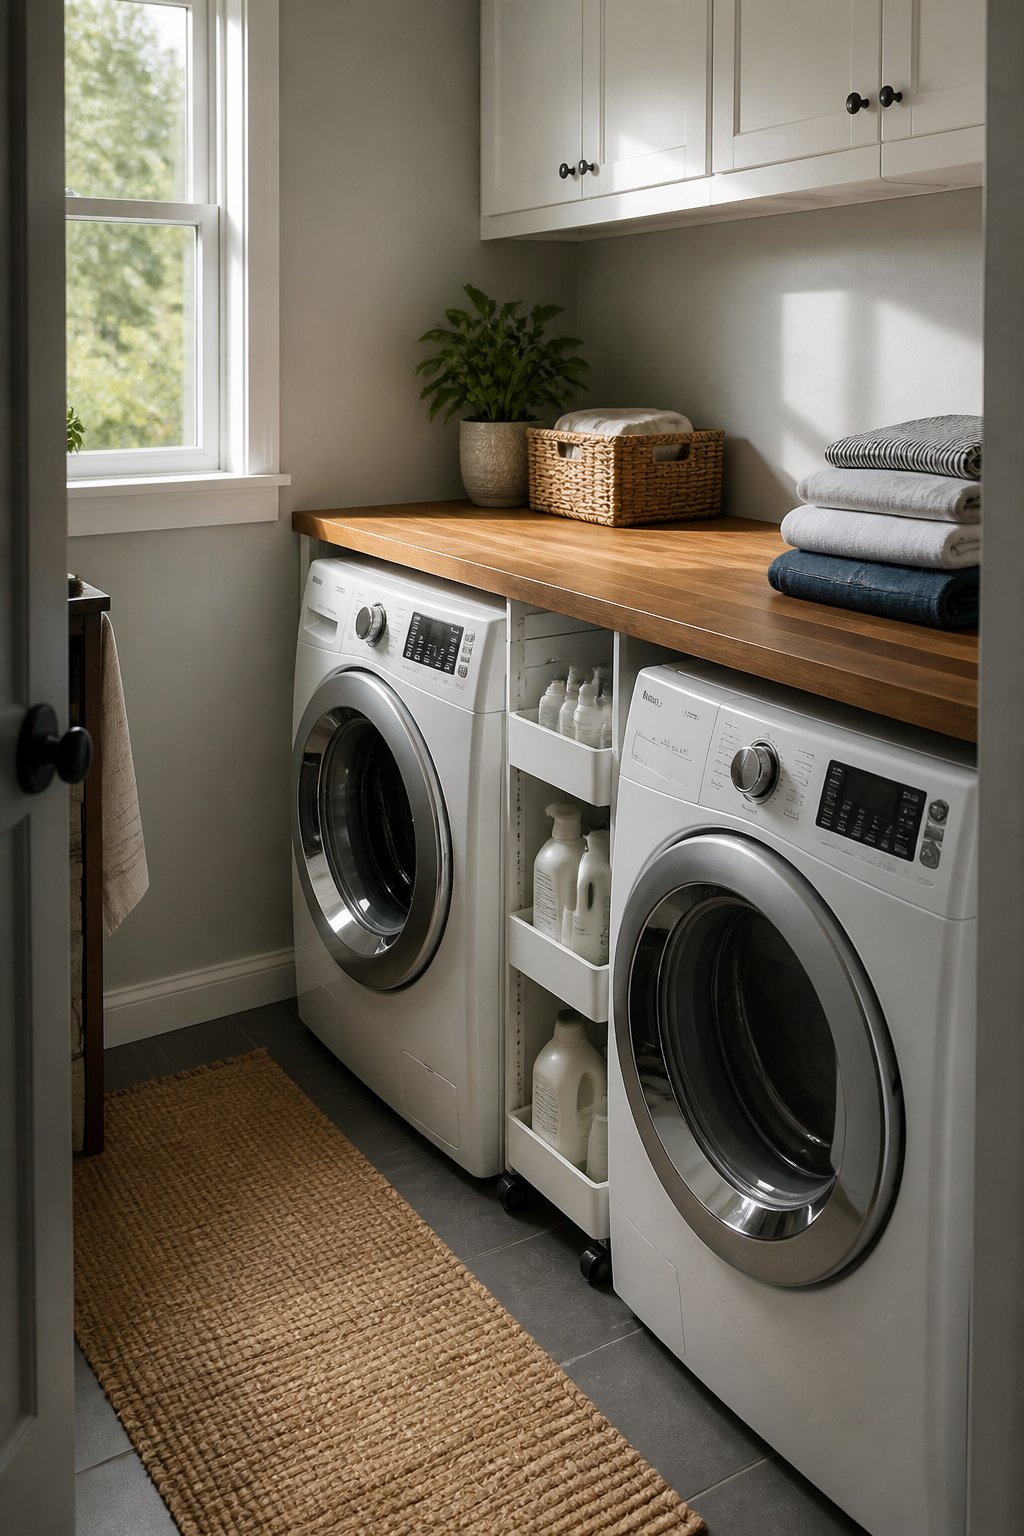
A bare washer and dryer leave a lot of flat real estate unused. A countertop stretched across the top turns that gap into a folding station and gives laundry baskets a place to land out of the way. Butcher block is a warm, workable choice for the surface, though precut countertops built specifically for laundry machines exist if you want something closer to ready-made.
The real payoff is in how the room starts to flow. Instead of hauling clean clothes to the couch or bed to fold, you finish the job where the load comes out. In tighter setups, the same logic applies to the sliver between side-by-side machines. Even a five-inch gap can take a skinny rolling cart for detergent and mesh bags, but a continuous counter across both machines keeps the whole width usable as one surface. Front-loaders make this easy; with top-loaders, the lid needs clearance to lift, so the counter either stops short or sits high enough to clear.
What height works depends on your machines and your reach. Standard counters elsewhere in the home run around 36 inches, but laundry units vary enough that a fixed number would mislead more than help. Measure your own pair, or check whether the manufacturer lists a recommended surface height for a built-in look.
4. Wall-Mount a Drying Rack
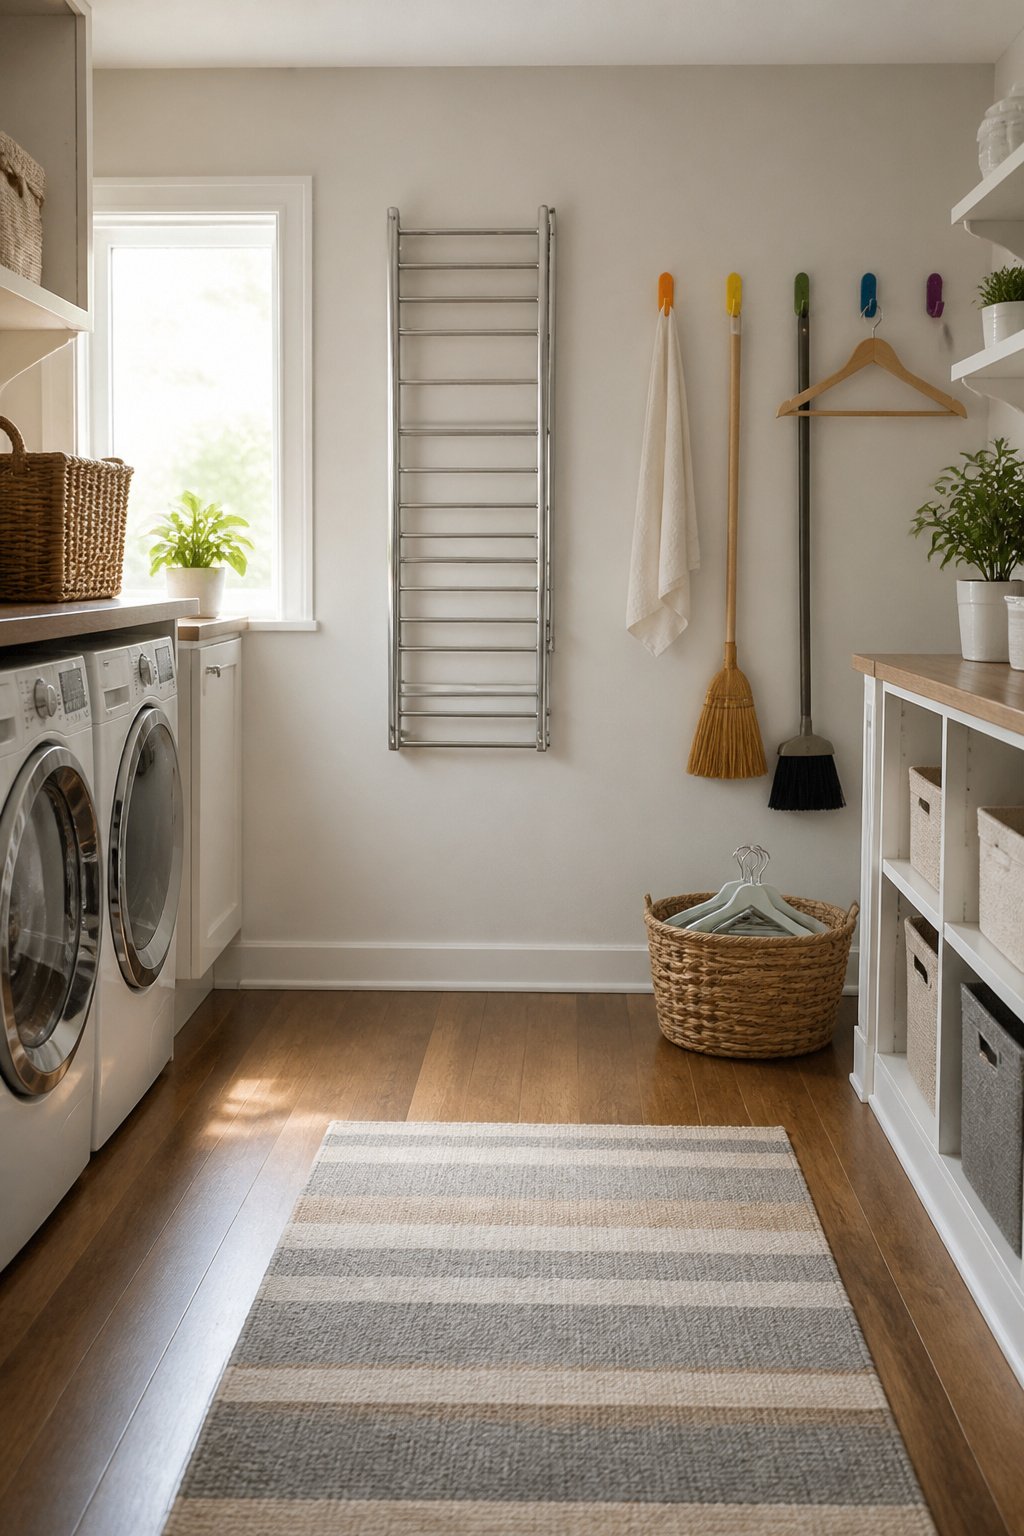
Wall-mounted drying racks that fold flat against the wall keep floor space clear for the actual work of laundry day. The retractable style I keep seeing praised sticks out just 1.5 inches when closed but opens to roughly 20 linear feet of hanging rod. That depth matters in a narrow room where every inch of walkway counts. For renters or anyone hesitant to drill into tile, Command hooks offer a budget-friendly parallel path. A single pack of broom hooks, around $30, can hold a lightweight folding rack or individual hangers behind the door. One small laundry room I read about paired the retractable line with Command hooks for mops and brooms, keeping the whole cleaning zone vertical. The collapsible rack they replaced had to migrate to the bedroom every wash day.
5. Take Advantage of Every Inch with a Rolling Cart
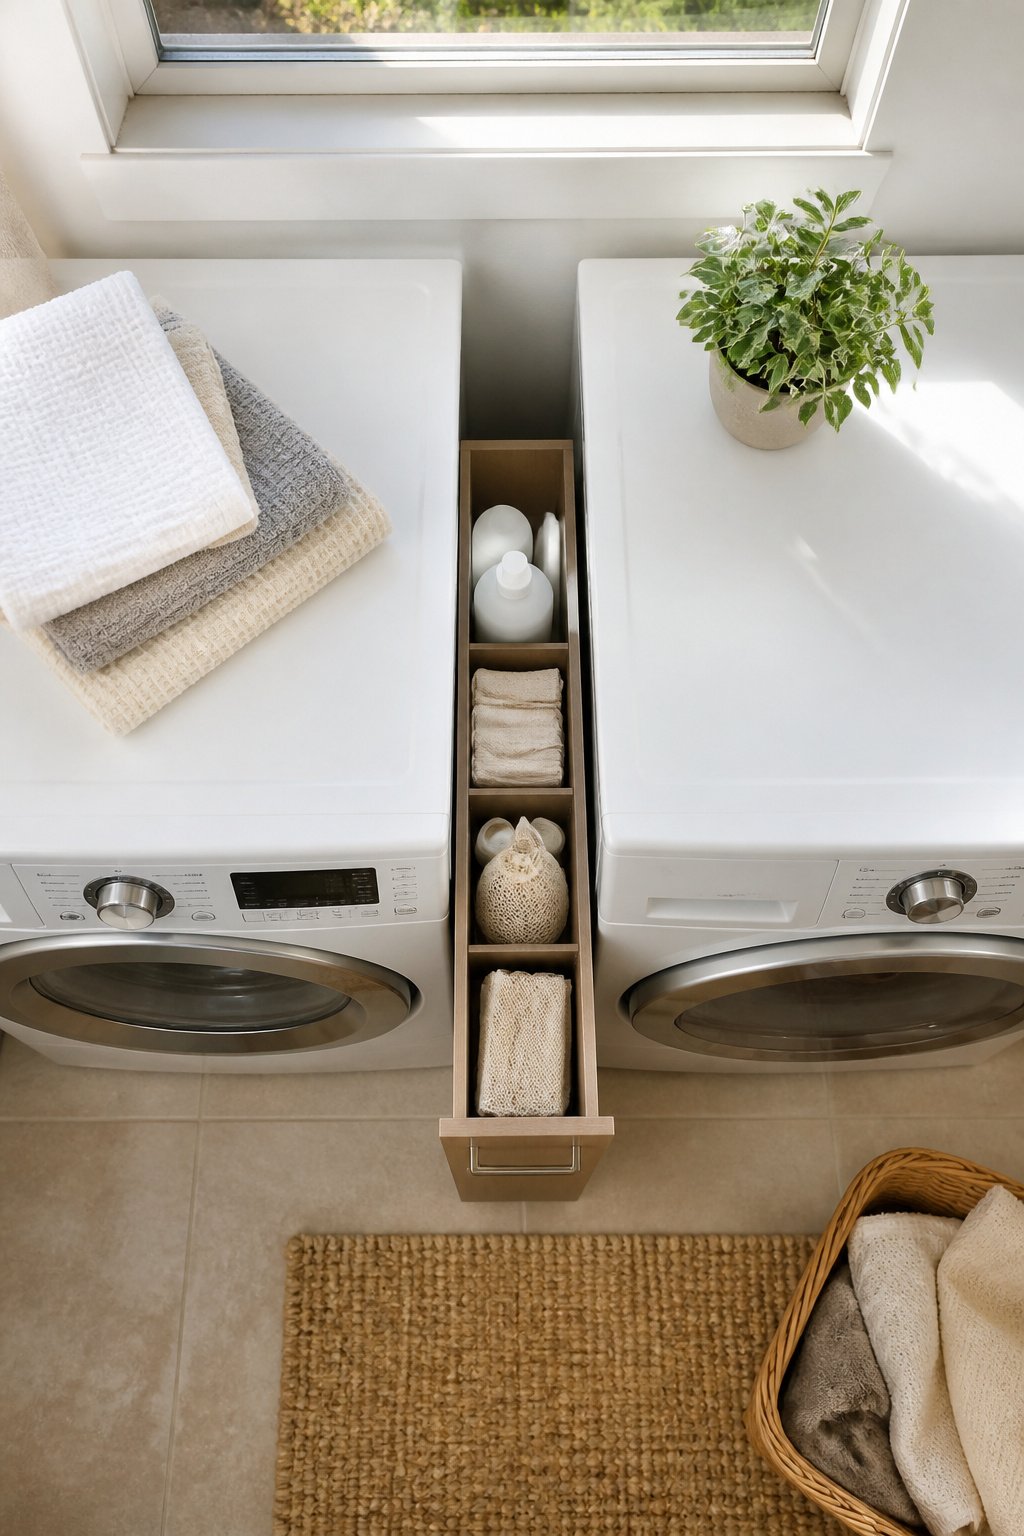
That six-inch gap between your washer and dryer is dead space until it isn’t. A narrow rolling cart sliding into that slot turns it into storage for detergent, mesh bags, delicates, and whatever else currently lives on top of the machine. The slim ones run under seven inches wide; if your clearance is tighter still, five-inch carts exist and still roll smooth on casters. I like keeping the cart stocked with exactly what I use per load so nothing wanders off to a cabinet I have to open. The cart comes to you; that is the point in a room where turning around already means bumping an elbow.
6. Do Not Forget Decorative Accents
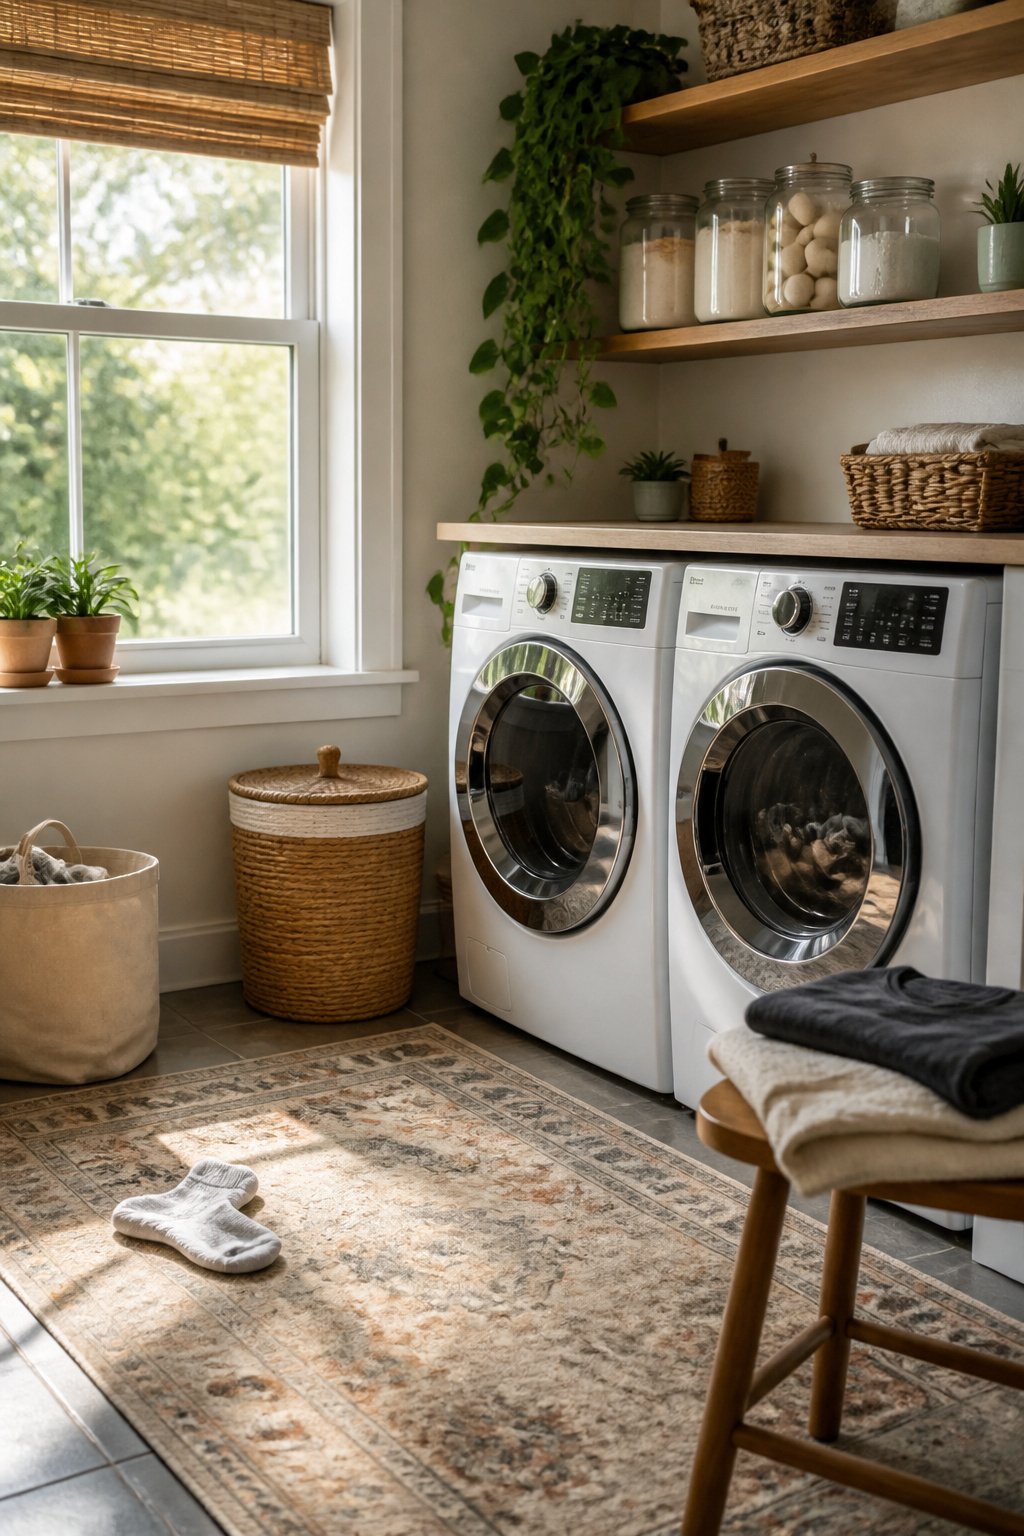
A flatweave rug underfoot softens the concrete reality that this is still a room for dirty work. I like the ones that lie thin enough to clear a front-loading door but still catch drips. Glass jars for detergent and dryer balls finish the shelf line better than branded boxes do, and they keep you honest about how much powder is left.
Wall art is where personal taste actually shows. A vintage laundry sign, a small oil painting, or even a single antique washboard hung like sculpture reads as collected, not decorated. Potted plants or a trailing pothos on a high shelf do the same work they do in a bathroom: proof that someone maintains this space on purpose.
The mistake is treating these as the first step. Decorative accents only work after the storage, the surfaces, and the lighting are settled. A cute jar in a dark corner is clutter. The same jar, backlit and within reach of the dryer, feels like a choice.
7. Swap Out Your Cabinet Hardware
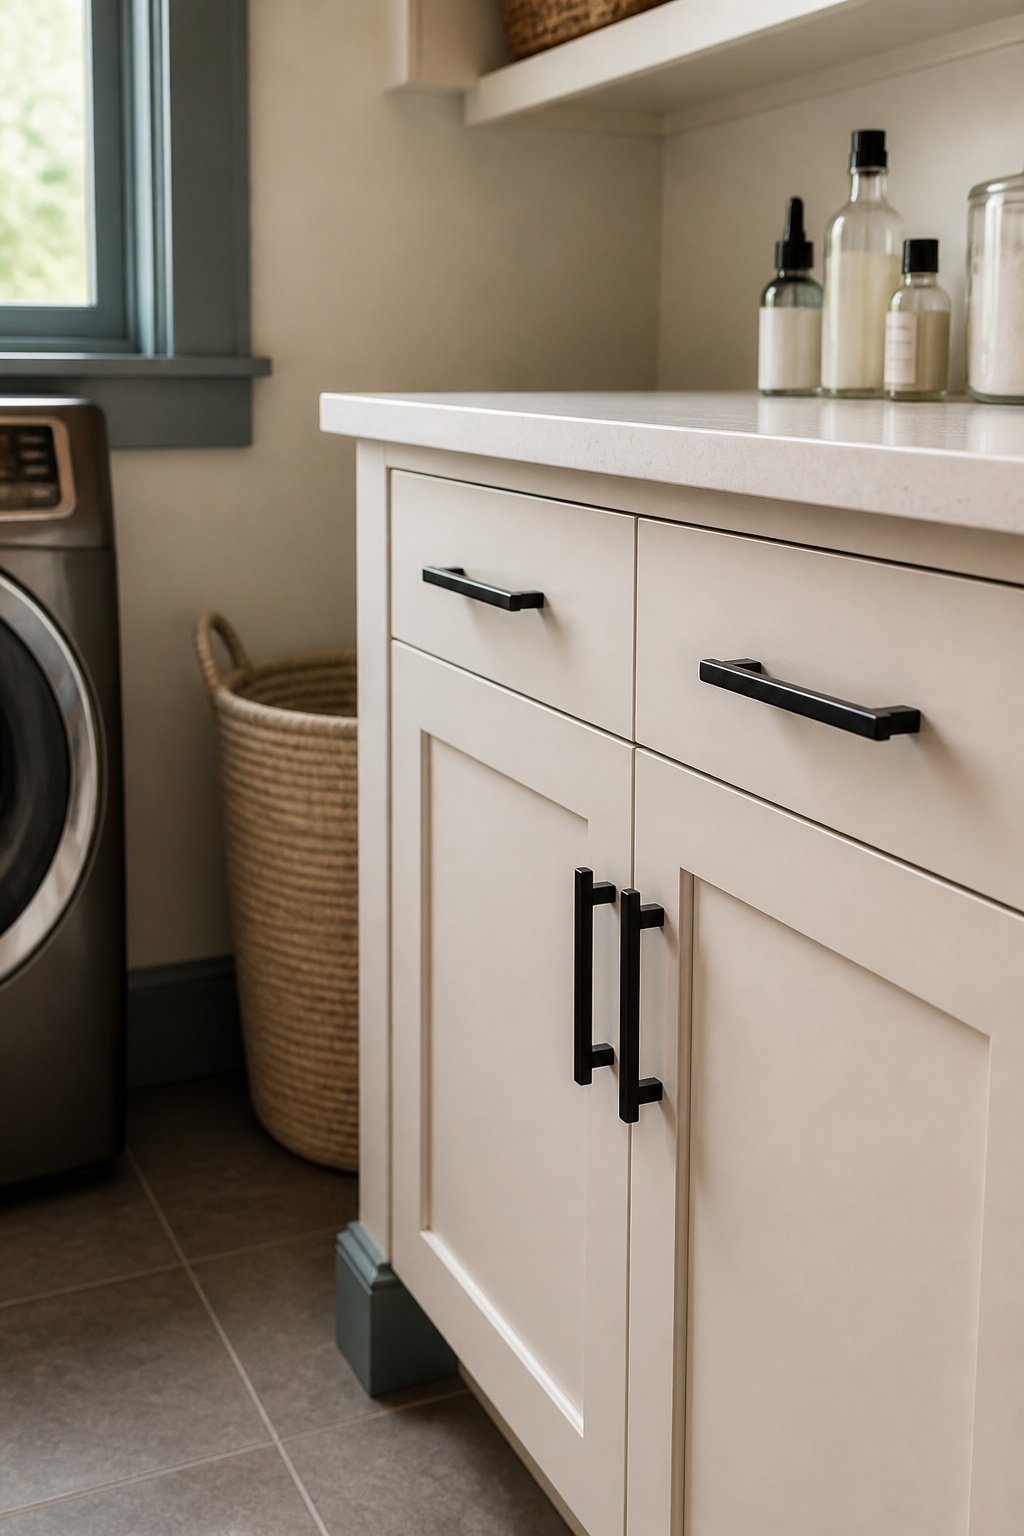
New pulls or knobs run about $3 to $8 each in most hardware lines, and a laundry room usually needs only four to six pieces. That is the math that makes this update worth doing before almost anything else. I painted my own cabinets first, a warm white from Sherwin-Williams that took one gallon for the whole small room, then swapped the dated brass knobs for matte black bar pulls. The paint brightened the space, but the hardware is what made the cabinets look intentional rather than just freshened up. Most laundry rooms have so few cabinets that even higher-end pulls stay under $30 total; one source spent under $300 for the entire makeover and still called the hardware out as the detail that made the old cupboards sparkle. If you are already painting, order pulls before the last coat dries so you can drill fresh holes while the doors are off the hinges.
8. Optimize Your Laundry Room Layout
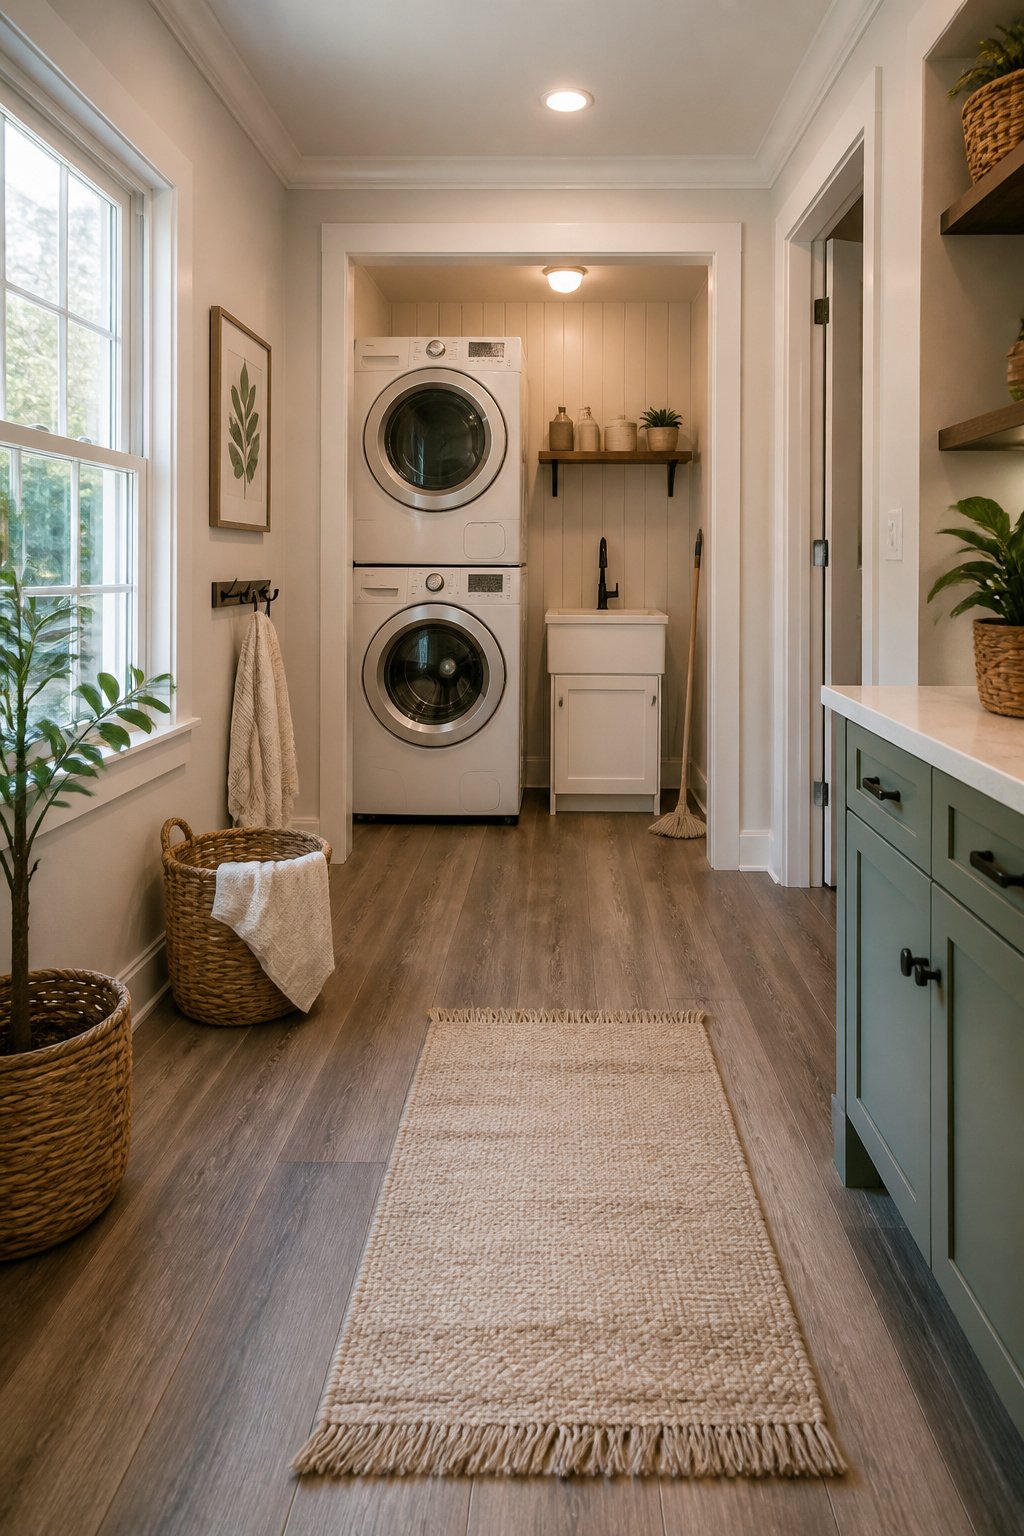
An 8-by-8-foot laundry room forces the layout question fast. Stacking the washer and dryer buys back roughly 3 feet of floor depth, enough for a slim utility sink or a row of cabinets you otherwise could not fit. Raising the units onto a platform works too, but the platform itself eats space and the storage underneath rarely justifies the footprint in a room this tight.
Vertical shiplap behind the machines reads as wall treatment, not clutter, and it runs about $30 in materials. I would not glue it. Construction adhesive behind the machines sounds safer around plumbing, but removing boards later means tearing drywall. Brad nails at 1 ¼ inches let you patch pinholes instead of whole panels if the next owner wants something different.
9. Refresh the Look with Paint and Decor
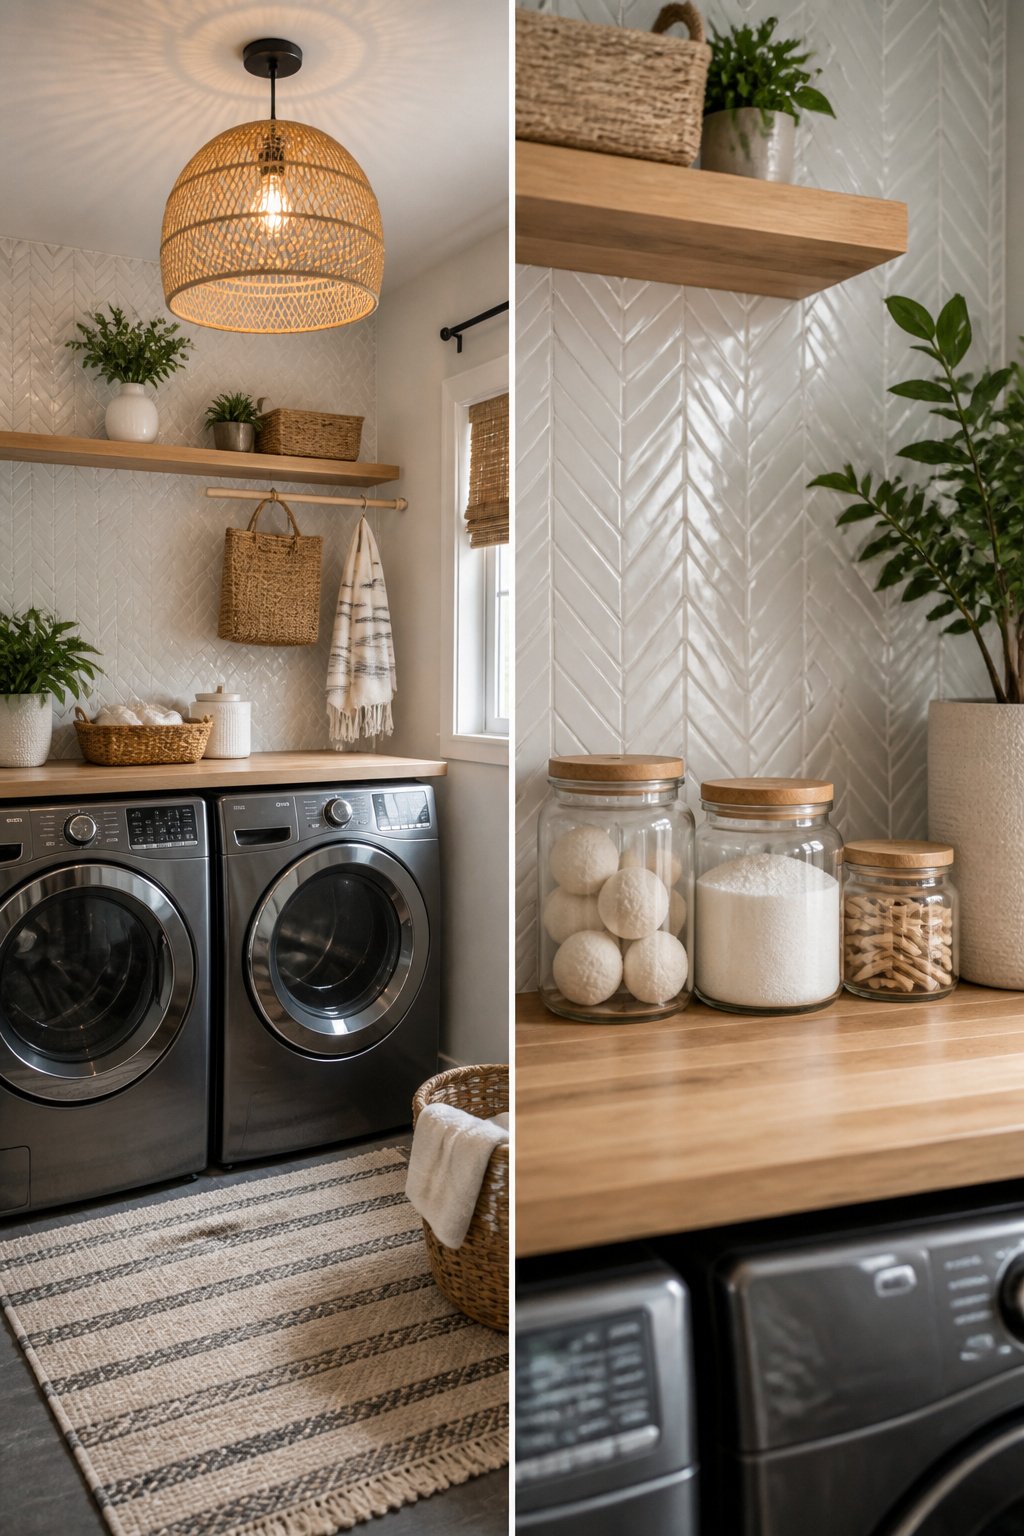
Paint and decor together can stretch a tight budget further than either move alone. One couple aimed for a $300 laundry room makeover and landed closer to $400 by keeping paint as the backbone, spending only $50 on paint and supplies because they reused leftover primer and white paint from earlier projects. That left room for a $90 rattan light fixture, $30 in shiplap, a $65 rug, and smaller finishing touches like command hooks and a retractable clothesline.
Where paint stops, tile can take over for impact without much square footage. A mosaic tile like Alato Beachwalk from The Tile Shop, run vertically in a chevron pattern to the ceiling, catches light from a fixture overhead and reads as a deliberate moment rather than an afterthought. The vertical layout tricks the eye into seeing higher ceilings, and in a small laundry room the limited wall area keeps the cost from ballooning. Neutral tones with a subtle shimmer stay readable against daily clutter in a way that a bolder painted accent sometimes cannot.
Decorative layers finish the job: flatweave rugs, glass jars for detergent, and storage baskets that actually get used. The trick is buying them after the paint and any tile are set, so the palette is already locked and the accessories do not fight it.
Budget Breakdown for Under $300
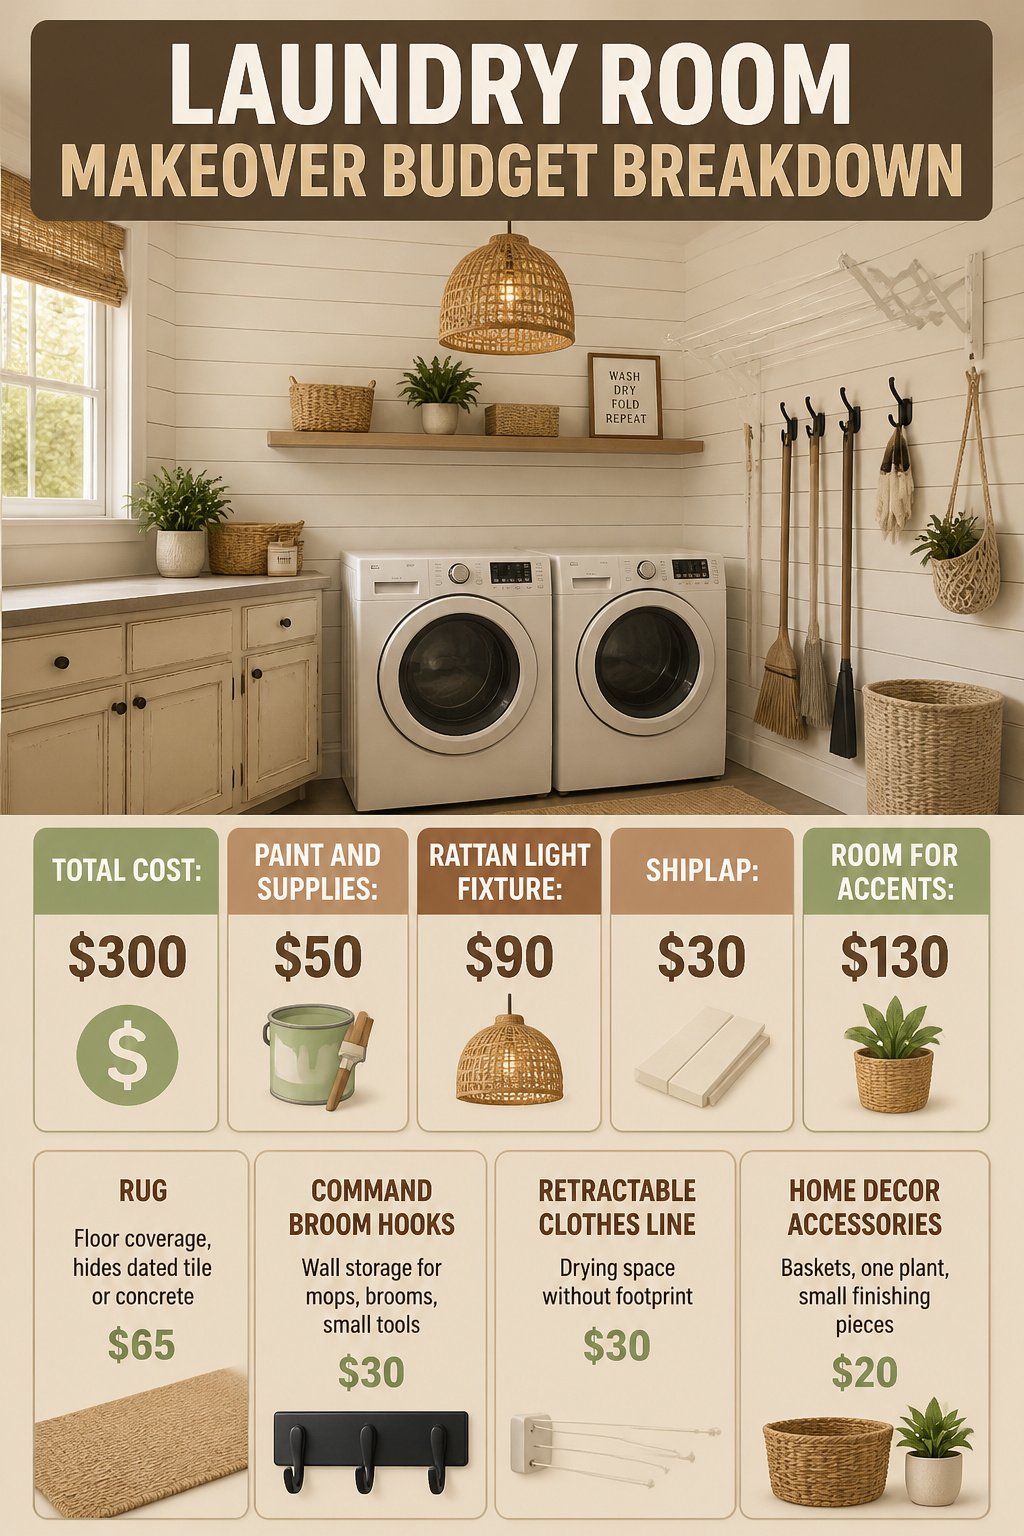
A $300 laundry room makeover is workable if you split the money deliberately. Paint and supplies take about $50, shiplap runs another $30, and the rattan light fixture that changes the whole mood costs $90. That leaves roughly $130 for hardware, hooks, and whatever accents pull the room together.
| Item | Cost | What It Covers |
|---|---|---|
| Paint and supplies | $50 | Cabinet paint, primer if you have leftovers, brushes, rollers |
| Shiplap | $30 | Accent wall or ceiling detail |
| Rattan light fixture | $90 | Overhead replacement, the single biggest visual shift |
| Rug | $65 | Floor coverage, hides dated tile or concrete |
| Command broom hooks | $30 | Wall storage for mops, brooms, small tools |
| Retractable clothes line | $30 | Drying space without footprint |
| Home decor accessories | $20 | Baskets, one plant, small finishing pieces |
The original plan aimed for $300 but landed closer to $400. The overrun came from keeping the rug and the retractable line rather than choosing between them. If your floor is tolerable, skip the rug and you are back under $300 with room for cabinet hardware or a small shelf. The light fixture is non-negotiable; it does more than anything else in the list.
Small Laundry Room Layouts That Work
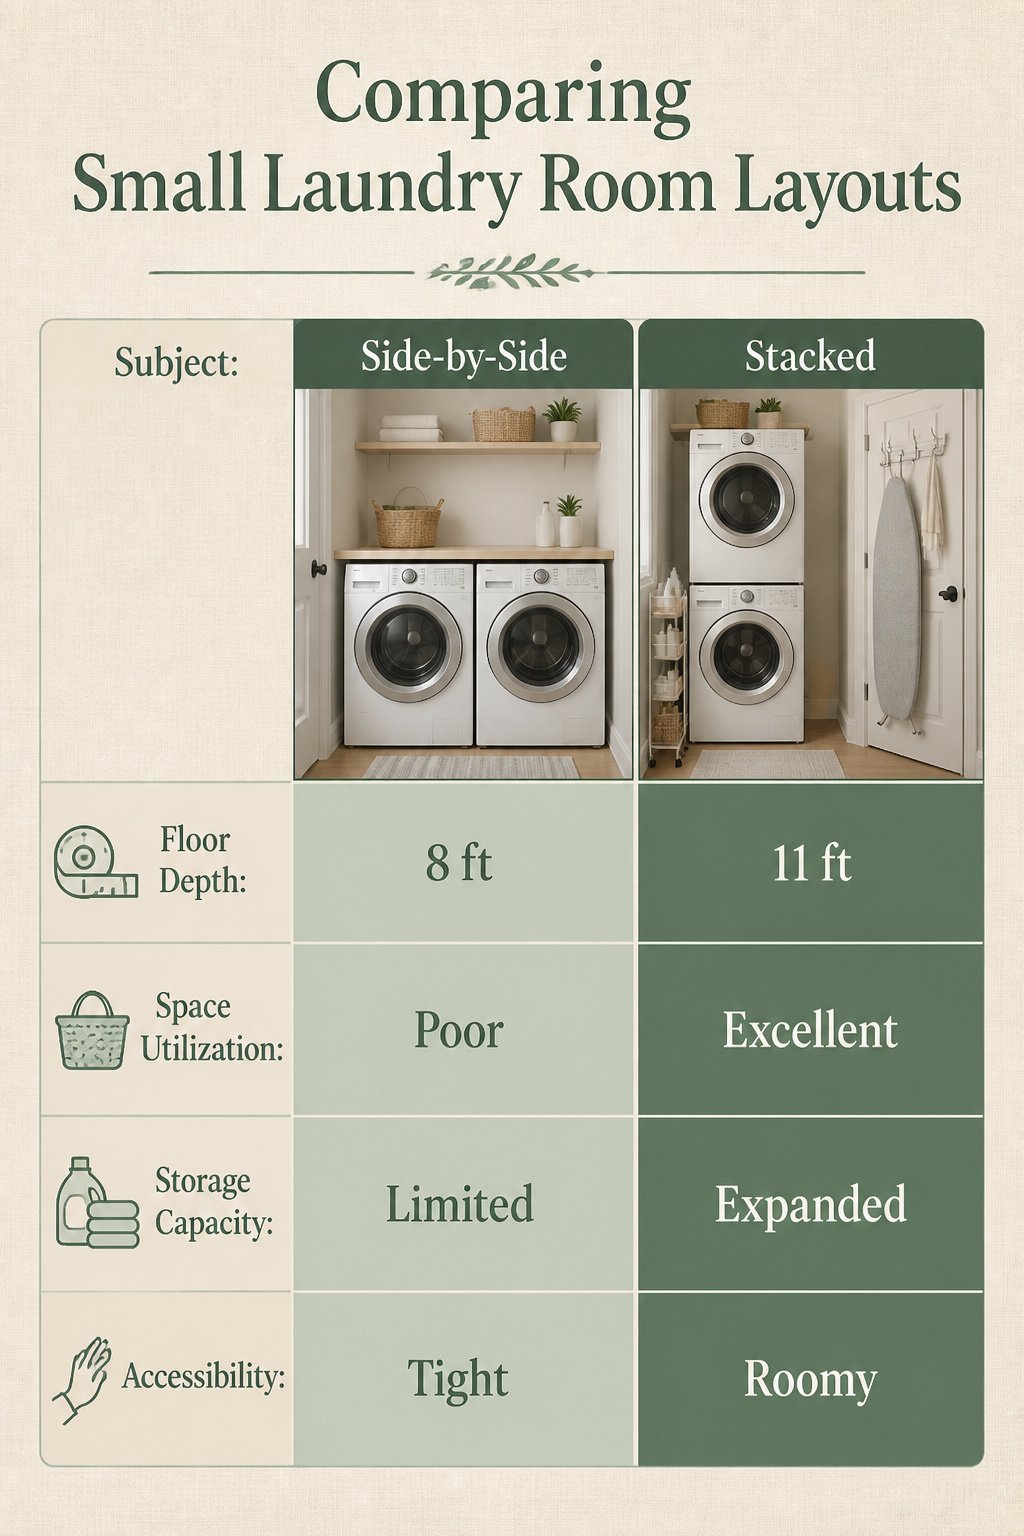
An 8-by-8-foot laundry room leaves no room for dead space, yet most layouts waste a full wall on a side-by-side pair sitting flat on the floor. Stacking the washer and dryer buys back roughly 3 feet of floor depth, enough for a narrow cart or a small hamper station where the second appliance used to sit. The cart itself matters more than most people expect: a 5-inch-wide rolling unit fits in the tightest gaps, while a 7-inch version holds full-size detergent bottles without tipping. I have seen both widths work, and the difference is whether you are storing pods or bulk liquid.
Wall-mounting is the other move that changes the geometry entirely. A folding ironing board that hooks over the door, a retractable clothesline, or a set of broom hooks behind the door each reclaim territory that floor-standing items would occupy. The door itself becomes functional storage rather than a swing radius you must keep clear.
The real layout decision is sequencing: stack first to free the floor, then run the cart into the new gap, then mount anything that still crowds the perimeter. Skip any of the three and the room reverts to the same cluttered circuit it was before.
DIY Projects Worth the Time
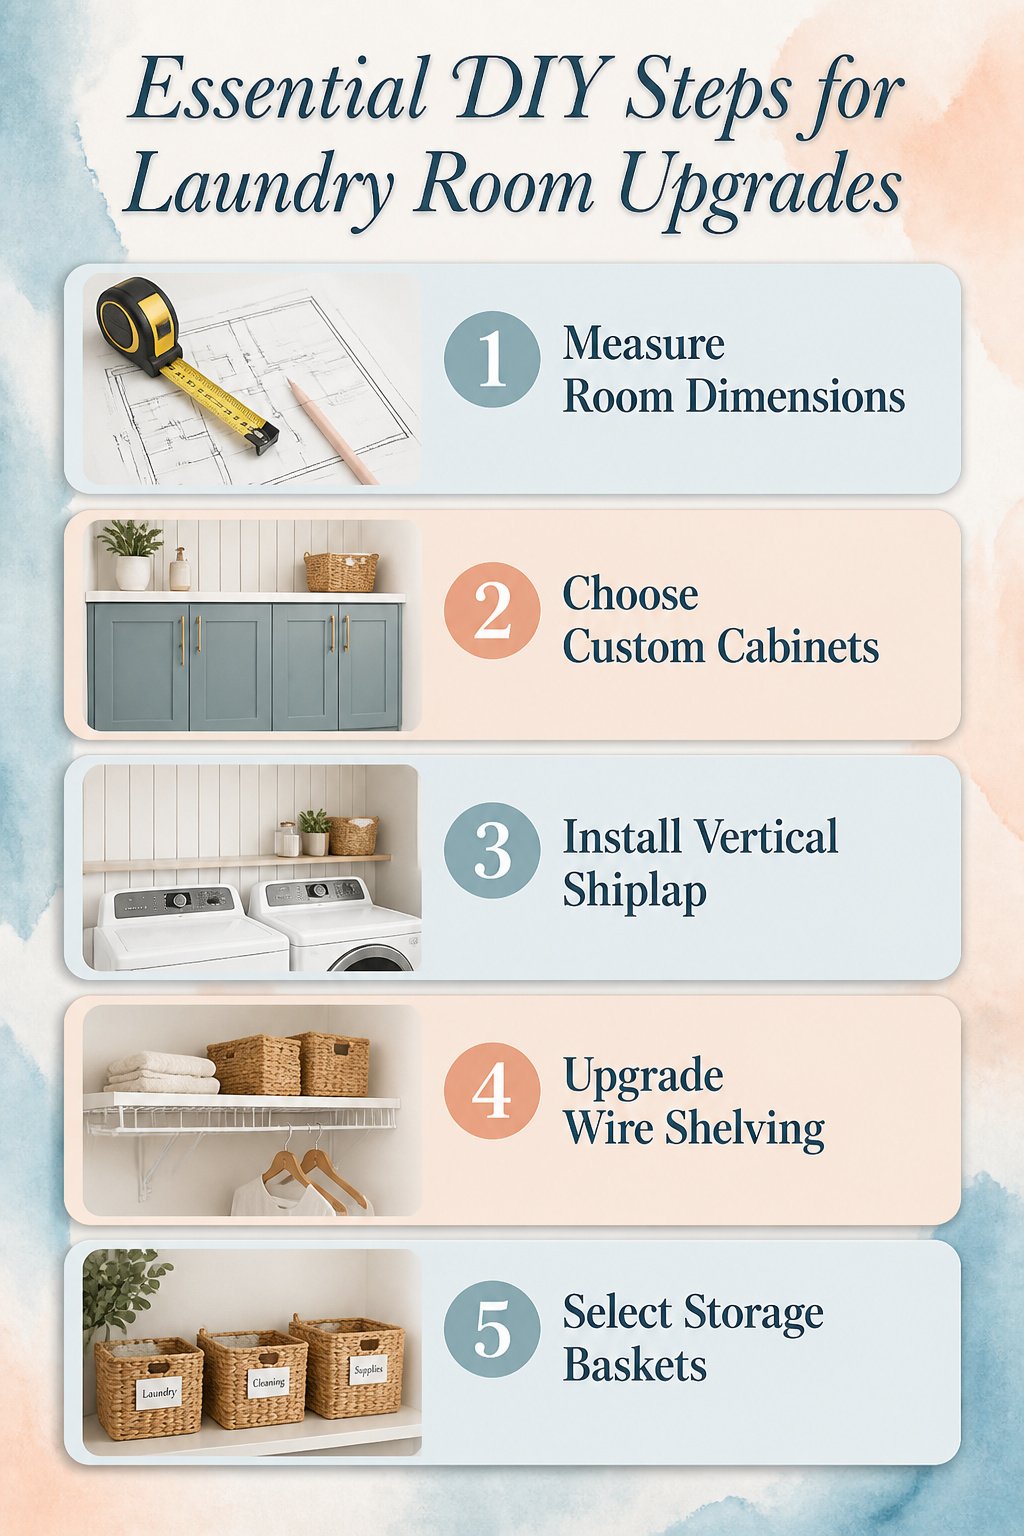
Custom cabinetry sounds like a weekend that gets away from you, but the sources that stuck with me were the ones where people built exactly what the room needed instead of forcing in a prefab unit. One builder added vertical shiplap behind her machines with a brad nailer and 1 ¼" nails, working carefully around the plumbing because pipes in a laundry room sit where pipes sit, not where the project plan says they should. Her partner wanted construction adhesive behind the machines for extra hold. She went with it, though she prefers nailing alone so future removal does not mean tearing the drywall underneath.
That same project kept the whole room under $400, with the shiplap itself running about $30. The real payoff was not the board cost but the fit: boards cut to the actual wall, not the nearest inch and a half at the home center.
Wire shelving upgrades are another place where an hour of measuring pays off. Swapping a 5-foot shelf for a 6-foot one and bumping depth from 12 inches to 16 inches more than doubled the storage in one room, with woven baskets dropped in to keep it from looking like a warehouse aisle. The builder there skipped paint entirely, which I would call the right call when machines, ducts, and a heat pump crowd every corner. Sometimes the project that saves you a weekend is the one you do not start.
Storage That Keeps Laundry Moving
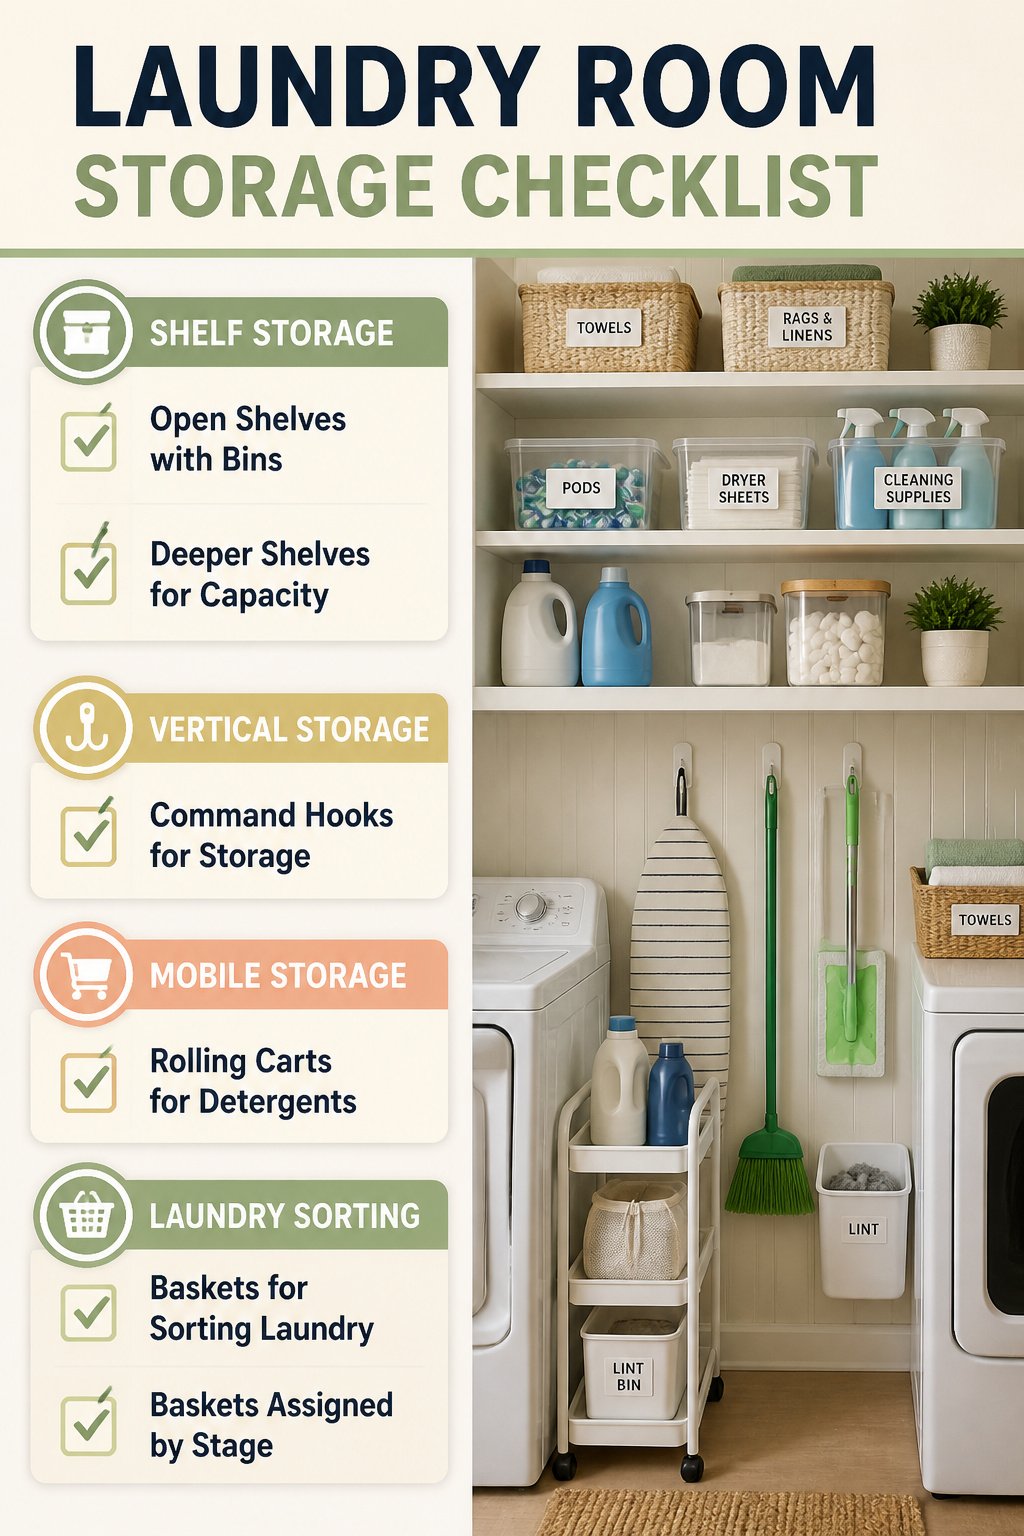
A laundry room makeover stalls the moment you can’t find the detergent or the dryer sheets have migrated behind the bleach. The fix is a system that keeps supplies visible and the workflow moving forward.
- Open shelves with labeled bins keep pods, dryer sheets, and cleaning supplies sorted without hiding them behind doors. Clear containers let you see when you’re running low.
- Command Hooks on walls add vertical storage for lightweight gear. An ironing board, broom, or Swiffer mop hangs within reach but off the floor.
- Rolling carts between appliances turn six inches of dead space into active storage. A cart less than 7 inches wide holds detergent, mesh bags for delicates, and a lint bin right where you need them.
- Deeper shelves change how much actually fits. Upgrading from 12-inch to 16-inch depth, and extending a 5-foot shelf to 6 feet, more than doubles what the wall can carry.
- Baskets assigned by stage keep laundry moving. One holds towels ready to wash. Another catches rags and bed linens. A wastebasket mounted nearby collects lint before it spreads.
Frequently Asked Questions
How can I make my laundry room more efficient?
Stack your washer and dryer to reclaim about 3 feet of floor depth, then slide a narrow rolling cart into the gap for detergent and supplies. Add a countertop across the machines for folding so laundry finishes where it comes out, and mount a retractable drying rack on the wall to keep floor space clear for moving around.
What are some budget-friendly laundry room makeover ideas?
A full makeover can land near $400 by keeping paint tight at about $50, adding $30 shiplap, and splurging on a $90 rattan light fixture as the single biggest visual shift. Swap cabinet hardware for under $30 total, use Command hooks at around $30 for vertical storage, and skip the rug if your floor is tolerable to stay closer to $300.
How do I organize my laundry room storage?
Use open shelves with labeled bins so supplies stay visible and you know when you are running low. Command hooks on walls hold lightweight gear like brooms and small ironing boards off the floor, and a rolling cart between machines keeps detergent and mesh bags right where you need them without opening cabinets.
Should I raise or stack my washer and dryer?
Stacking buys back roughly 3 feet of floor depth in a small room, enough for a slim utility sink or cabinets you otherwise could not fit. Raising the units onto a platform works too, but the platform itself eats space and the storage underneath rarely justifies the footprint when every inch counts.
What paint colors work best for a laundry room?
Light neutrals like Sherwin Williams City Loft in satin on cabinets and eggshell on walls read as warm and quiet, tricking the eye into seeing more square footage than you have. Spend the personality budget on trim in a blue-gray like Storm Cloud, or add a single peel-and-stick wallpaper wall, so the bold accent lives in one place rather than everywhere.