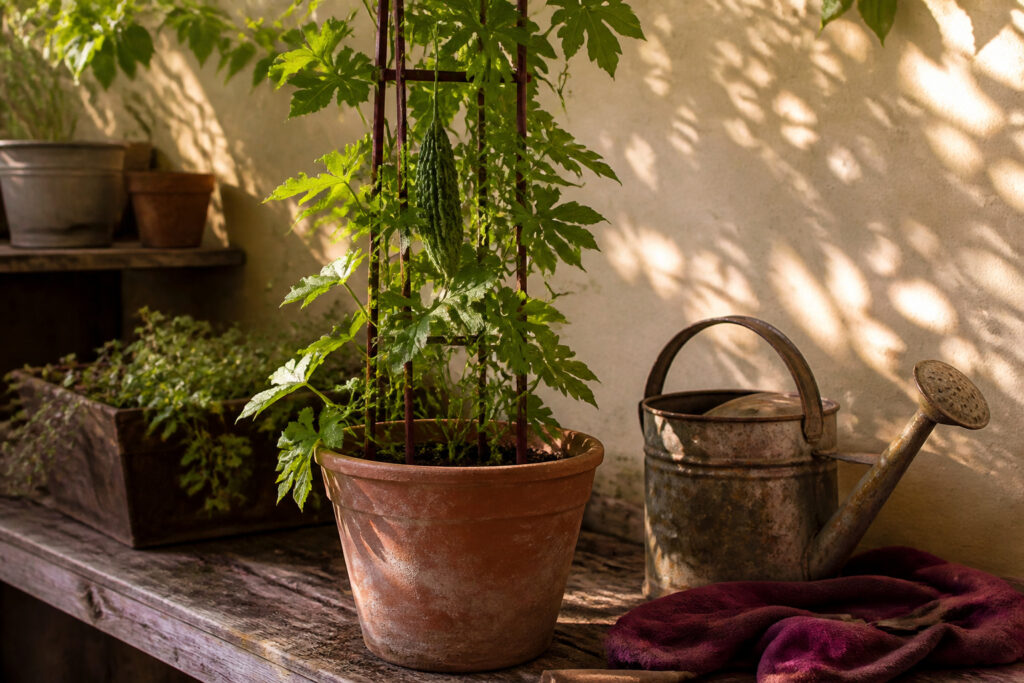
Bitter melon is a tropical vine that fruits in containers only if you give it sustained heat, a six-foot trellis anchored at planting time, and soil that drains fast enough to rot the roots if it doesn’t. The seeds come hard enough to sit dormant for weeks; soak them overnight in warm water before they ever touch soil, or your pot stays empty through June while everyone else’s vines are climbing.
Seed Preparation
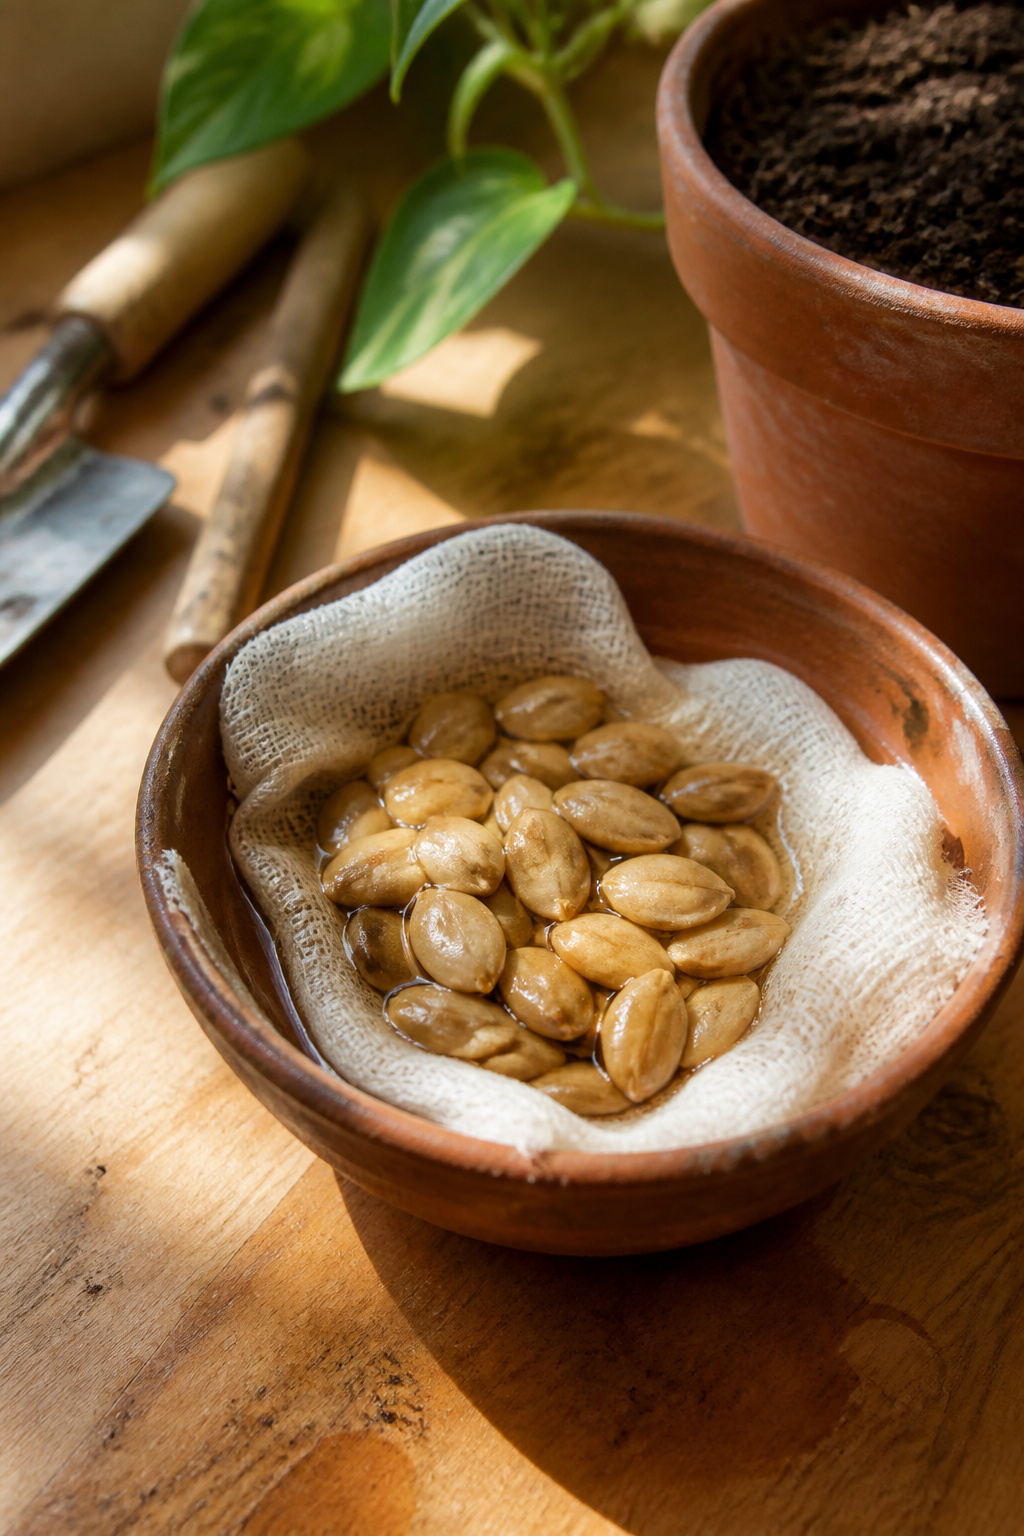
Bitter melon seeds, Momordica charantia, arrive with a shell hard enough to stall germination for weeks if you plant them dry. Soak them overnight in warm water before they go near soil. The casing softens enough for the first root to break through in days rather than sitting dormant.
Beginners often skip this step and wonder why their pots stay empty. Without soaking, the seed coat keeps moisture out and the embryo inside never wakes up. Warm water works faster than room temperature; I start with water that feels hot to the touch but not scalding, about the temperature of a comfortable bath.
After twelve hours the seeds plump slightly and the surface turns from matte to faintly glossy. That change means the shell has taken in water and the seed is ready to plant. Drain them and move straight to planting 3/4 inch deep, or into a damp paper towel if you prefer to check for sprouts first. The overnight soak costs nothing and saves the two to three weeks of waiting that unsoaked seeds often demand.
Germination
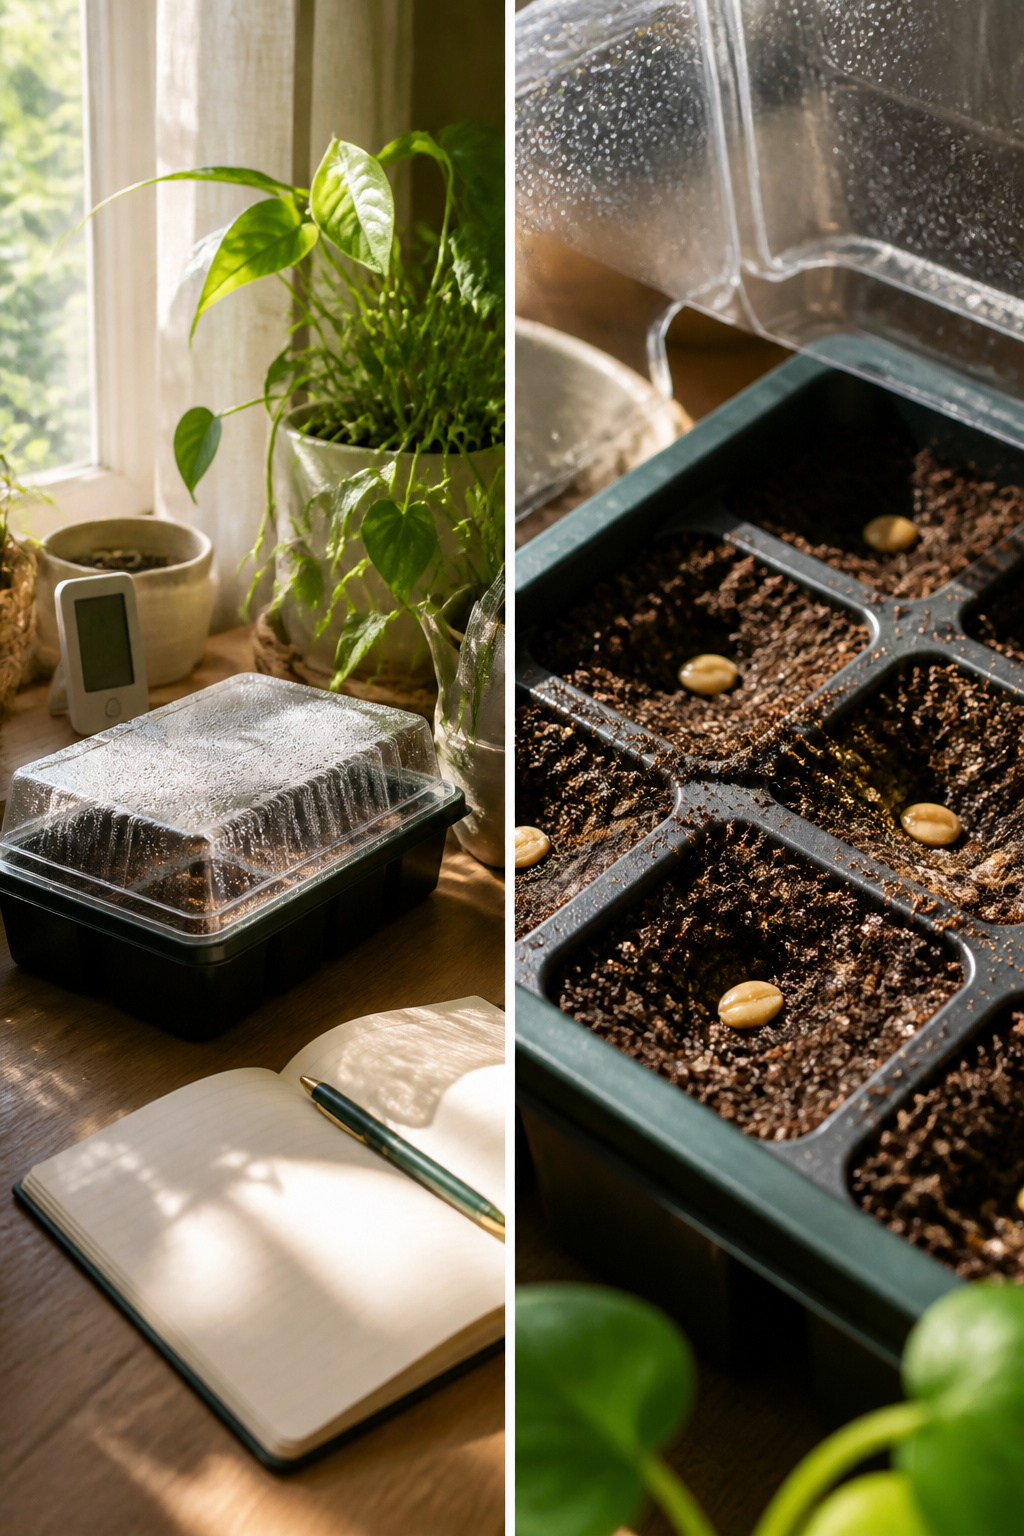
Bitter melon seeds carry a hard outer shell that fights its way open, so soaking them overnight in warm water is the first move. After that, plant them three-quarters of an inch deep in small pots or a seed tray set on a heated mat. A radiator works in a pinch, but the mat is the surer bet for these seeds. Cover the pots with a plastic lid or bag to trap humidity, and expect the wait to stretch several days longer than your typical squash seed.
My first attempt failed because I got greedy with the heat. I cranked the mat higher than the 60°F minimum, thinking faster was better, and cooked the seeds before they could sprout. The ones that survived came up in about a week at steady warmth, not fluctuating highs. A ready seedling shows two true leaves and a stem thick enough to handle without collapsing, usually three to four weeks after you start. If you want a backup plan, the damp paper-towel method in a sealed bag works too, just keep the towel damp, not wet, or the seeds rot before they root.
Hardening Off
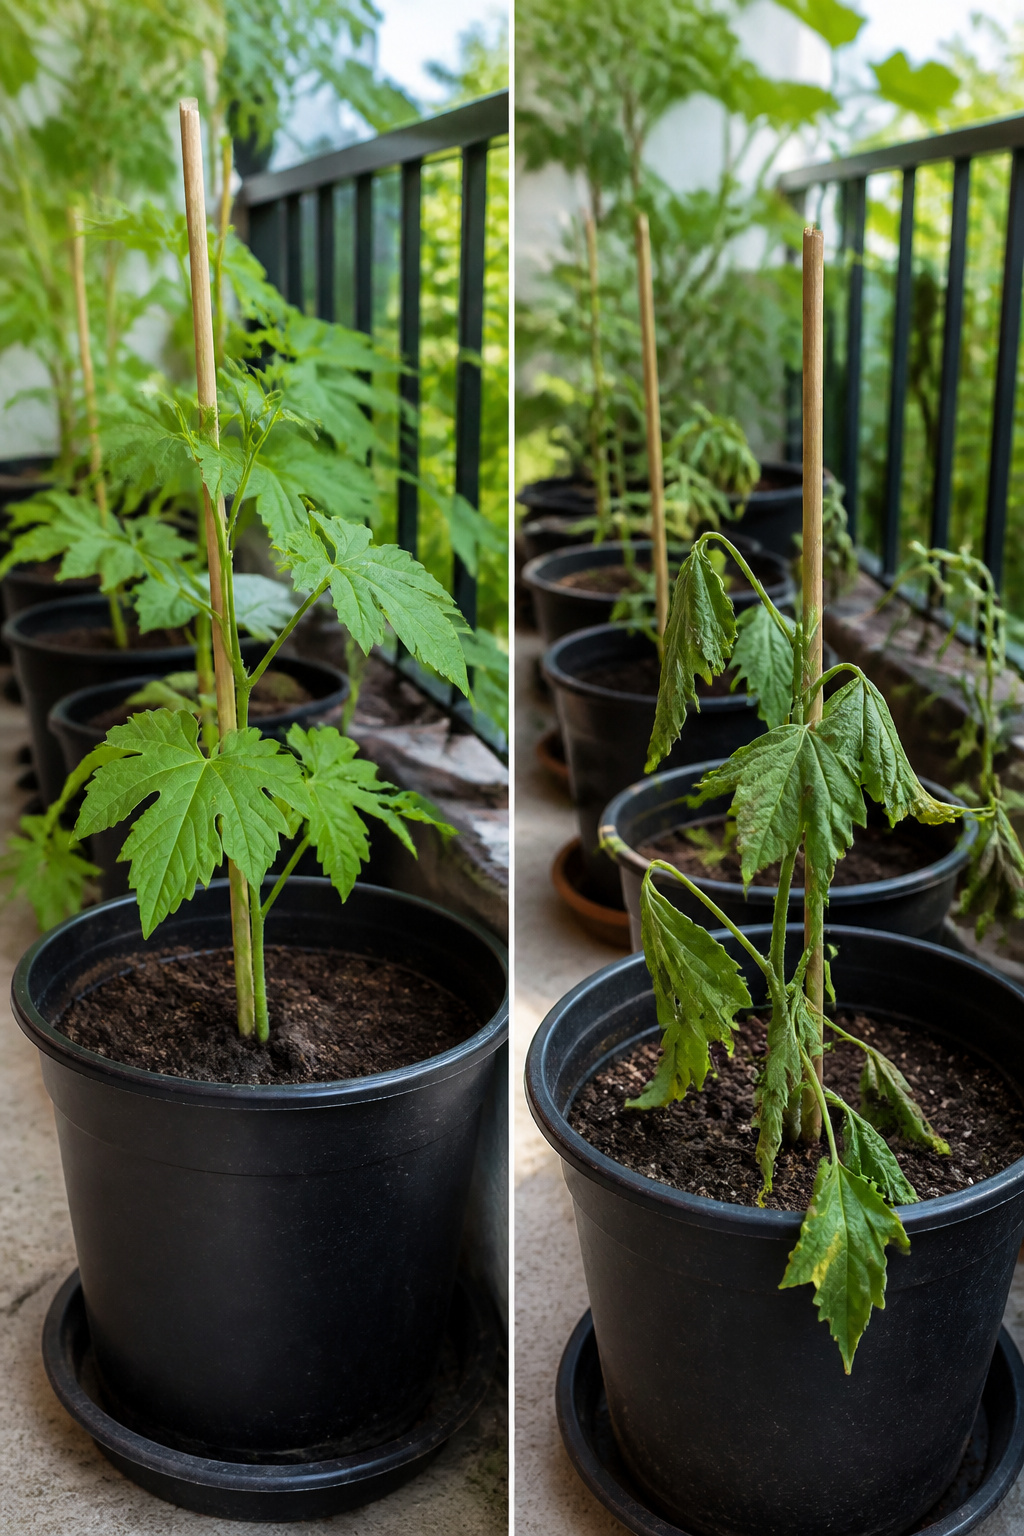
Bitter melon seedlings that have lived their whole lives under grow lights or a sunny window will fry in direct June sun if you move them straight into a pot on the balcony. Hardening off takes about a week, and the timing matters more than I used to think.
I start once nighttime temperatures stay reliably above 55°F and the forecast shows no sudden drops. The first two days, the seedlings sit in full shade outside for two to three hours, then back indoors. Days three and four, they get morning sun, still just a few hours. By day five, they handle dappled afternoon light, and I stretch the outside time to six or eight hours. I keep a close eye on wind, too; a dry breeze can desiccate leaves faster than heat.
Two seasons ago, I rushed this. A warm spell hit, and I figured four days was enough. The leaves scorched within hours of full southern exposure, and two of my six seedlings never recovered their vigor. The survivors limped through the summer and produced half the fruit of the batch I hardened properly the year before. Now I mark the calendar and ignore my own impatience.
Soil and Potting Mix
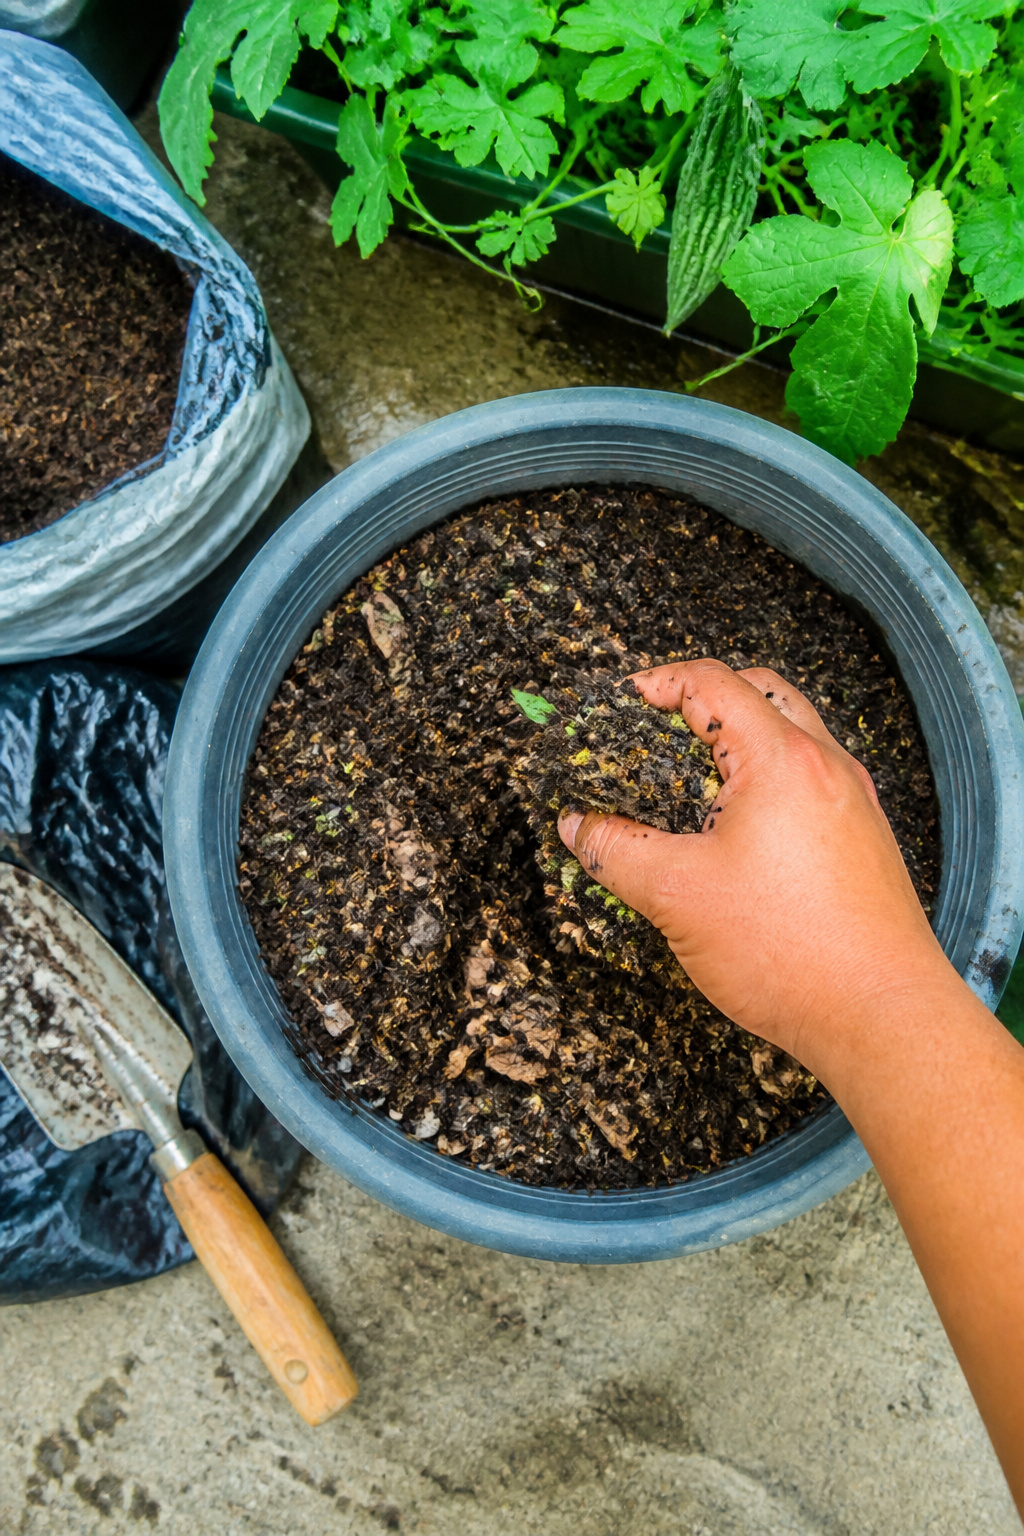
Bitter melon needs fertile, well-drained soil with a pH between 5.5 and 6.7, which is slightly more acidic than standard potting mix usually provides. Testing the mix before planting saves the trouble of struggling vines later. Two inches of aged compost worked into the top layer supplies the nutrients these heavy feeders demand, and aged manure does the same job if compost is not on hand.
Container choice matters less for volume than for drainage. A pot without holes or one that sits in a saucer of water will rot the roots before the vine ever fruits. Standard nursery pots, fabric grow bags, or any planter that drains freely works; what fails is soil that stays soggy after watering. Sandy or silty loam tolerances mean bitter melon forgives lighter mixes, but the drainage still has to be there.
The compost amendment is not a one-time step. Working it in before planting gives seedlings the head start they need for the fast summer growth ahead.
Planting in Pots
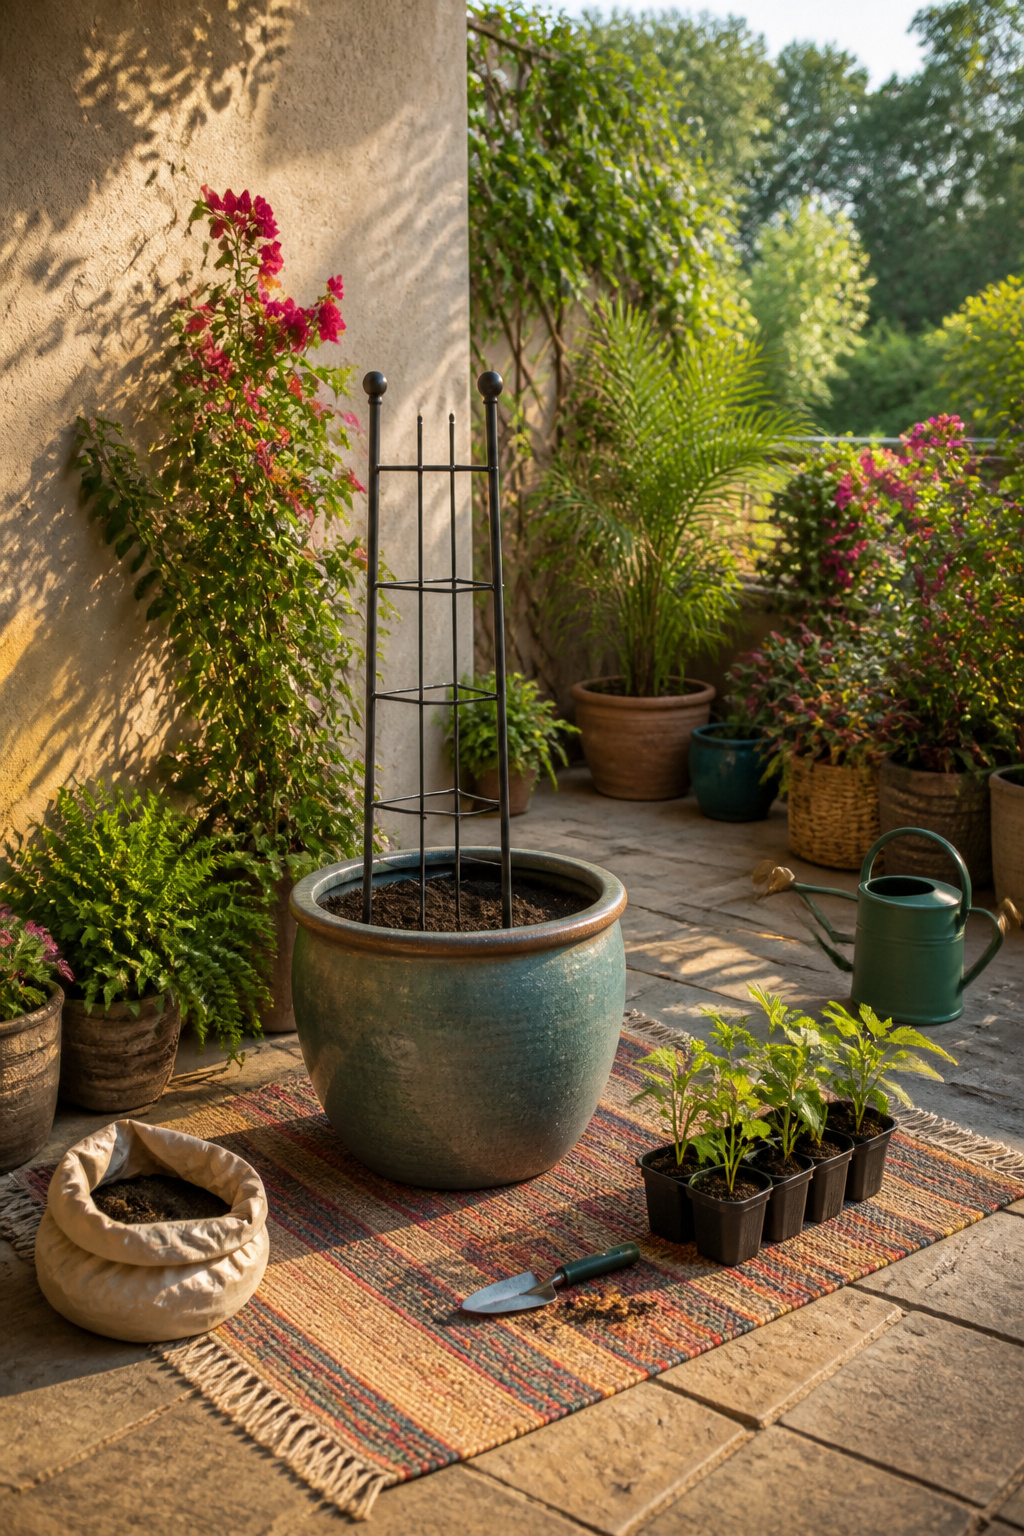
Bitter melon seedlings need 12 to 18 inches of space between them, the same distance I’d use in a raised bed, but the container itself changes how I think about placement. In the ground, those vines can sprawl 13 to 16 feet and I might let them ramble toward sunnier spots. Potted plants stay where I put them, so the pot has to land in a spot that gets 6 hours of full sun from the start, with no afternoon escape route if the heat climbs past 80°F. That temperature threshold matters more than I expected; my seedlings sulked through a cool June last year and only took off once July brought steady warmth and humidity.
The real difference is in the trellising decision. In ground plantings, I could space seedlings 9 to 10 feet apart along a fence and call it done. Containers force me to commit early: one vigorous vine per large pot, with a freestanding trellis anchored at planting time, because trying to add support after the roots fill the container is a mistake I made once and won’t repeat. The confined root zone also means I pay closer attention to soil moisture, since pots dry faster than garden beds but still demand that steady, even dampness the plant wants for fruit development.
Trellising
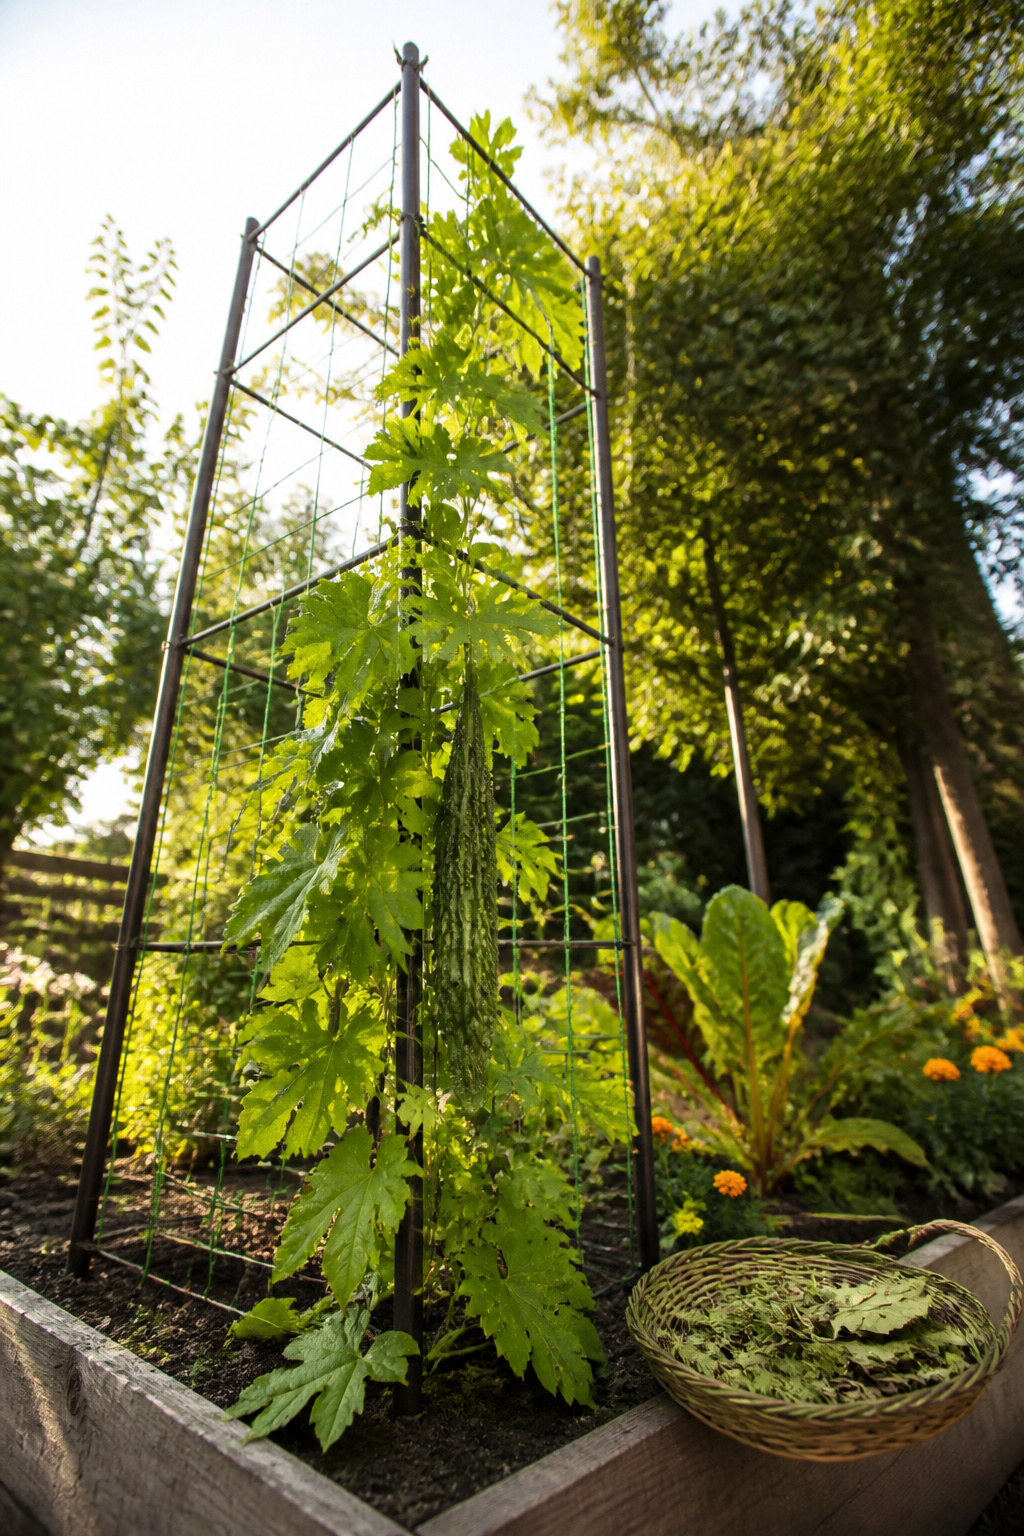
Bitter melon vines hit their stride fast, with fruit ready in 55 to 70 days, and by then the plant is heavy enough to flatten anything flimsy. I put the trellis in at planting time, not after, because wrestling a tangled vine onto supports two weeks later is a mess of broken stems and snapped tendrils. A six-foot height gives the vine room to climb and keeps fruit off the ground, which means longer, straighter melons and far less rot. Stakes paired with cattle panel fencing hold up against summer storms; lightweight netting does not. Once the vine reaches the top, pruning laterals back to the tenth node from the soil line redirects energy upward and bumps the yield. Some growers skip pruning entirely and still harvest fine, so the choice depends on whether your plant is fruiting well or just running wild with leaves.
Watering and Maintenance
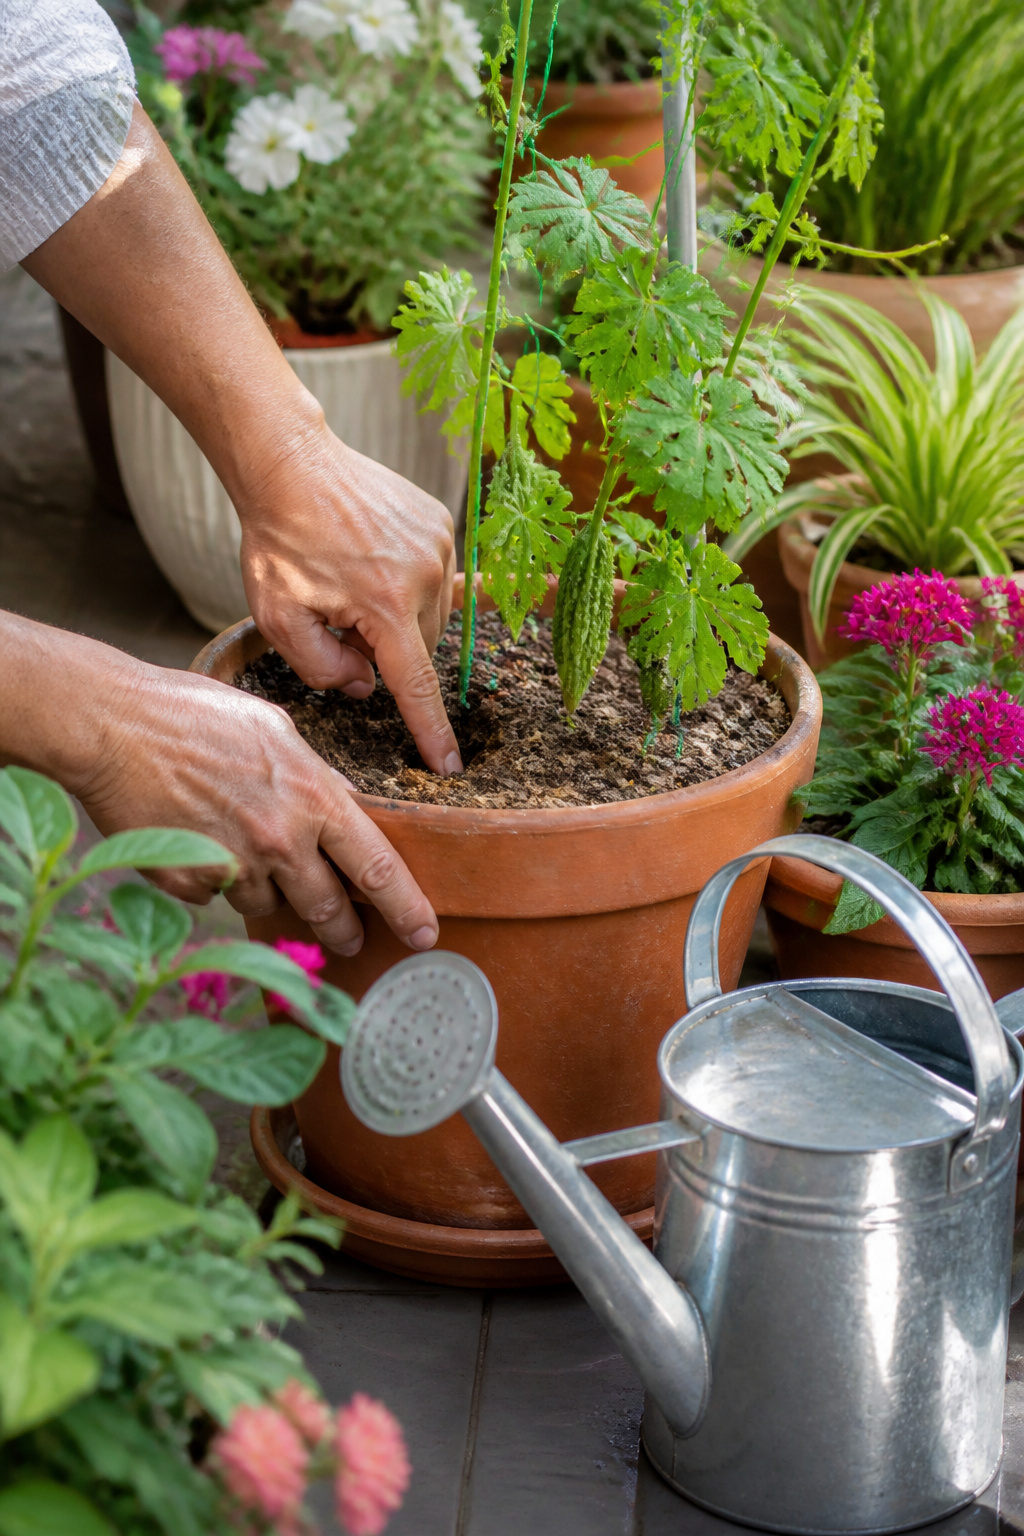
Bitter melon roots rot fast in soggy soil, so the real skill is keeping the mix moist without drowning it. I water mine when the top half-inch starts to look matte rather than dark, usually every morning in July once the pot has drained from the day before. In 2022 I tried automating this with a twice-daily drip timer during a heat wave, and the lower leaves yellowed within a week; the roots had stayed wet while the surface looked dry, a mistake I only caught when I tipped the pot and water poured out the bottom.
These vines want heat and humidity together, not just one or the other. My best fruit set happens once nights stay above 70°F and the air feels thick enough to wear. In that weather, a five-gallon pot can need water twice a day, but I still check by weight: a fully soaked container is heavy, and a ready one lightens enough to notice with one hand. Aged compost worked into the top inch every third week helps hold that moisture steady between drinks, which matters more than any fertilizer for getting the long, straight fruit the trellis trains.
Harvesting
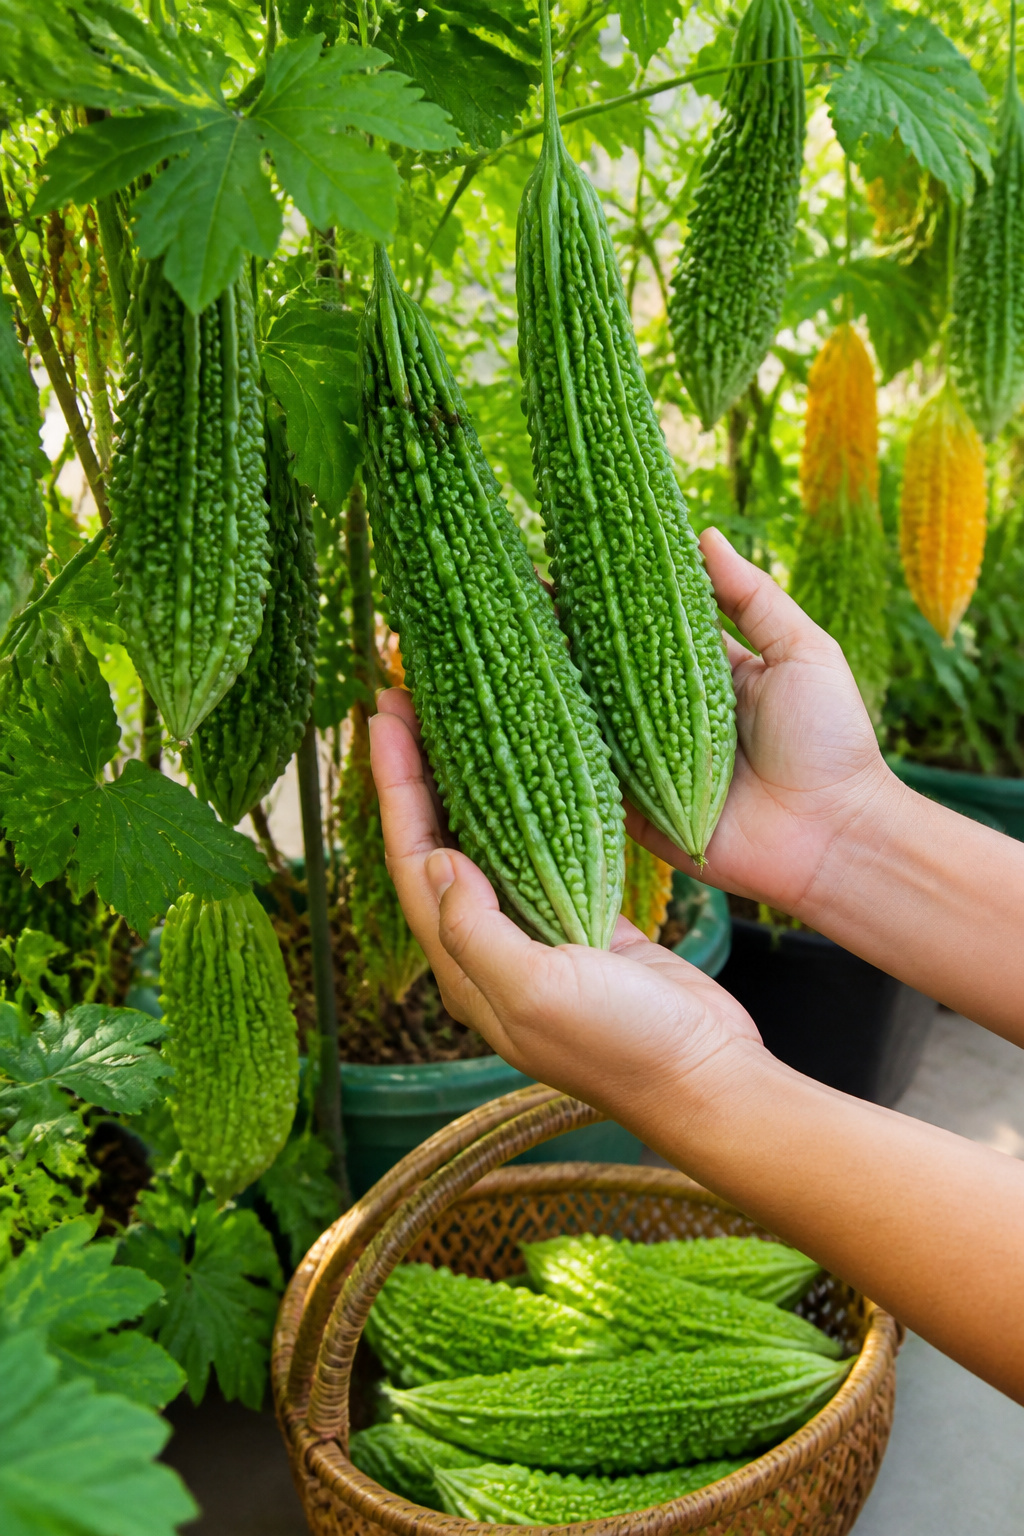
Bitter melon moves fast from baby fruit to overripe, so checking the vine every other day once ripening starts is the minimum. Fruits ready for the kitchen are shiny, firm, and full-shaped, roughly 4 to 6 inches long on trellised plants. I learned the hard way that waiting even one extra day changes everything: the skin shifts from green with faint yellow hints to full yellow-orange, the flesh turns spongy instead of slightly firm, and the seeds develop that mushy red coating you only want if you’re saving them for next season.
Once melons start to ripen, pick fruits regularly, approximately every two to three days. The more you pick, the more fruits will form.
That regular picking matters because the plant keeps producing only if you keep relieving it. After harvest, the skin bruises easily, so I handle them gently and store in a paper or plastic bag in the refrigerator. Use them within 3 to 5 days; after that the quality drops fast. One last note on taste: younger, more immature melons carry the most bitterness, while slightly older ones mellow out. If you’re feeding bitter melon to someone for the first time, a fruit on the riper side of ready might win them over without scaring them off entirely.
Bitter Melon Varieties
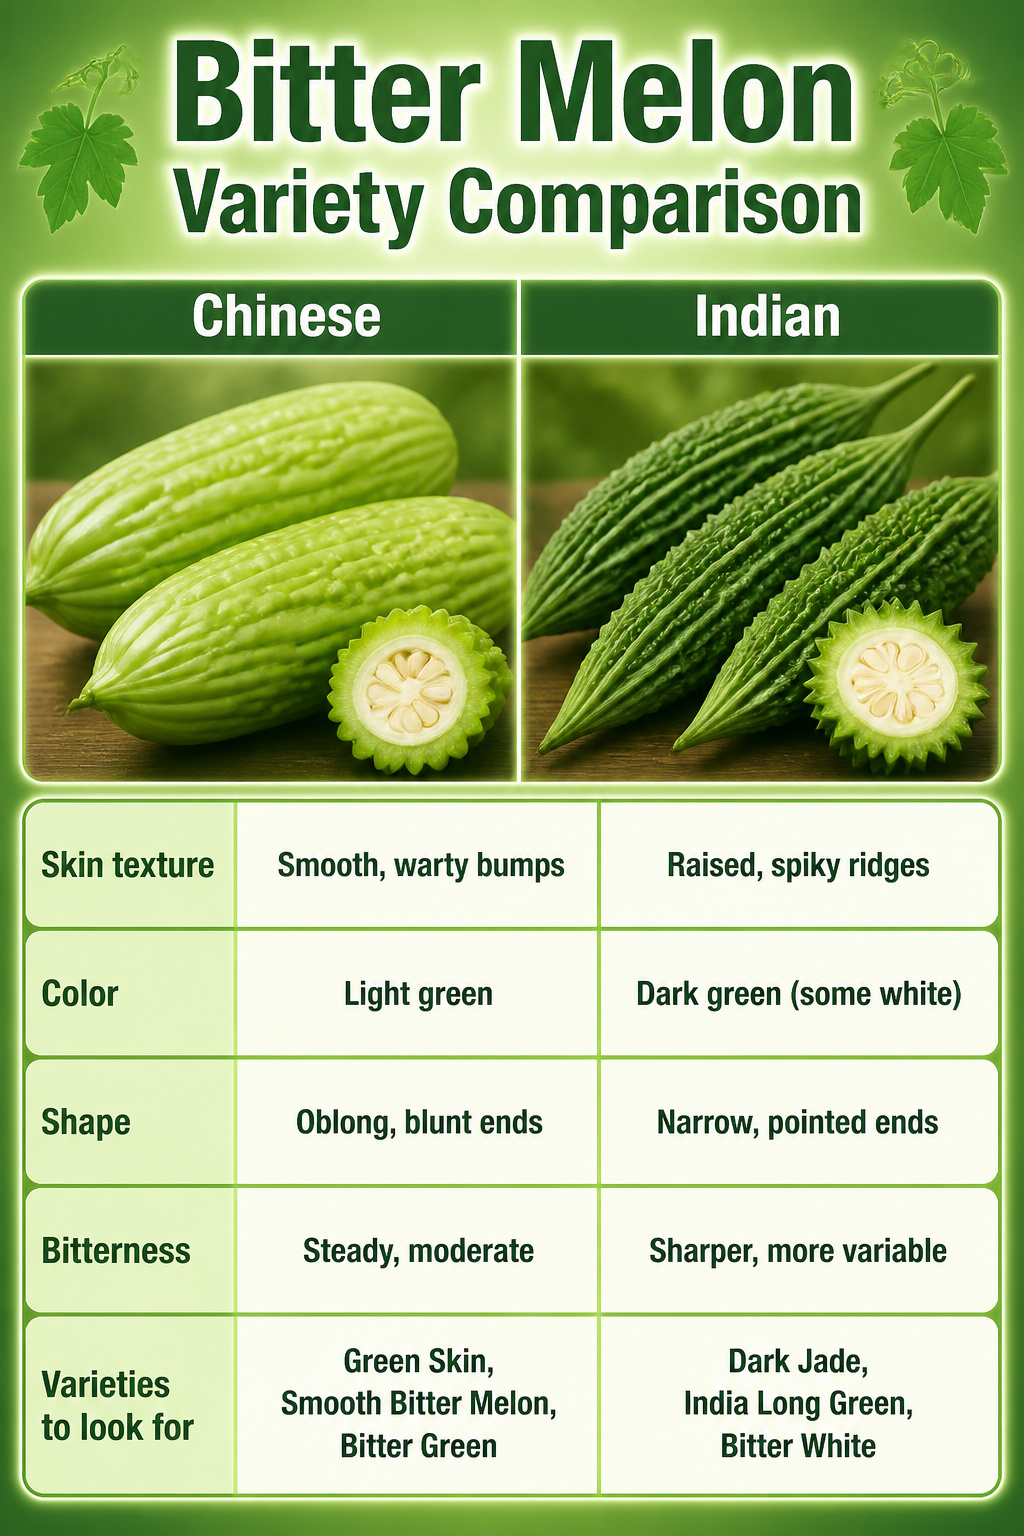
Chinese bitter melon was what I started with, mostly because the smooth, light green skin looked familiar at the nursery. The fruits run larger, with blunt ends and gentle bumps that sit flat in a stir-fry. Indian varieties came later, spikier and darker green with pointed ends that look almost aggressive on the vine. I kept both going after the first season because the kitchen difference turned out to be real: the Chinese type carries a cleaner, more predictable bitterness, while the Indian melon can punch harder, though fruit from the same plant still varies.
| Chinese | Indian | |
|---|---|---|
| Skin texture | Smooth, warty bumps | Raised, spiky ridges |
| Color | Light green | Dark green (some white) |
| Shape | Oblong, blunt ends | Narrow, pointed ends |
| Bitterness | Steady, moderate | Sharper, more variable |
| Varieties to look for | Green Skin, Smooth Bitter Melon, Bitter Green | Dark Jade, India Long Green, Bitter White |
If you cook mostly stir-fries or soups where you want to control the bitter note, Chinese smooth types are the safer bet. Indian varieties reward you if you like the intensity, or if you plan to salt-and-rinse the way some recipes call for. I still plant one of each in separate pots; the vines look different enough that it keeps the balcony interesting, and I never have to guess which pot will taste like what.
Pest and Disease Watch
Bitter melon carries better pest resistance than most cucurbits, which is one reason I keep coming back to it for container growing. Striped cucumber beetles, the ones that shred my zucchini every July, barely touch it. Deer, rabbits, and the squirrels that raid my tomatoes usually take one bite of the leaves and move on. That said, downy mildew, fusarium wilt, and bacterial wilt still find it. Downy mildew shows up as yellow spots on top of the leaf and a white, almost dusty layer underneath; fusarium wilt yellows the vines from the bottom up until they droop and collapse. Bacterial wilt works faster, often transmitted by cucumber beetles when they do appear, and infected vines do not recover.
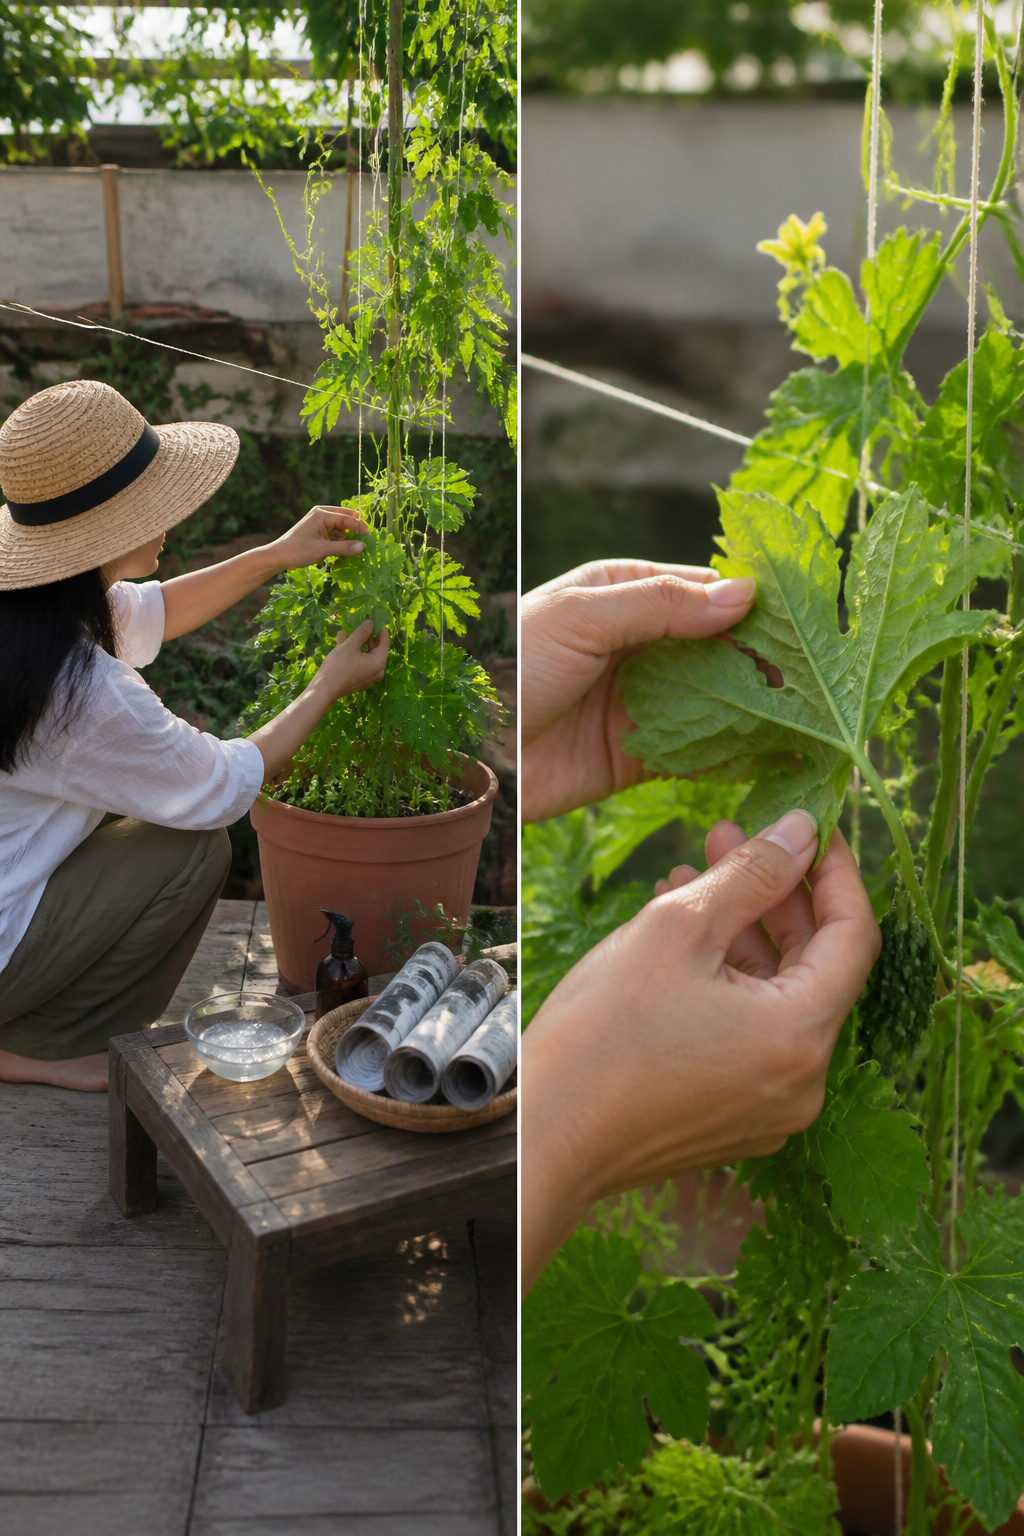
I trellis my potted plants partly for this reason: the air moving through the foliage cuts humidity around the leaves, which helps against fungal pressure. For fruit flies, which can rot the fruit once it sets, I wrap young melons in newspaper or slide a paper bag over them when they hit an inch or two long. Guides often suggest spraying beetles with rotenone or pyrethrum at dusk, but in practice I have never needed chemicals on mine; the physical barrier and the trellis do most of the work. I still check the undersides of leaves every few days in late summer, because once wilt sets in, the only move is to pull the plant before it spreads.
Bitterness in the Kitchen
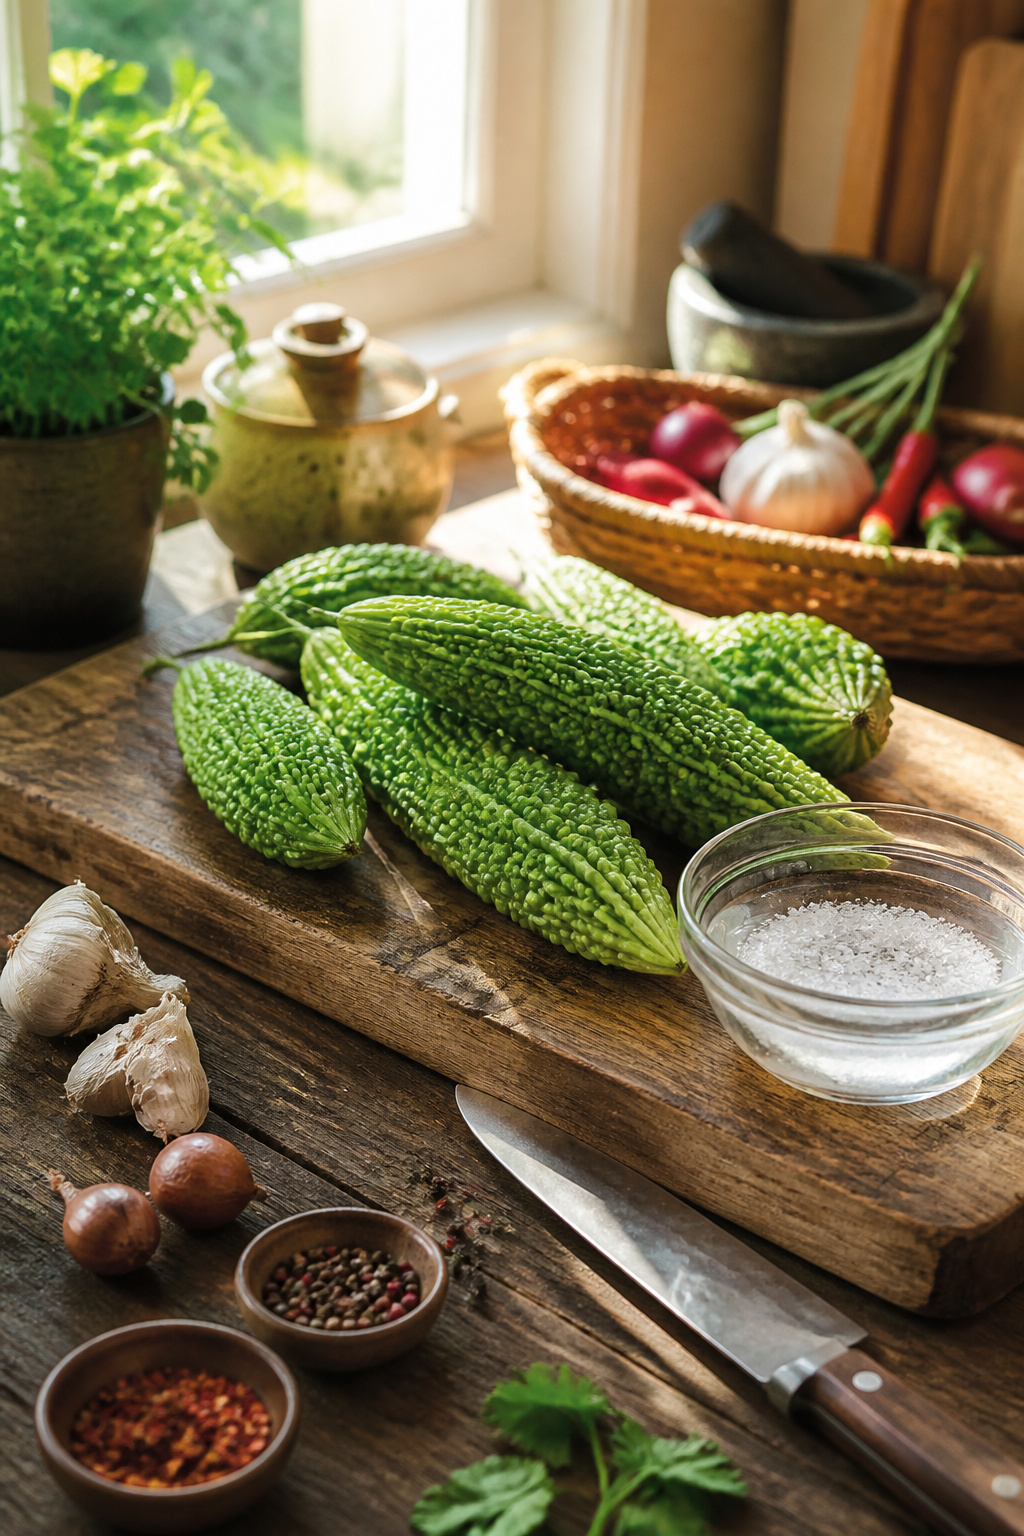
Soaking sliced bitter melon in salted water for about half an hour draws out enough of the alkaloid momordicine to take the edge off without turning the flesh mushy. A quick blanch, two minutes in boiling water followed by an ice bath, works faster but costs some of that cucumber-like crunch the fruit is prized for. I reach for the soak when I want bitterness tamed but texture intact; the blanch only when the recipe itself calls for softening.
The effort of growing something this aggressively flavored pays off in dishes built around that exact bite. Stuffed bitter melon soup, pork and glass noodle filling simmered until the walls of the fruit yield just enough, needs the bitterness to contrast the rich meat. Stir-fries with fermented black beans or a heavy hand of garlic use it almost like a seasoning element. Without the bitter note, the dish reads flat.
Harvest timing is where you still hold some control. Fruits left to turn fully yellow grow larger but also more bitter, the momordicine concentrating as the flesh darkens. The window that tastes best to me, light green with faint yellow streaks at 4 to 6 inches, lands slightly past the stage some growers prefer. For anyone new to the vegetable, waiting until that first hint of yellow appears actually mellows the intensity compared to the immature, deep-green stage. Individual fruits on the same vine vary, so tasting as you go is the only reliable guide.
What I Check Before Starting
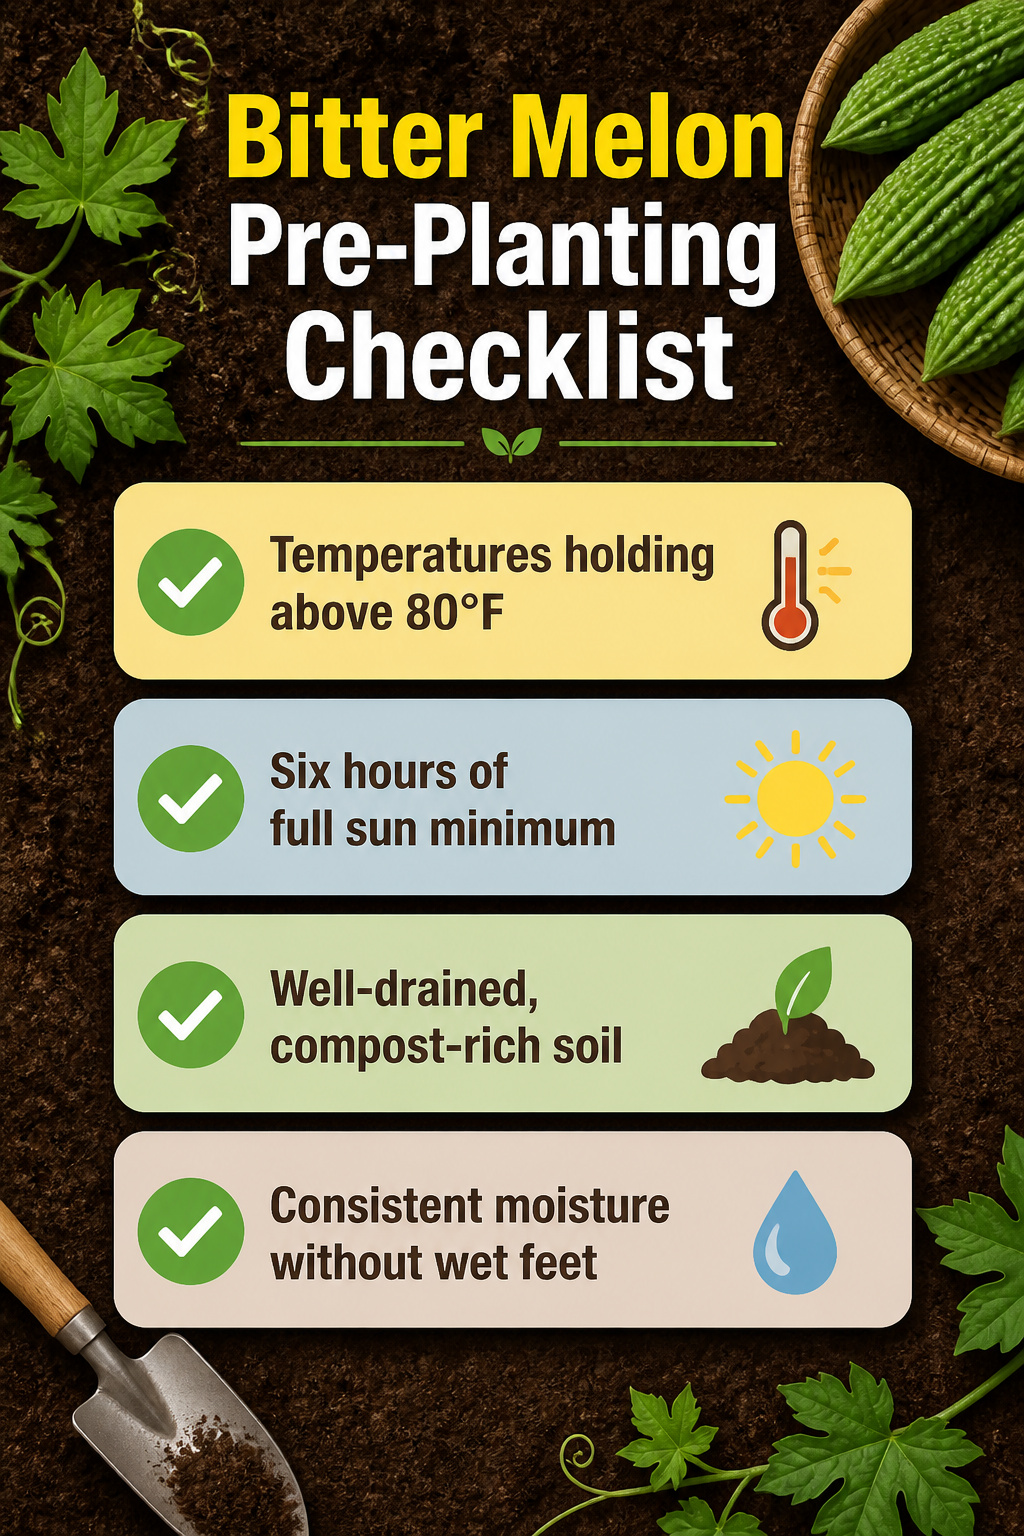
Every spring I run through the same four checks before committing pot space to bitter melon, because this plant sulks if any one of them is off.
- Temperatures holding above 80°F: Bitter melon needs sustained heat and humidity to fruit; in my region the vines sit stubbornly until late June, then explode once the mercury stays up.
- Six hours of full sun minimum: A south-facing balcony or patio edge works; anything less and the vines stretch thin without setting much fruit.
- Well-drained, compost-rich soil: I mix in aged compost heavily; the roots demand nutrients but rot instantly in soggy conditions.
- Consistent moisture without wet feet: The soil should stay evenly damp, not waterlogged; a dry spell won’t kill the plant, but erratic watering stresses it enough to drop flowers.
Frequently Asked Questions
How do you grow bitter melon in pots?
Start by soaking seeds overnight in warm water, then plant them three-quarters of an inch deep. Move seedlings to pots that hold at least 5 gallons of well-drained, compost-rich soil with a pH between 5.5 and 6.7, and install a sturdy 6-foot trellis at planting time. Keep the soil consistently moist but never soggy, and give the vine 6 hours of full sun daily in a spot where temperatures stay above 80°F.
What are the best conditions for growing bitter melon?
Bitter melon needs hot, humid conditions with temperatures consistently above 80°F and at least 6 hours of full sun each day. The soil should be fertile and well-drained with a pH of 5.5 to 6.7, heavily amended with aged compost or manure. Night temperatures above 70°F and muggy air produce the best fruit set; the vines often sit idle in cool weather and only explode with growth once real summer heat arrives.
How do you reduce the bitterness of bitter melon?
Soak sliced bitter melon in salted water for about 30 minutes to draw out some of the momordicine while keeping the flesh crisp. For faster results, blanch for two minutes and shock in ice water, though this sacrifices some crunch. Fruits harvested with the first faint yellow streaks also taste milder than deep-green, immature ones.