
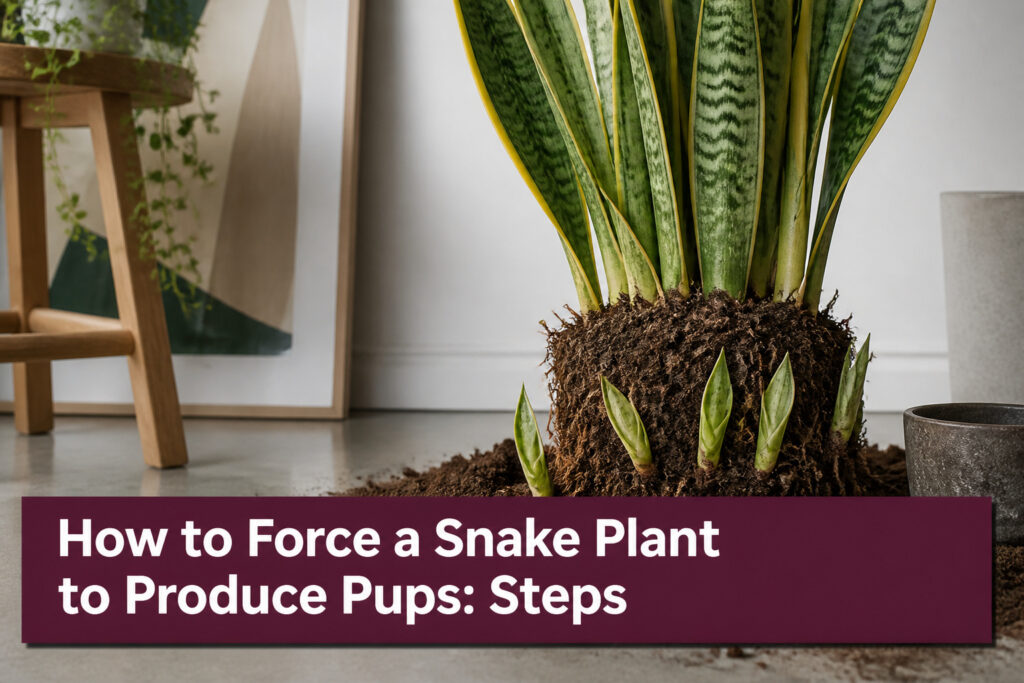
Forcing a snake plant to produce pups means unpotting the mother plant and exposing the rhizomes where offshoots hide beneath the soil line. The catch is that most growers never look, so crowded roots stay invisible and pups stay buried. One grocery-store clearance plant, left alone for eight months, yielded sixteen hidden pups once the soil was brushed away.
1. Remove the Plant From Its Pot
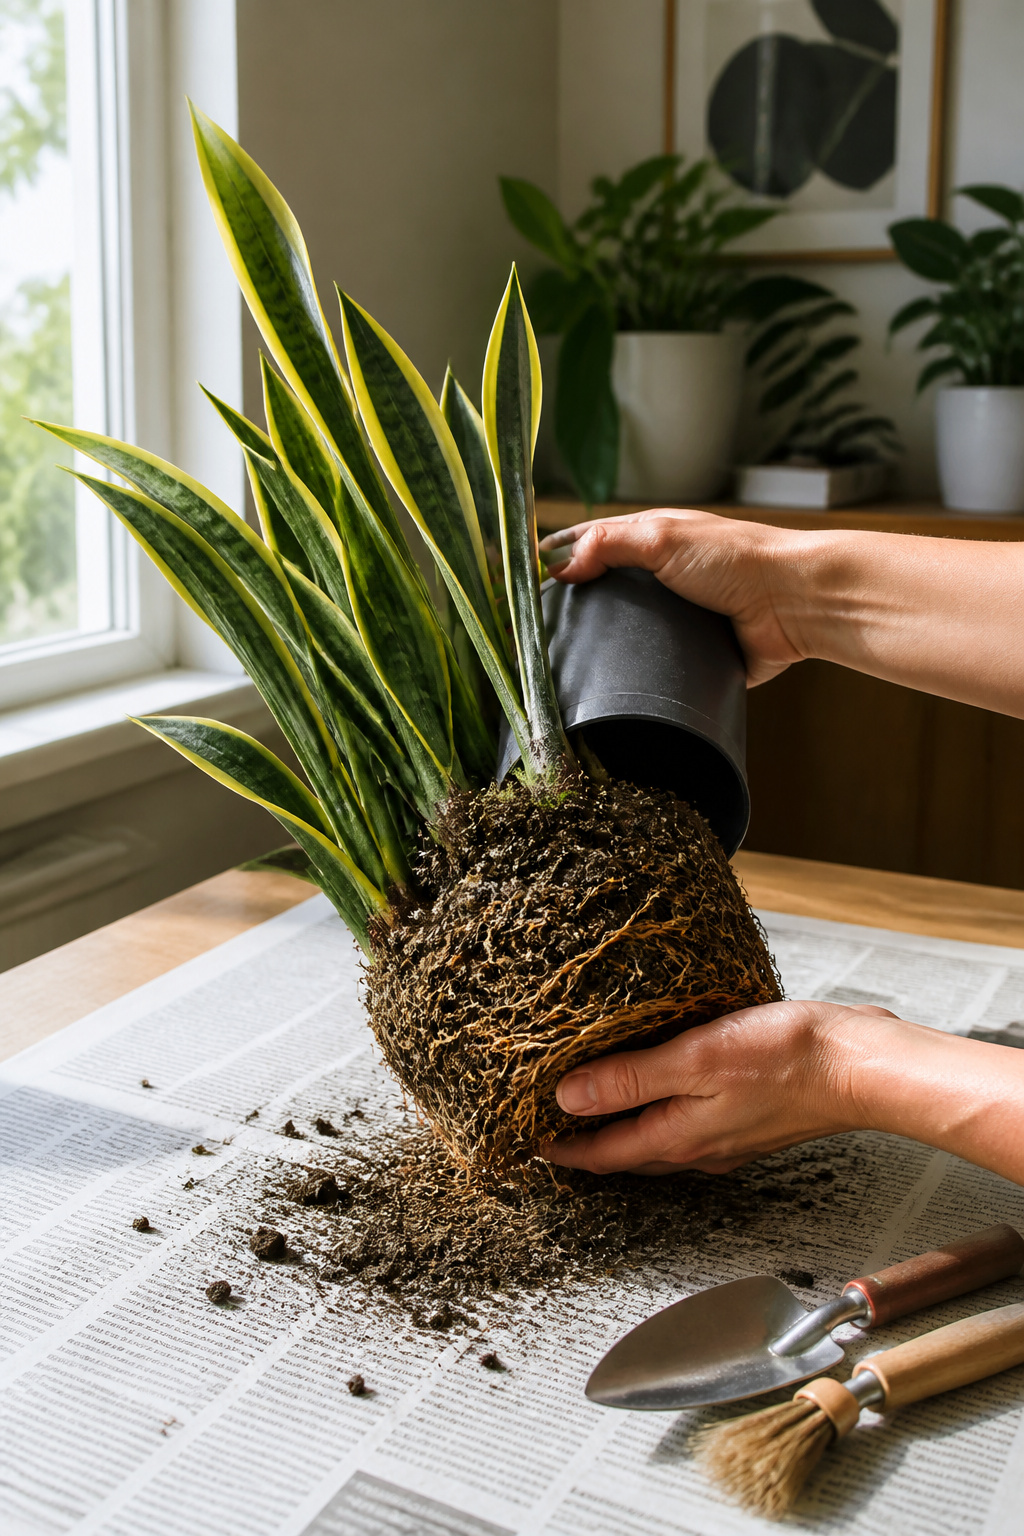
A snake plant that refuses to show its pups is usually packed too tight to let you see what’s happening underneath. Tipping the pot on its side and easing the root ball out in one piece is the only way to inspect the base without snapping the rhizomes that connect pups to the mother plant. The Sansevieria bacularis ‘Mikado’ I bought for $7 at a grocery store clearance rack sat in its original plastic container for eight months before I finally did this, and the roots had started to coil in a dense mat that took gentle teasing to loosen.
Work your fingers between the pot wall and the soil rather than yanking from the leaves. The leaves will bend and crease if you use them as a handle, and a creased snake plant leaf never straightens back out. Once the root ball slides free, set the plant on newspaper or a tarp and brush away the loose soil until the thick, pale rhizomes running horizontally near the surface come into view. Those horizontal runners are where the pups form, and until you can see them clearly you won’t know whether you have one hidden pup or sixteen waiting to be separated.
I ended up with sixteen snake plant pups in all, which I divided into four pots (in addition to the original plant, which I returned to its original pot, now roomier sans pups).
Sixteen pups from a single $7 plant means the original pot was carrying roughly four times the plant mass it appeared to hold from above. That kind of hidden density is why this step matters: the propagation starts before any cutting, with hands in the dirt and a clear view of what you’re actually working with.
2. Brush Away Soil to Expose the Pups
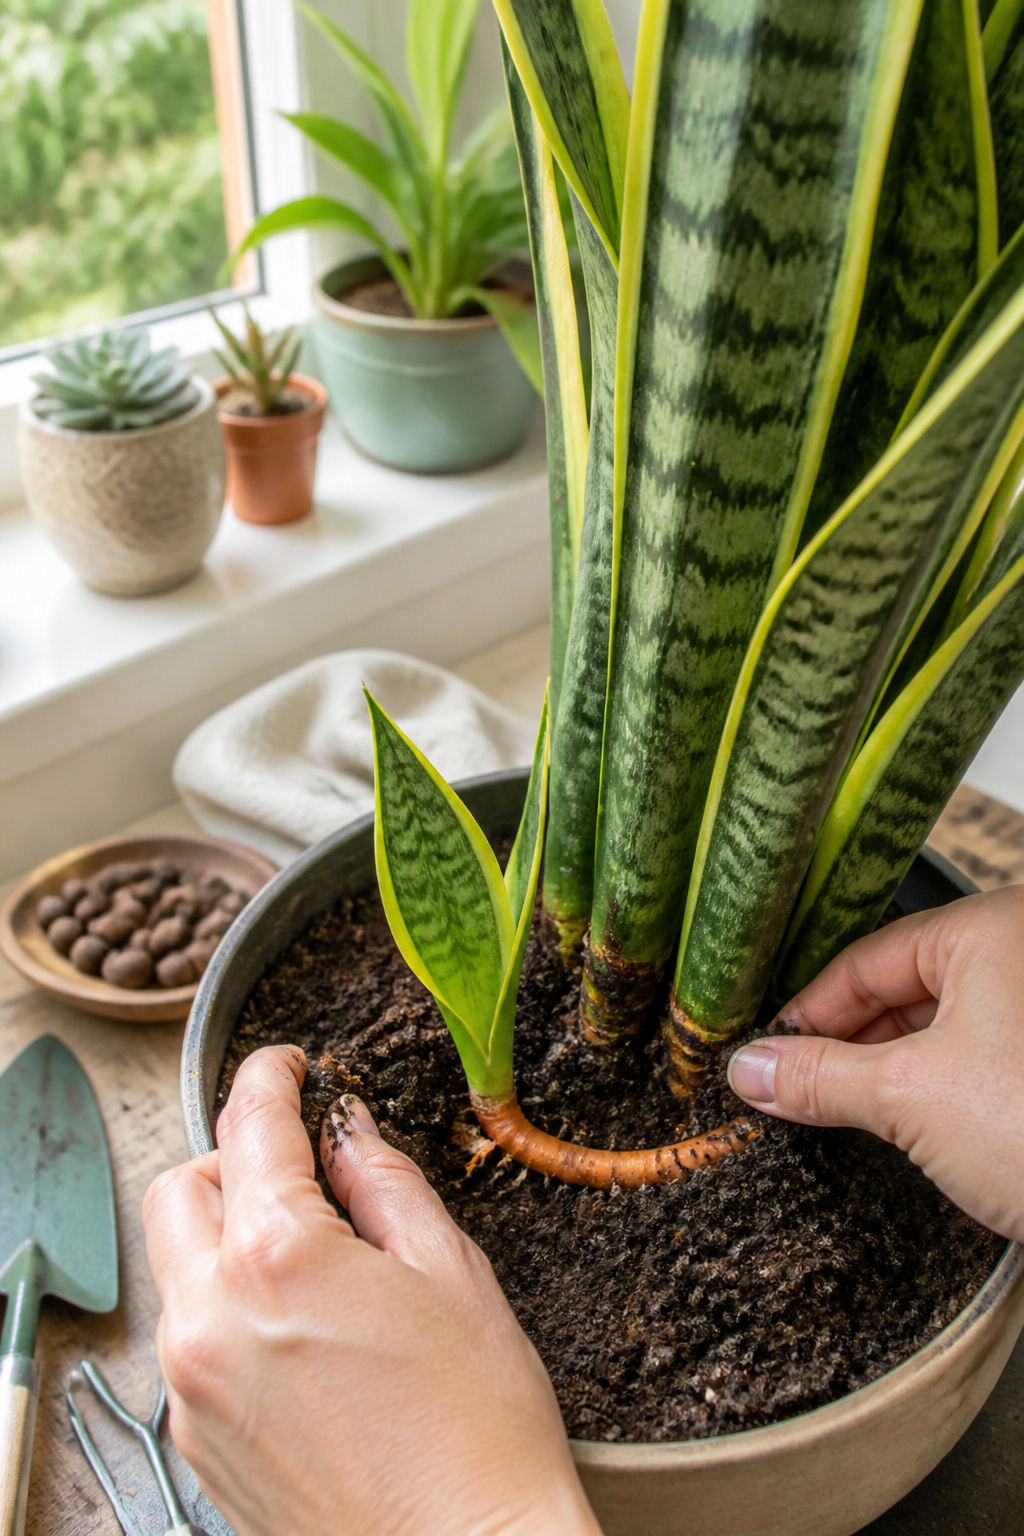
A snake plant’s pups sit partly buried, so brushing away soil is the only way to see what you’re dealing with. The white portion at the base of each pup marks where soil level normally rests; beneath that sits the orange rhizome, the underground stem segment that sends out roots. This color shift matters because it tells you exactly where the pup connects to the mother plant’s network.
Healthy pups attach firmly to that rhizome. When you clear the dirt, you want to see this connection intact, not broken or rotted. A pup with solid rhizome attachment has been feeding itself long enough to survive on its own. The ones worth separating will show this clear link, while any that appear loose or damaged should stay put until they strengthen.
Work gently with your fingers or a soft brush. Snake plant roots are tough but the rhizome itself can crack if you scrape too hard. Expose just enough to trace the attachment point; you don’t need a full archaeological dig. Once you can see where orange meets green, you’re ready for the next cut.
3. Cut the Pups From the Main Plant
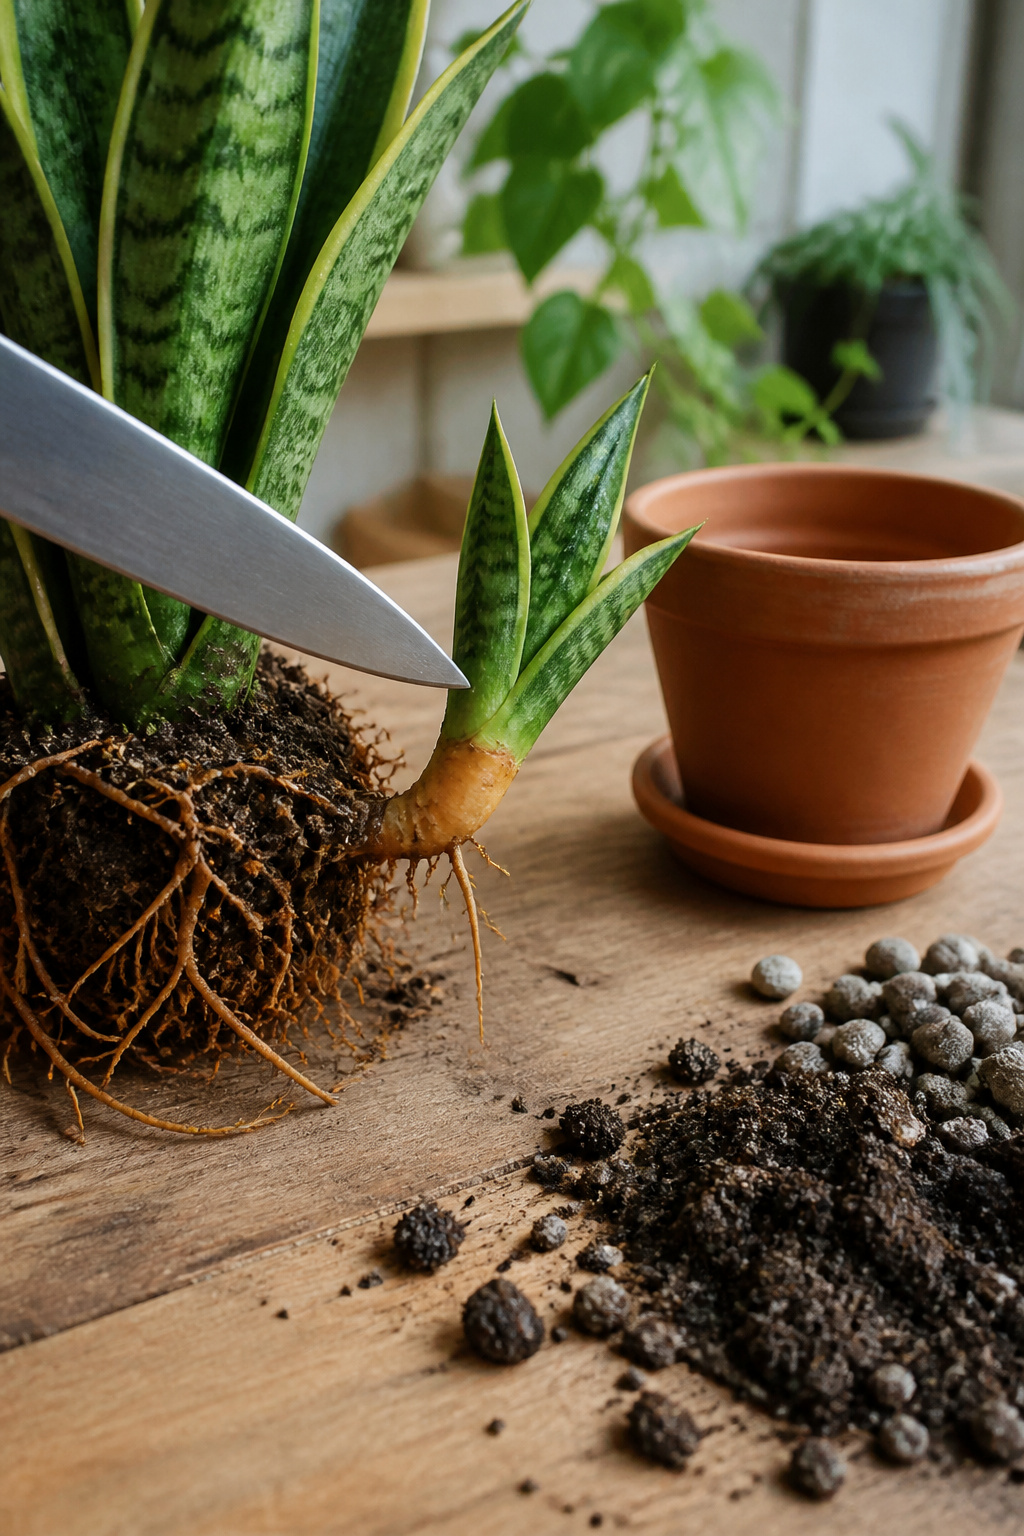
A sharp, clean knife or pair of scissors makes the cut below a root so the pup has some roots of its own for a strong start out in the world. The common mistake is slicing too high or through bare rhizome, leaving the pup without enough root mass to feed itself once separated. Each pup needs roots it can actually use, not just a nub of white stem that looks promising.
A healthy pup shows a clear rhizome connection to the mother plant plus a small cluster of its own roots already formed. Those roots might be thin and young, but they need to be there. Cut low enough to capture them, then pot the pup in fresh soil, packing the soil up to where the white part of the stem turns green. The ones that fail usually fail because someone rushed the separation and treated the rhizome like a cutting that would root later. Snake plant pups do not root later; they root now, attached, and you are simply moving that established system into its own pot.
4. Pot the Pups in Fresh Soil
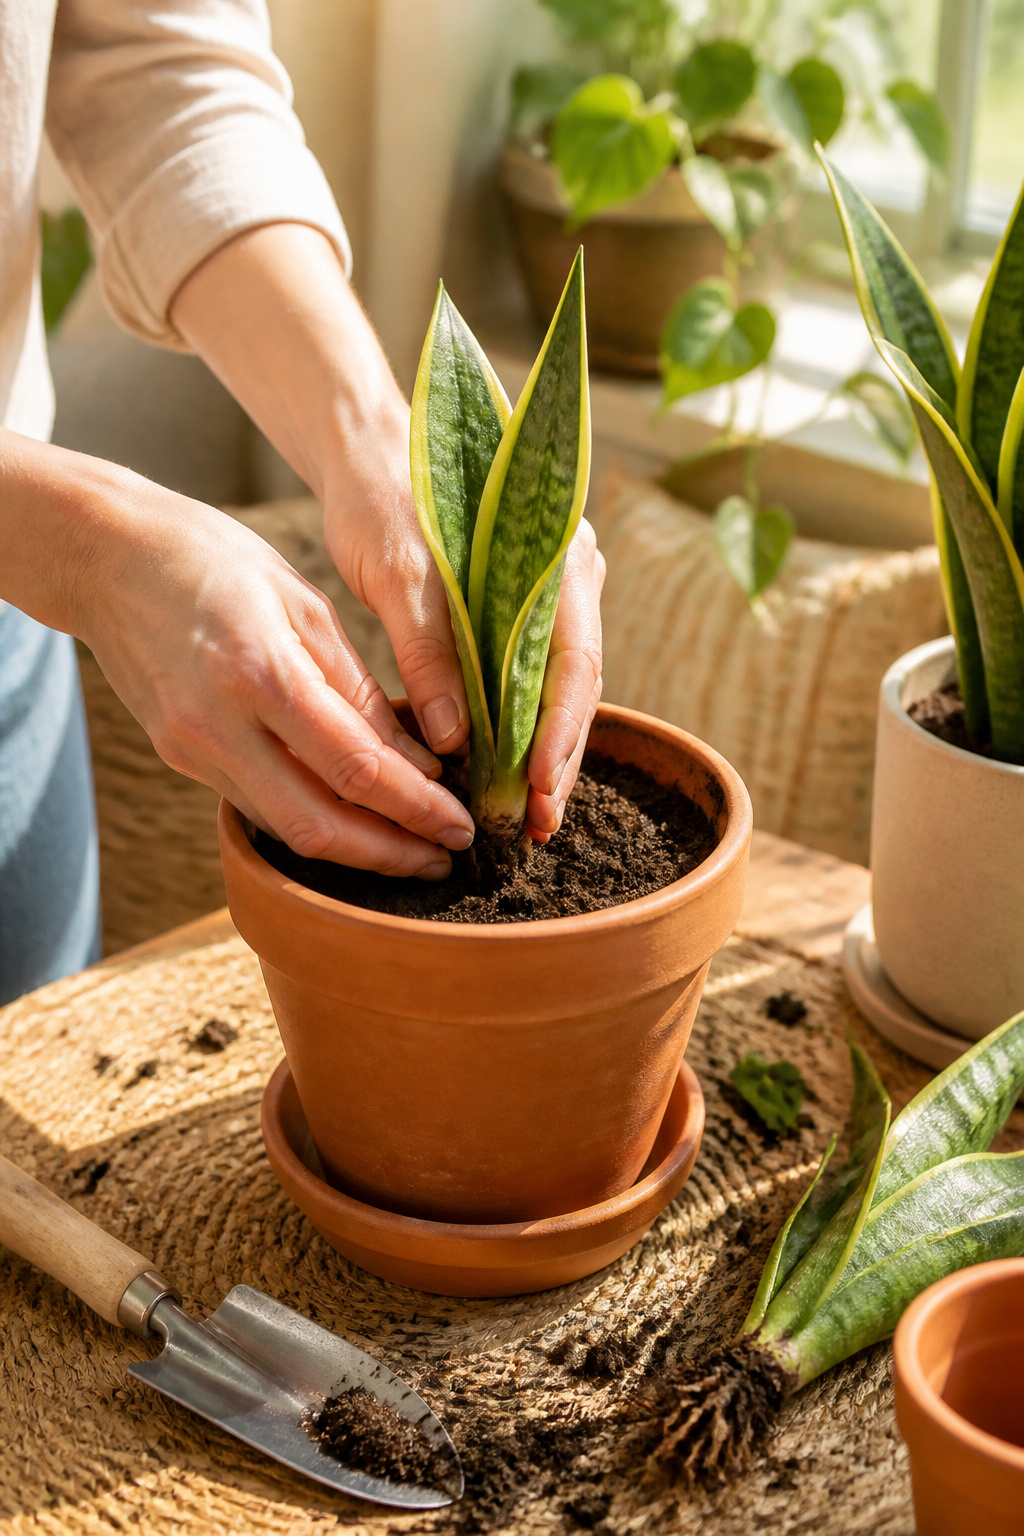
Fresh soil matters more than most people think when potting snake plant pups. The nutrients in spent or reused mix are already depleted, and a pup trying to establish its own root system needs every advantage it can get. Pack the soil firmly up to where the white stem turns green; burying the green tissue risks rot, while leaving the pale base exposed dries it out.
Spring is the window for this. The parent plant is coming out of dormancy and the pup’s new roots will have months of active growth to anchor before winter slowdown. I have seen pups potted in tired old mix simply stall for half a season, then perk up almost overnight after a repot into something new.
5. Repot the Main Plant If Needed
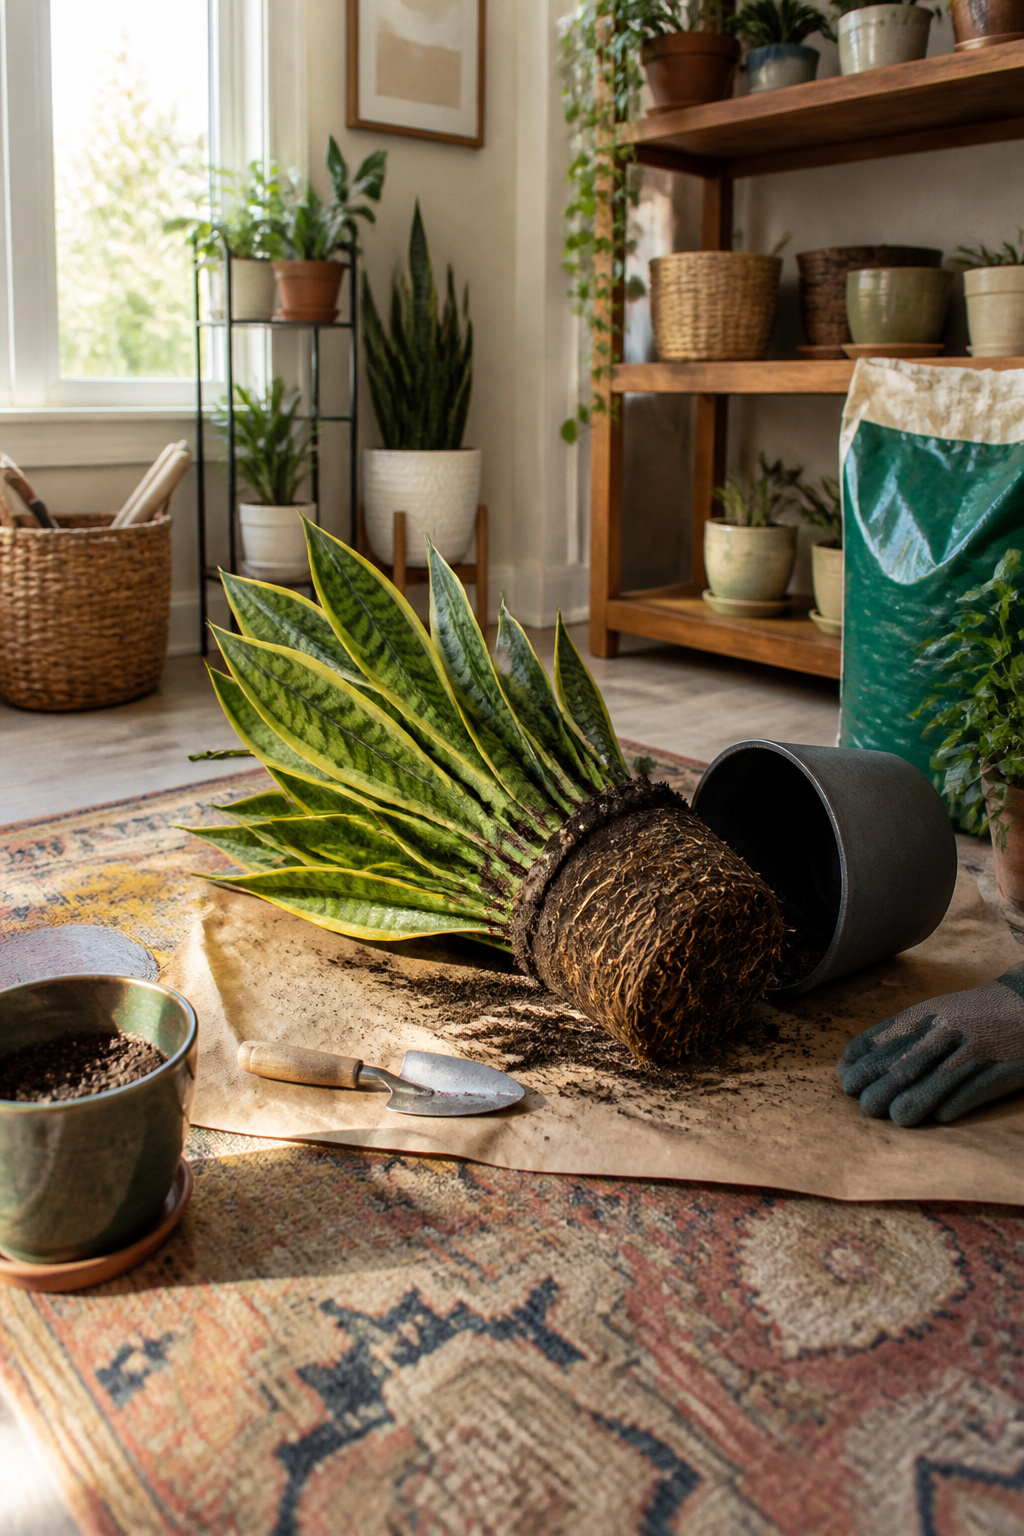
A snake plant that has filled its current pot will put its energy into holding on rather than spreading out. The roots coil and thicken until they leave almost no room for soil, and that is the condition that tells you to move it up one pot size, not two. I have learned to slide the plant out and check before I assume; sometimes what looks like crowding at the surface is still loose underneath, and repotting too early only shocks the root system without helping pup production. When the roots do hold the shape of the pot in a solid mass, the fresh soil and space give the rhizome room to push new growth sideways. Spring is the practical window for this, since the plant is already gearing up to grow, but the timing matters less than the root condition itself.
6. Water Lightly After Potting
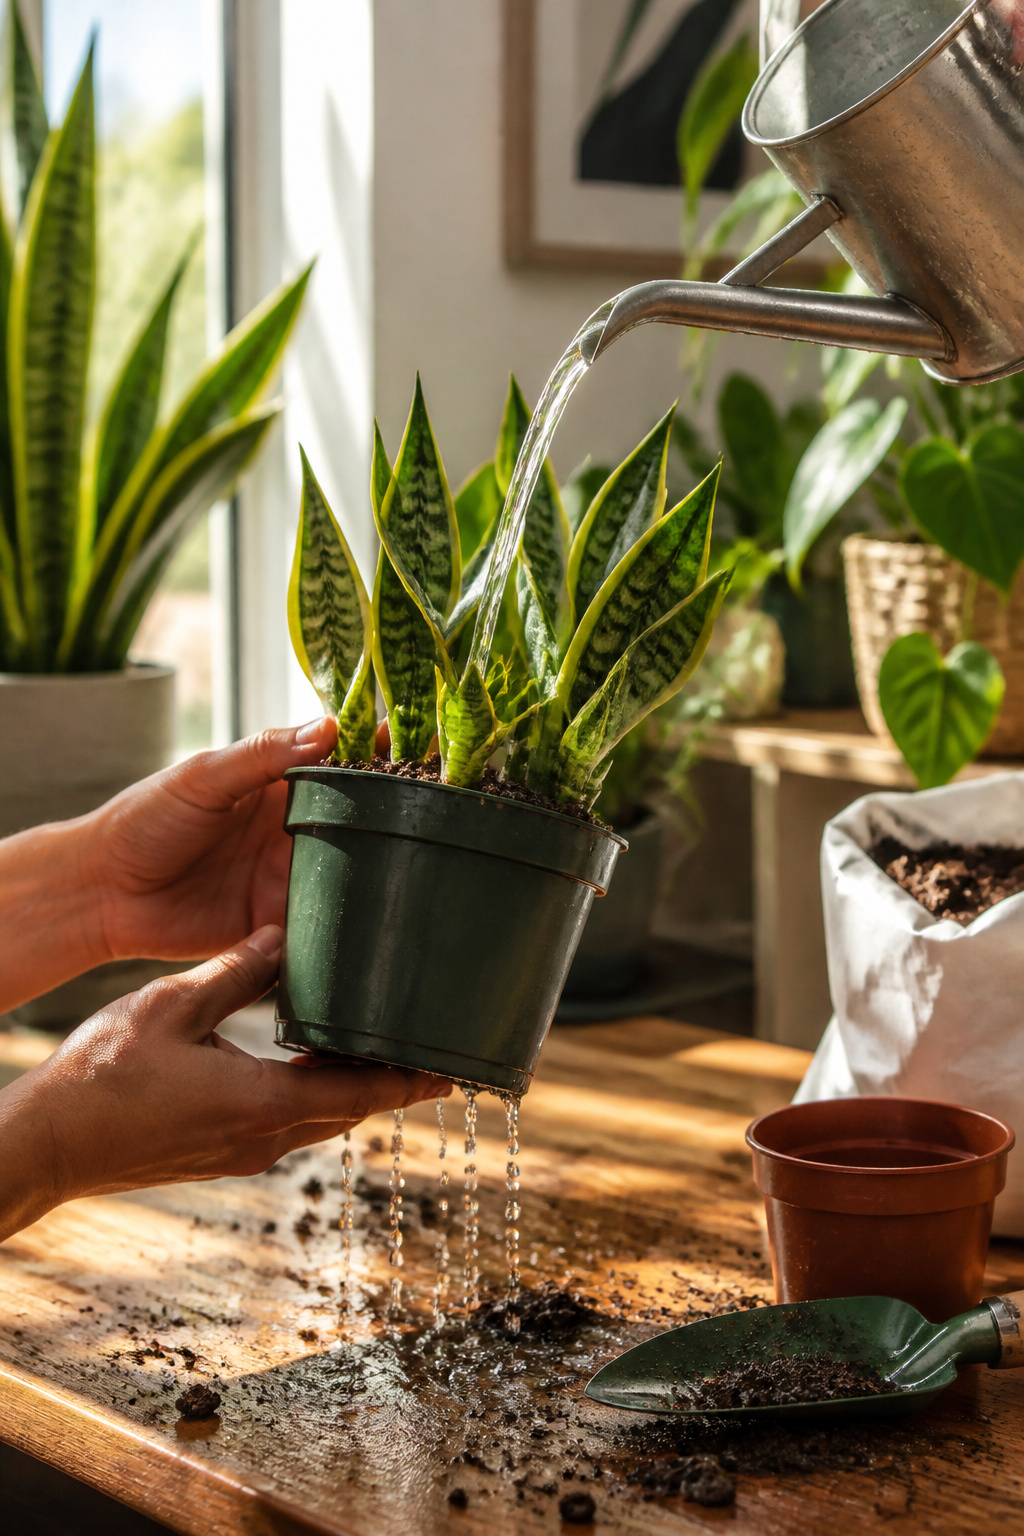
Once the pups are in their own pots, the soil needs a gentle drink to close any air gaps around the fresh roots. I run water through until a few drops seep from the drainage holes, then I stop. The first watering should be light, not saturating; these are still snake plants, built for drought, and wet feet will rot them faster than dry ones ever will.
I set the pots in bright, indirect light and leave them alone for a week or two before checking again. The rhizome stores what the pup needs while it anchors. Touching the soil surface tells me plenty. If it feels dry an inch down, maybe then I water. If not, I wait. Overwatering a freshly potted pup is the mistake I made on my first few tries, and the ones I left barely damp always pulled through better than the ones I fussed over.
Spring Timing for Propagation
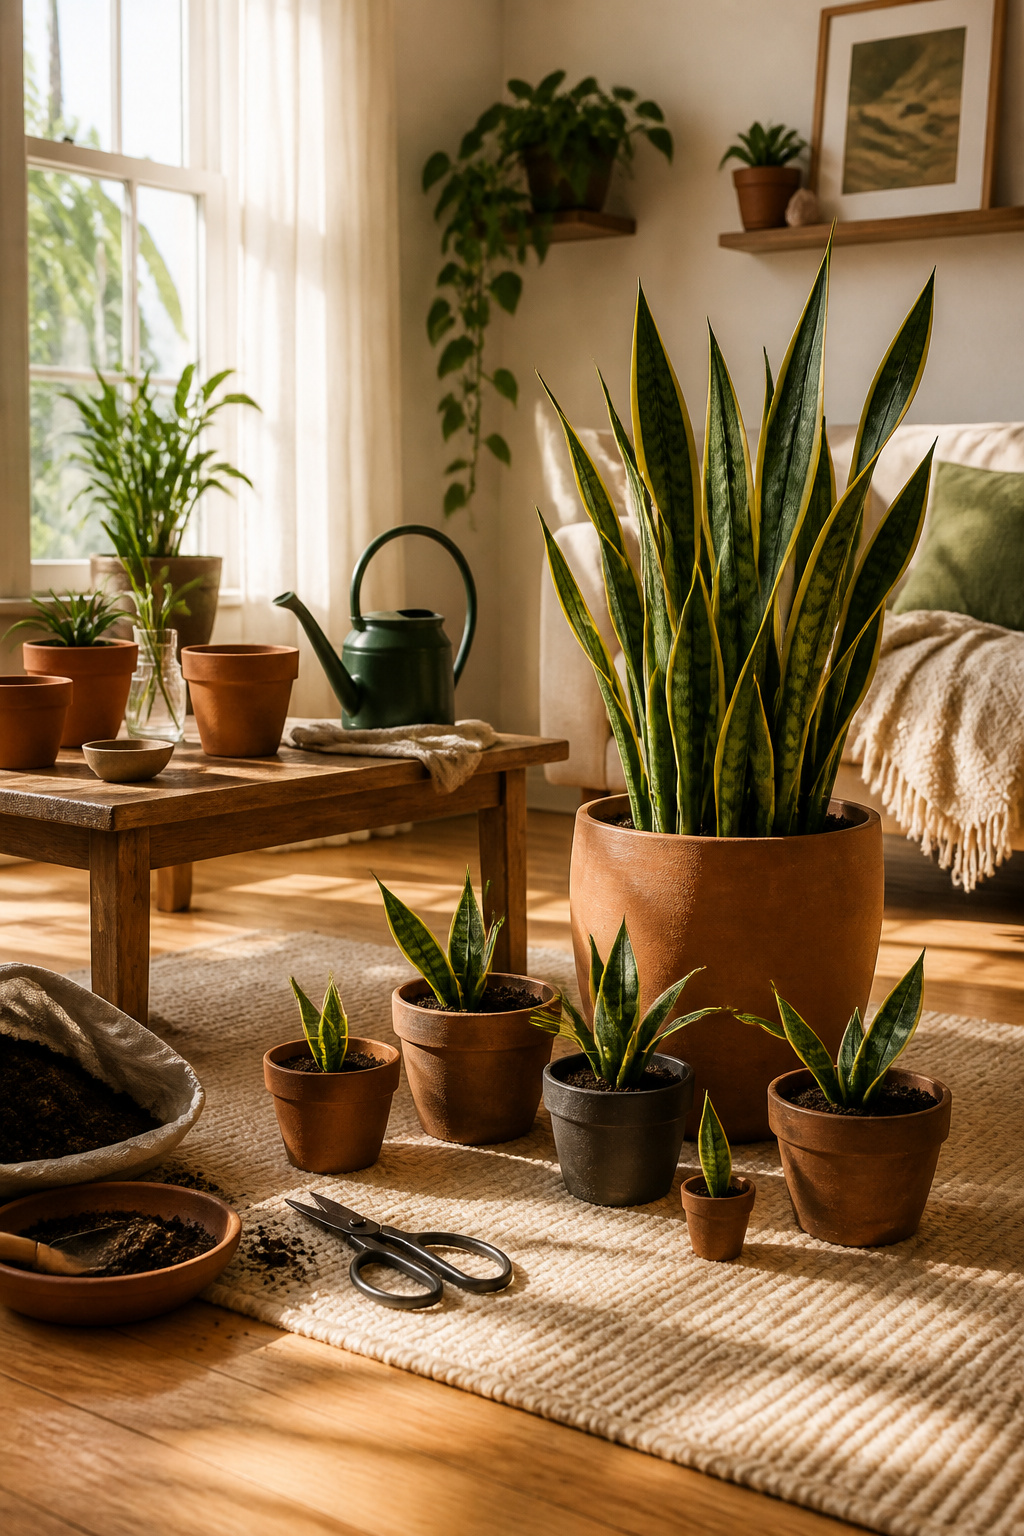
Most houseplants start waking up in March and April, and snake plant pups root fastest when the mother plant is already in active growth. That seasonal push means the rhizome has more energy to spare for the offshoot you’re removing, and the pup itself will establish in soil before summer heat arrives. I usually check my own plants right around this window, partly because I’m already repotting everything else that spent winter getting cramped.
Spring also lines up with when you’re more likely to spot trouble you missed. A plastic nursery basket left on the root ball can strangle the center of a snake plant over time, and the crowded conditions of winter growth make it easier to see bulging or distorted shapes once you unpot. Freeing the mother plant from that kind of constraint while the weather is mild gives her the full season to recover.
If you pot up too late in the year, the pup sits in cool, damp soil with short daylight and roots slowly, if at all. The same plant handled in April often shows new growth by June.
Soil and Pot Requirements
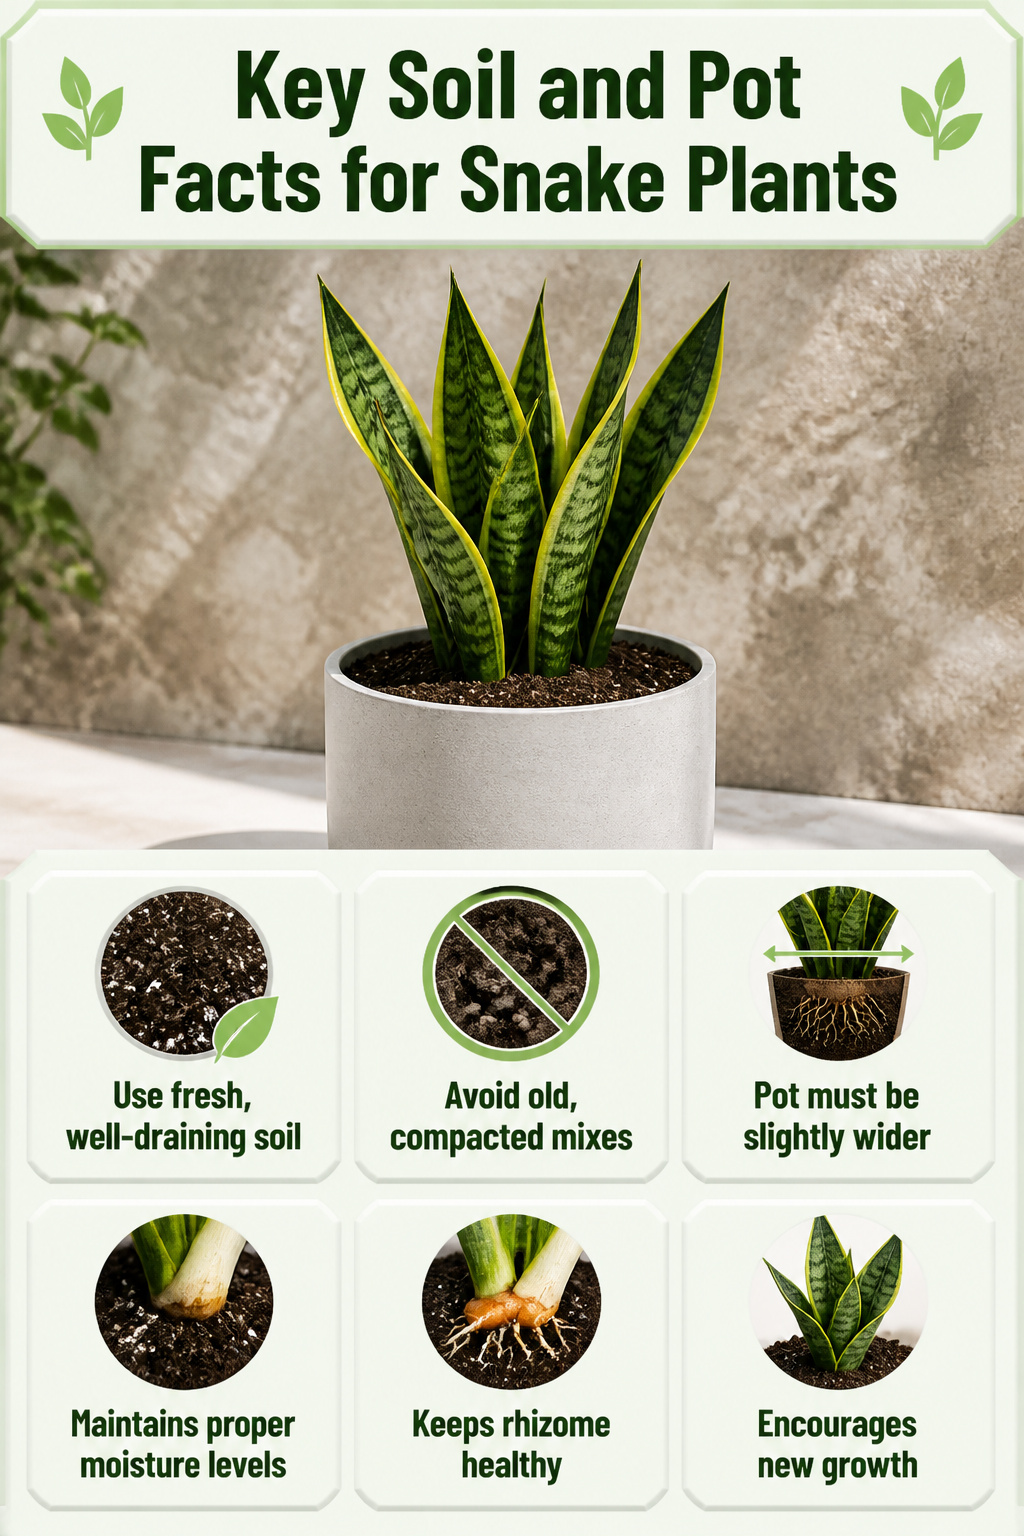
Fresh soil matters more than most people think when you are trying to get a snake plant to produce pups. The sources all mention potting pups in fresh soil without explaining why, which leaves a real gap. Old, compacted mix loses the drainage and light texture these plants need, and depleted nutrients do not give the rhizome any reason to push out new growth. A fresh, well-draining mix signals to the plant that conditions are right to expand.
The white part of the pup stem sits at soil level, with the orange rhizome buried below. That placement only works if the mix stays loose enough for the rhizome to move and root freely. Dense or reused soil traps moisture against that junction and the pup rots before it establishes. I have read enough propagation failures to suspect this is where most people lose them.
What none of the guides specify is pot size, which tells me the exact diameter matters less than the soil quality itself. A container an inch or two wider than the root spread works fine; the fresh mix does the real work.
Care After Potting
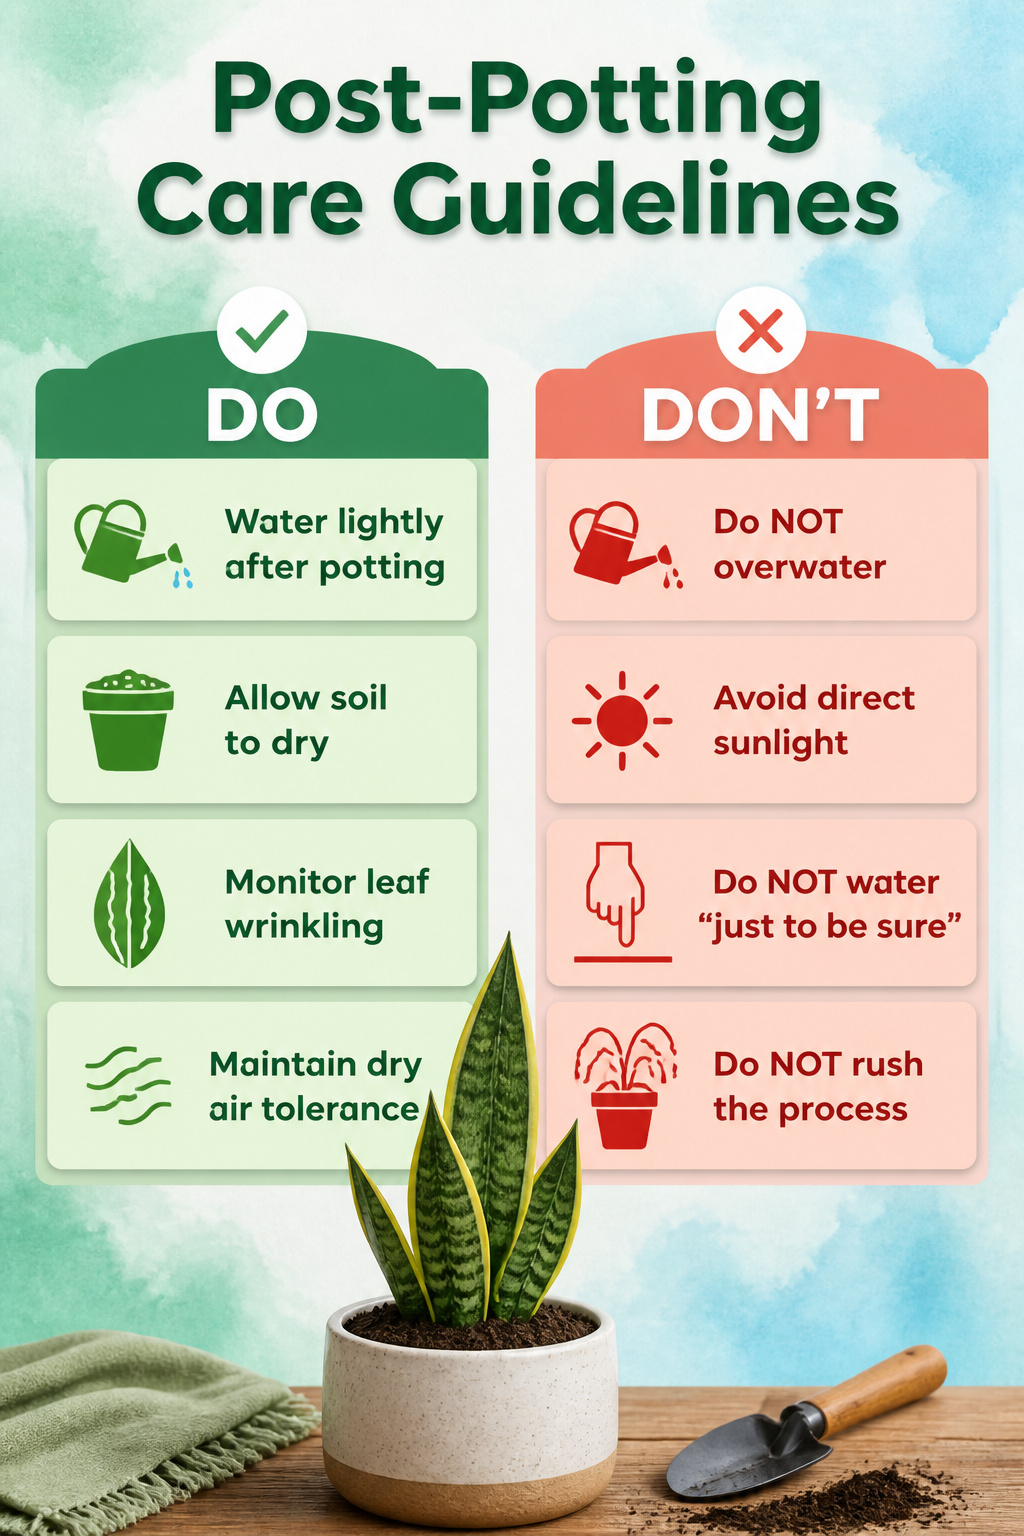
Fresh soil holds moisture differently than the packed mix a pup was wedged into, so the first drink after potting wants restraint. Most guides land on the same instruction: water lightly, then leave the plant alone. What they rarely spell out is how long "lightly" lasts. In my reading, the gap between "let it dry" and "now water normally" stretched anywhere from a week to a month depending on the season and the room.
A pup has no established root system to pull from yet, so the soil around it stays wet longer than the surface suggests. Press a finger two knuckles deep before adding more; the top inch drying out means almost nothing down where new roots are trying to form. I have found more agreement on light than on water: bright, indirect sun, no direct south window for the first few weeks. A few sources mentioned humidity only to say snake plants tolerate dry air, which is fortunate since most of us are not running humidifiers for succulents.
The real risk in this stage is kindness. A second watering "just to be sure" sits in that loose new soil and rots the cut before it callouses into roots. Let the plant tell you when it is ready: slight wrinkling on the outer leaves, a softening you would miss if you were not checking with purpose.
Frequently Asked Questions
How do you propagate snake plant pups?
Remove the plant from its pot and ease the root ball out in one piece so you can inspect the rhizomes without damage. Brush away soil to expose where the pups attach, then cut each pup below its roots with a sharp, clean knife. Pot the pup in fresh, well-draining soil up to where the white stem turns green, and water lightly.
When is the best time to propagate snake plants?
Spring is the practical window, roughly March through April, when the mother plant is coming out of dormancy and has energy to spare for offshoots. Pups separated in spring get months of active growth to anchor before winter slowdown, and often show new growth by June. A pup potted too late in the year sits in cool, damp soil with short daylight and roots slowly, if at all.
How many pups can a snake plant produce?
A single snake plant can produce many more pups than are visible from above. One grower found sixteen pups hidden in the root ball of a single grocery store clearance plant that had sat in its original pot for eight months. That kind of hidden density is why unpotting to inspect the rhizomes matters before you assume a plant is not producing.